

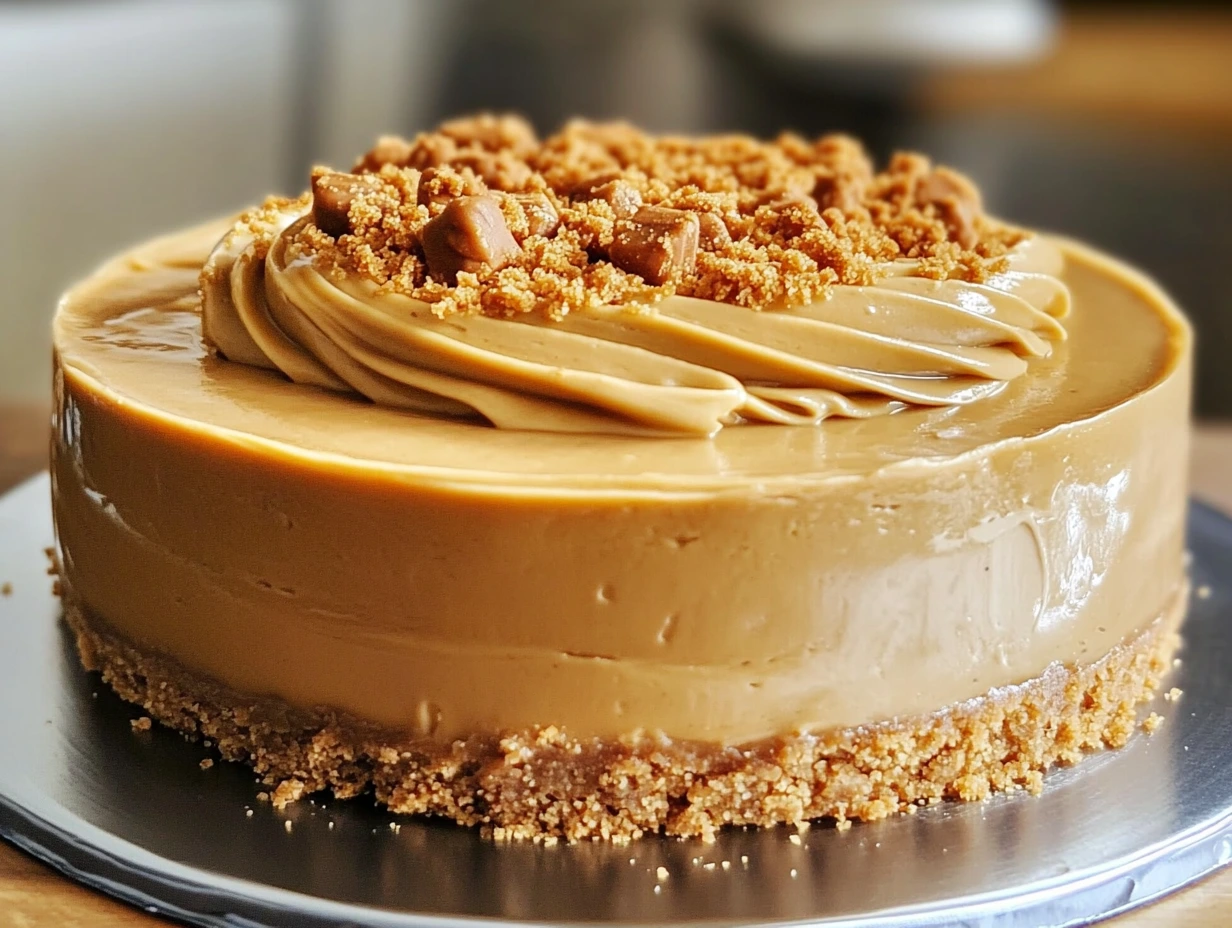
Okay, I need to tell you something upfront—I am a huge fan of anything Biscoff. The way that sweet, spiced cookie butter just melts in your mouth? It’s the kind of thing dreams are made of. So when I discovered how easy it is to turn that cookie magic into a no-bake cheesecake, it quickly became one of my go-to desserts. It’s rich, creamy, perfectly spiced, and you don’t even have to turn on your oven. What’s not to love?
If you’re anything like me, you’re always looking for a crowd-pleasing dessert that doesn’t involve complicated steps or too much fuss. This No-Bake Biscoff Cookie Butter Cheesecake checks all the boxes. It starts with a buttery Biscoff cookie crust (yes, double the Biscoff, because why not?), then gets filled with a luscious whipped cheesecake mixture flavored with cookie butter, and finally topped with even more Biscoff goodness. And the best part? You can make it ahead of time, chill it in the fridge, and impress everyone without breaking a sweat.
This is the kind of dessert that works perfectly for everything from holidays and dinner parties to cozy nights in when you’re craving something sweet. I’ve made it for family birthdays, Friendsgiving get-togethers, and even once just because it was Tuesday. Trust me, it’s that kind of recipe.
Alright, let’s dive into how to make this creamy, dreamy treat from start to finish.
STEP 1: MAKE THAT GOLDEN BISCOFF CRUST
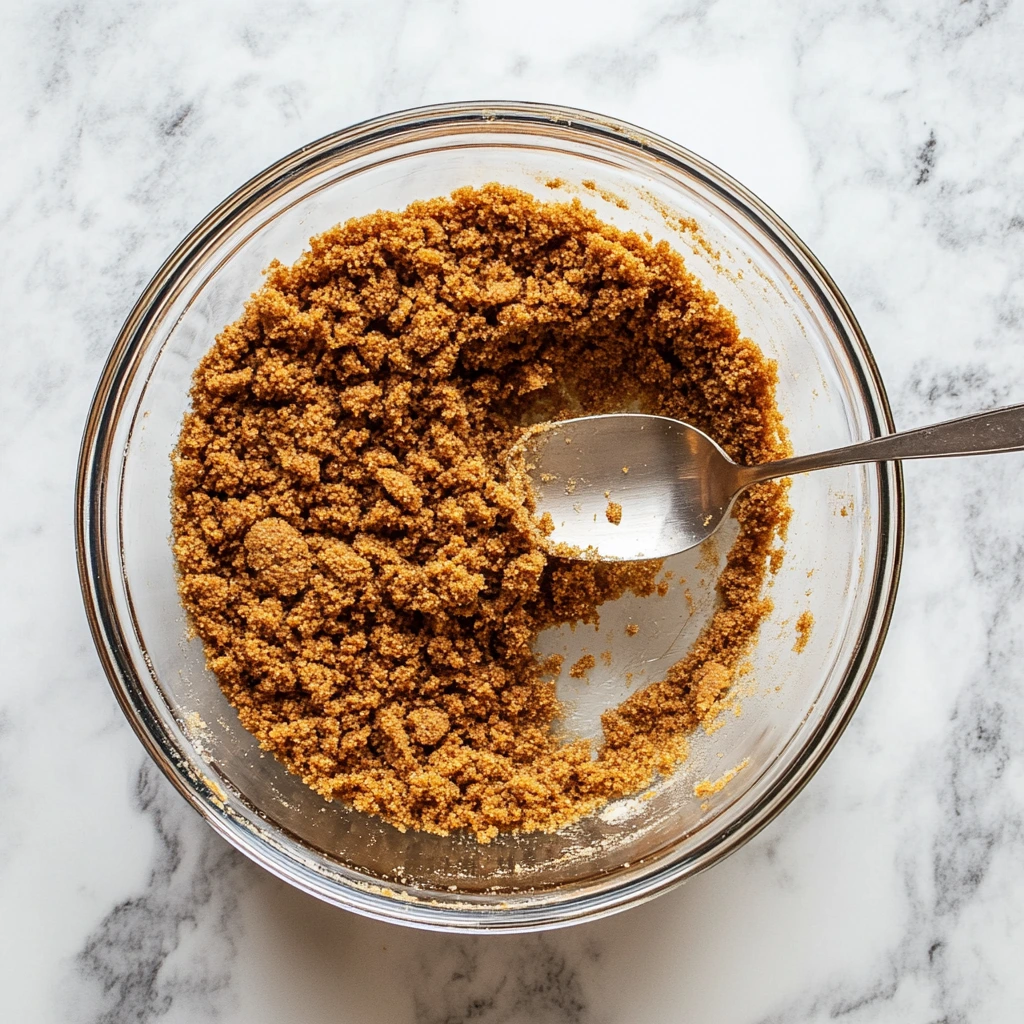
Let’s start with the foundation—our crust. This part is so simple, but it really sets the tone for the whole dessert. You’ll need about 2 cups of crushed Biscoff cookies, which is roughly 20 cookies. You can blitz them in a food processor or pop them in a zip-top bag and crush them with a rolling pin (a great stress reliever, by the way).
Once you have your crumbs, mix them in a bowl with ¼ cup of granulated sugar and 6 tablespoons of melted unsalted butter. Stir everything together until it starts to look like wet sand—that’s when you know you’ve got it right. Then press the mixture firmly into the bottom of a 9-inch springform pan or pie dish. I like using the bottom of a glass to make sure everything is packed in nice and even.
After the crust is nice and smooth, pop it into the fridge to chill while you work on the filling. This helps it firm up and makes the final dessert hold its shape better.
STEP 2: WHIP UP THAT BISCOFF-INFUSED FILLING
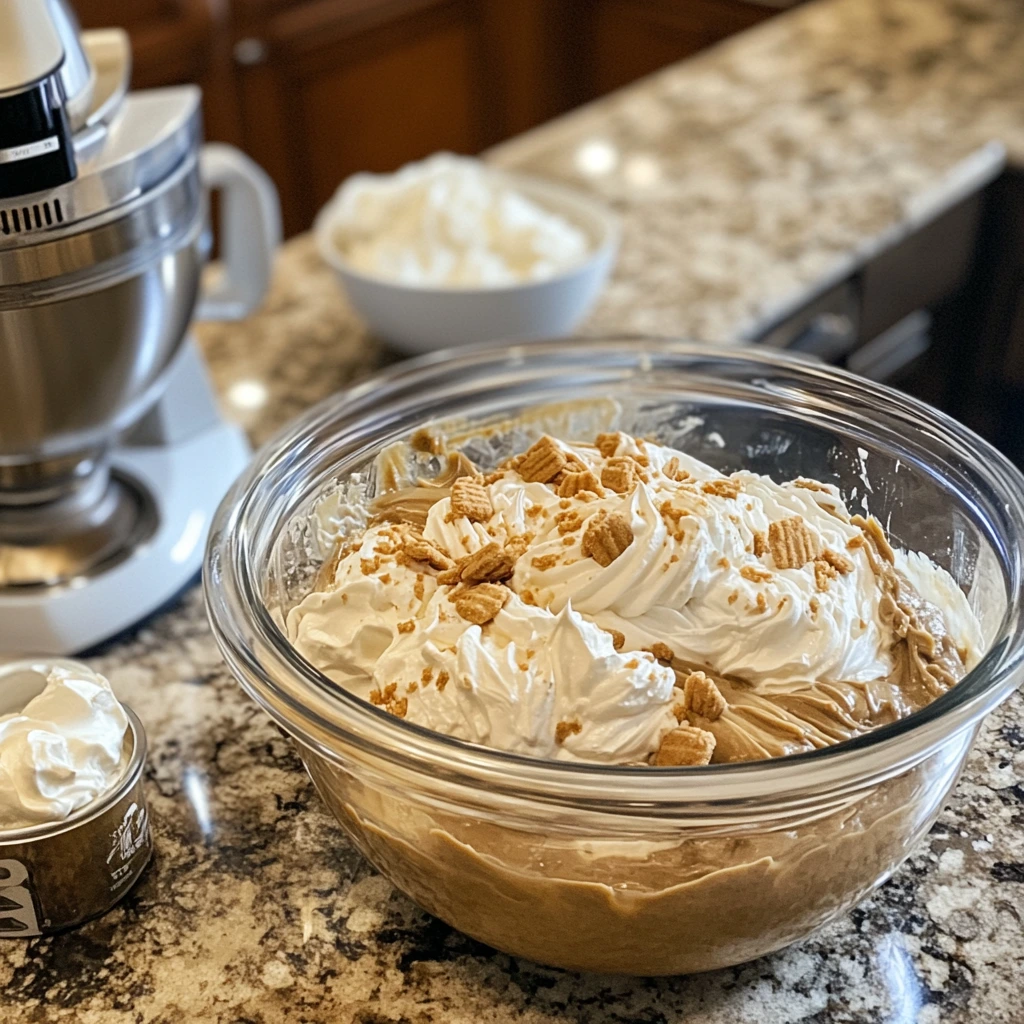
Now comes the fun part—the filling! This is where all the creamy magic happens. Start with 16 oz of cream cheese, softened to room temperature. You want it nice and smooth so it blends easily. Beat it together with ½ cup of Biscoff cookie butter (don’t be shy here—the flavor is amazing), ½ cup of powdered sugar, and a teaspoon of vanilla extract.
Once that mixture is creamy and silky, it’s time to lighten things up by folding in a cup of whipped cream that’s been whipped to stiff peaks. Be gentle here—use a spatula and fold it in slowly to keep the filling light and airy. This step gives the cheesecake that mousse-like texture that makes it feel so luxurious without being too heavy.
Once your filling is fully combined and fluffy, it’s ready to be poured into the chilled crust. Go ahead and spread it out evenly with a spatula, making sure to smooth the top. If you want to be extra careful, tap the pan gently on the counter to release any trapped air bubbles.
STEP 3: THE CHILL—LET IT SET TO PERFECTION
Once you’ve assembled your cheesecake, it’s time to let it chill and firm up. This part is absolutely key because it transforms that soft, fluffy filling into a sliceable, creamy masterpiece.
Cover the cheesecake with plastic wrap and place it in the refrigerator for at least 4–6 hours. If you’re planning ahead (which I always recommend), leaving it overnight is even better. It gives the flavors time to meld together and results in that beautiful, clean slice when it’s time to serve.
In a rush? You can pop it into the freezer for about 2–3 hours to speed things up. Just keep in mind that if you do freeze it, you’ll want to let it sit at room temperature for 10–15 minutes before serving to make slicing easier.
STEP 4: ADD THOSE DECADENT TOPPINGS
Here’s where you can really have some fun and get creative. Toppings aren’t just a visual bonus—they add texture and an extra layer of flavor that takes this cheesecake to the next level.
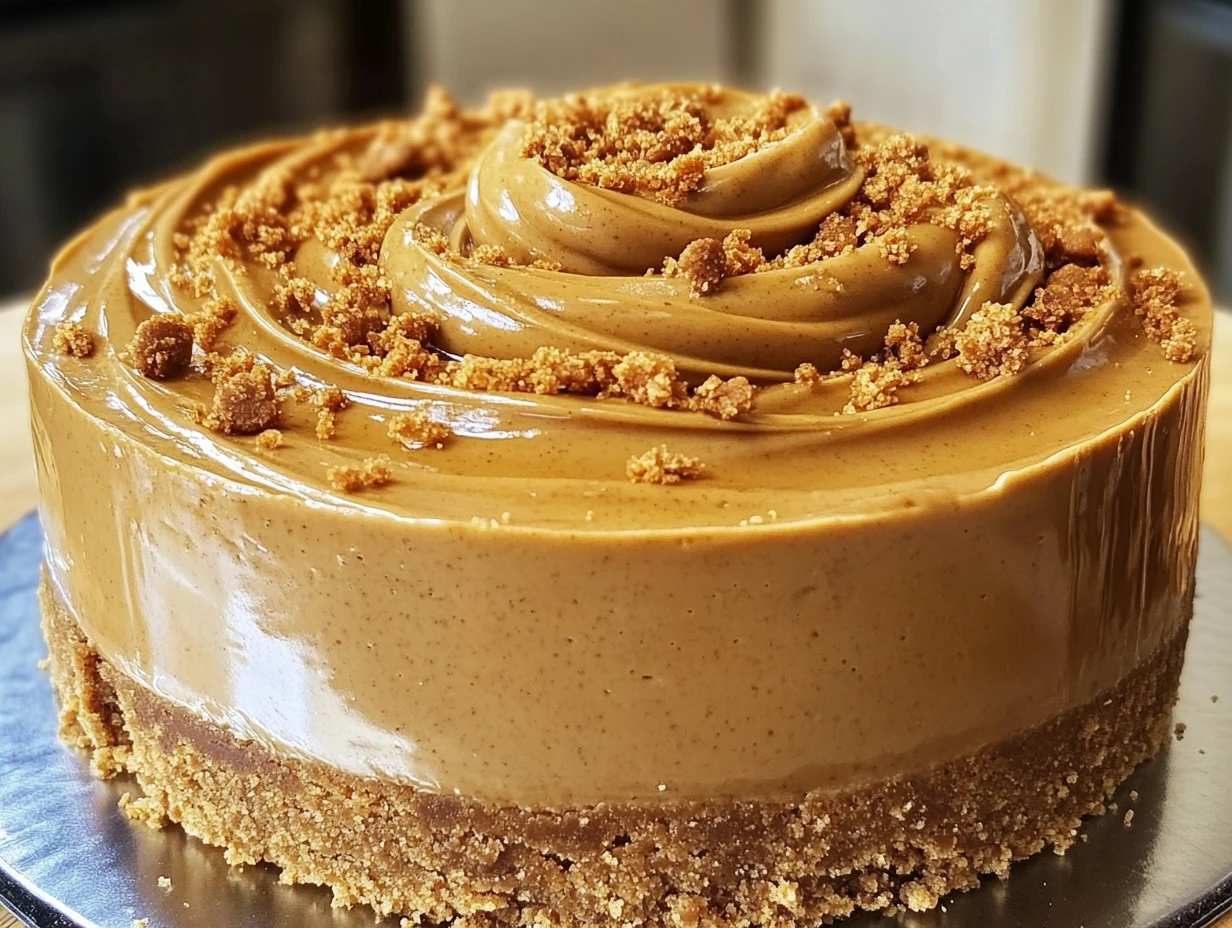
I personally love to drizzle extra melted Biscoff cookie butter over the top. Just scoop out a couple of tablespoons, microwave it for about 15–20 seconds, and drizzle it over the chilled cheesecake. You can go simple with a zigzag pattern, or get a little fancy and swirl it around. It’s totally up to you.
Next, top it with whipped cream—either piped along the edges or in little dollops. Finish it off with a sprinkle of crushed Biscoff cookies for that signature crunch, or, if you’re feeling a little extra, a drizzle of caramel sauce really compliments the spiced cookie flavor beautifully.
These toppings not only make your cheesecake look bakery-worthy, but they also add layers of flavor and texture that will have everyone asking for seconds.
STEP 5: SLICE AND SERVE
Once your cheesecake is fully set and beautifully topped, it’s ready to serve. If you’re using a springform pan, release the sides carefully to avoid breaking the edges. For a pie dish, use a thin knife to gently loosen the edges before slicing.
Use a warm knife (just run it under hot water and wipe it dry) for clean slices. It helps cut through the creamy filling without dragging, especially if you’ve added any sticky toppings like cookie butter or caramel.
Serve your cheesecake chilled for the best texture. It’s smooth, rich, and velvety—like a cross between a mousse and a cheesecake. And the best part? You made it all without ever turning on the oven.
TIPS FOR A FLAWLESS BISCOFF CHEESECAKE
This recipe is super straightforward, but here are a few tips I’ve learned along the way to make it even easier and more foolproof:
-
Use room-temperature cream cheese. It blends more easily and creates a smoother filling. Cold cream cheese tends to clump, which no one wants in a cheesecake.
-
Whip your cream to stiff peaks. This is key for giving the filling its light, airy texture. If you under-whip it, your cheesecake won’t hold its shape as well.
-
Pack the crust tightly. A loose crust can fall apart when slicing. Use the bottom of a glass to press it in firmly and evenly.
-
Chill thoroughly. As tempting as it is to dig in early, don’t rush the chilling time. It’s worth the wait for that perfect creamy consistency.
VARIATIONS TO TRY
Want to switch things up? Here are a few fun twists you can try:
-
Mini Cheesecakes: Use a muffin tin with cupcake liners to create individual servings. Great for parties and portion control.
-
Chocolate Drizzle: Swap the caramel or cookie butter drizzle for melted chocolate for a richer flavor.
-
Swirl It: Mix a few spoonfuls of Biscoff into the filling before pouring it into the crust to create a gorgeous swirl effect.
-
Add a Crunchy Layer: Sprinkle some crushed toffee bits or chopped nuts on top for added crunch and contrast.
FREQUENTLY ASKED QUESTIONS
1. Can I use another type of cookie for the crust if I don’t have Biscoff?
Absolutely! Graham crackers work well, or even Oreos if you want a chocolate twist. But keep in mind, Biscoff cookies add a unique spiced flavor that complements the cookie butter filling perfectly.
2. What’s the best way to melt Biscoff cookie butter for drizzling?
Place a few tablespoons in a microwave-safe bowl and heat for about 15–20 seconds. Give it a quick stir and it’ll be the perfect consistency for drizzling over the top of your cheesecake.
3. Can I make this cheesecake ahead of time?
Yes! In fact, it’s even better when made a day in advance. Prepare the cheesecake the night before and let it chill overnight. Add the toppings just before serving for the best presentation.
4. How long will leftovers keep in the fridge?
This cheesecake will stay fresh for about 4–5 days when stored in an airtight container in the refrigerator. Just be sure to keep it chilled at all times.
5. Can I freeze the cheesecake?
Yes, it freezes well. You can freeze the whole cheesecake or individual slices. Wrap tightly in plastic wrap and then foil, and store in the freezer for up to 1 month. Thaw overnight in the fridge before serving.
6. Do I need to use a springform pan?
It’s highly recommended for easy removal and clean slices, but not essential. A regular pie dish works just fine too—you’ll just need to serve it directly from the dish.
7. Can I use store-bought whipped topping instead of whipping cream?
You sure can. If you’re short on time, whipped topping (like Cool Whip) is a great substitute and still gives you a light, fluffy filling.
FINAL THOUGHTS: THE NO-BAKE DESSERT YOU’LL MAKE AGAIN AND AGAIN
There’s something really special about this No-Bake Biscoff Cookie Butter Cheesecake. It’s one of those desserts that feels fancy enough for a celebration but is simple enough to whip up just because. Every bite is rich, creamy, and full of that warm, spiced cookie flavor that makes Biscoff such a fan favorite.
The no-bake factor is a total game-changer, especially during those warm months when the last thing you want to do is turn on the oven. And even if you’re new to cheesecake or baking in general, this recipe is incredibly forgiving and beginner-friendly.
I love that you can dress it up with different toppings or keep it simple, depending on your style or occasion. Whether you go with whipped cream and crushed cookies, a drizzle of caramel, or something totally unique—this cheesecake always delivers.
So go ahead and give it a try. I’d love to hear how it turns out for you. Did you stick with the classic version, or did you add your own twist? Share your experience in the comments, and don’t forget to pass the recipe along to your fellow Biscoff lovers.
You might want to go ahead and bookmark this one—you’ll be coming back to it again and again.
Ready to dig in?
Print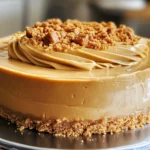
BISCOFF COOKIE BUTTER CHEESECAKE
- Total Time: 5 hours
Description
A creamy, dreamy no-bake cheesecake infused with the rich flavor of Biscoff cookie butter. With a buttery cookie crust and a luscious whipped filling, this dessert is perfect for any Biscoff lover. Serve it chilled for an indulgent, crowd-pleasing treat!
Ingredients
For the Crust:
- 2 cups crushed Biscoff cookies (about 20 cookies)
- 1/4 cup granulated sugar
- 6 tbsp unsalted butter, melted
For the Filling:
- 16 oz cream cheese, softened
- 1/2 cup Biscoff cookie butter (plus extra for topping)
- 1/2 cup powdered sugar
- 1 tsp vanilla extract
- 1 cup heavy whipping cream, whipped to stiff peaks
Optional Toppings:
- Whipped cream
- Crushed Biscoff cookies
- Drizzled Biscoff cookie butter
- Caramel sauce
Instructions
1️⃣ Make the Crust:
In a mixing bowl, combine crushed Biscoff cookies, granulated sugar, and melted butter. Stir until the mixture resembles wet sand. Press the mixture firmly into the bottom of a 9-inch springform pan or pie dish. Use the back of a spoon or glass to pack it evenly. Chill in the fridge while preparing the filling.
2️⃣ Prepare the Filling:
In a large bowl, beat the cream cheese, Biscoff cookie butter, powdered sugar, and vanilla extract until smooth. Gently fold in the whipped cream until the mixture is light and fluffy.
3️⃣ Assemble the Cheesecake:
Pour the filling over the chilled crust and spread it evenly. Smooth the top with a spatula and tap the pan gently to remove air bubbles.
4️⃣ Chill:
Cover with plastic wrap and refrigerate for 4–6 hours until fully set. For a quicker set, freeze for 2–3 hours.
5️⃣ Add Toppings:
Once set, drizzle with extra Biscoff cookie butter. Garnish with whipped cream, crushed cookies, or caramel sauce if desired.
6️⃣ Serve:
Carefully remove from the pan. Slice and serve chilled for the ultimate creamy indulgence.
Notes
- Crushing Cookies: Use a food processor for a fine crumb or place cookies in a ziplock bag and crush with a rolling pin.
- Whipping Cream Tip: Make sure your cream is cold before whipping—it helps achieve stiff peaks more easily.
- Room Temperature Cream Cheese: Let your cream cheese soften at room temperature before mixing to avoid lumps.
- Prep Time: 25 minutes
Nutrition
- Serving Size: 8–10
