

If your family is anything like mine, weeknights can get crazy busy. Between work, school activities, and everything else life throws at us, getting a hearty, delicious dinner on the table sometimes feels like a miracle. That’s exactly why I’m so excited to share this Cheesy Taco Pasta recipe with you today! It’s the perfect combination of taco night and pasta night — and trust me, it’s going to be a total game-changer for your dinner rotation.
This one-pot wonder brings all the bold, zesty taco flavors you love and wraps them up in a cozy, cheesy pasta dish that’s ready in under 30 minutes. It’s the kind of meal you can throw together with pantry staples, and it’s guaranteed to make everyone at the table ask for seconds. Plus, cleanup is a breeze since everything cooks in just one skillet!
Now, let’s dive into how easy it is to whip up this family favorite!
HOW TO MAKE CHEESY TACO PASTA
STEP 1: COOK THE BEEF
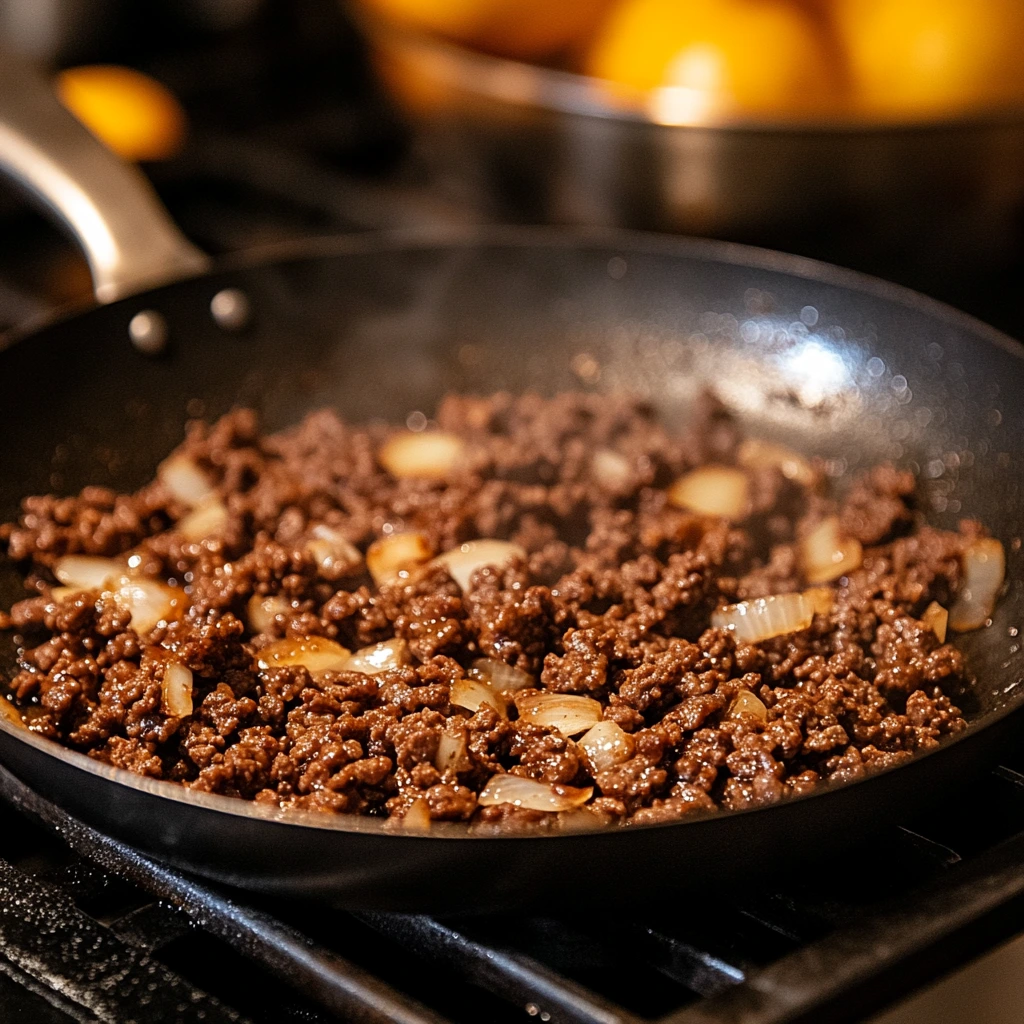
Start by grabbing your favorite large skillet or Dutch oven — something big enough to hold everything because, yes, we’re making the whole meal in one pot. Heat it over medium heat and add in your ground beef. As it cooks, break it apart with a wooden spoon or spatula, making sure it browns evenly.
Once the beef is mostly cooked through (it should no longer be pink), it’s time to build those savory layers of flavor. Toss in your finely diced onion and minced garlic. Give everything a good stir and cook it all together for another 3–5 minutes. You’ll know it’s ready when the onions turn soft and the kitchen starts to smell absolutely irresistible.
STEP 2: ADD SEASONINGS AND LIQUIDS
Now that your beef, onion, and garlic are perfectly cooked, it’s time to crank up the flavor! Sprinkle a packet of taco seasoning over the beef mixture. Stir it in really well — you want every bite to have that signature taco taste.
Next, pour in your can of diced tomatoes (juice and all), your broth (either beef or chicken works great), and your favorite salsa. Whether you like it mild, medium, or with a little extra kick, you can totally adjust the heat level depending on your family’s preference.
Finally, stir in your uncooked pasta. I love using small shells because they soak up all that delicious sauce, but penne or elbow macaroni work just as well. Give everything a good stir to make sure the pasta is evenly distributed and nicely coated in the taco goodness.
STEP 3: SIMMER THE PASTA
After you’ve stirred everything together, turn the heat up just enough to bring the mixture to a boil. Once it’s bubbling nicely, lower the heat to a simmer. Cover the skillet with a lid and let the pasta cook for about 12 to 15 minutes.
You’ll want to give it a good stir every few minutes just to make sure the pasta doesn’t stick to the bottom of the skillet. Keep an eye on the liquid, too — it should gradually get absorbed by the pasta, creating that thick, rich sauce we’re after.
The pasta should be tender but not mushy when it’s ready. If it seems like it needs a little more liquid before the pasta is fully cooked, just add a splash of broth or water and keep simmering a few more minutes. Cooking times can vary slightly depending on the type of pasta you use.
STEP 4: MAKE IT CHEESY
Here’s where the magic happens. Once the pasta is tender and most of the liquid has been absorbed, go ahead and remove the skillet from the heat.
Immediately stir in the shredded cheese. I love using sharp cheddar because it melts beautifully and adds the perfect cheesy flavor, but you could also use a Mexican cheese blend if you want a little extra spice and variety.
The cheese will melt right into the sauce, making everything ooey, gooey, and creamy — basically, a dream come true for any pasta lover.
And if you’re in the mood for something even creamier (because why not?), this is the time to stir in about a quarter cup of sour cream. It makes the sauce even richer and gives it that irresistible, silky texture that clings to every bite of pasta.
STEP 5: GARNISH AND SERVE
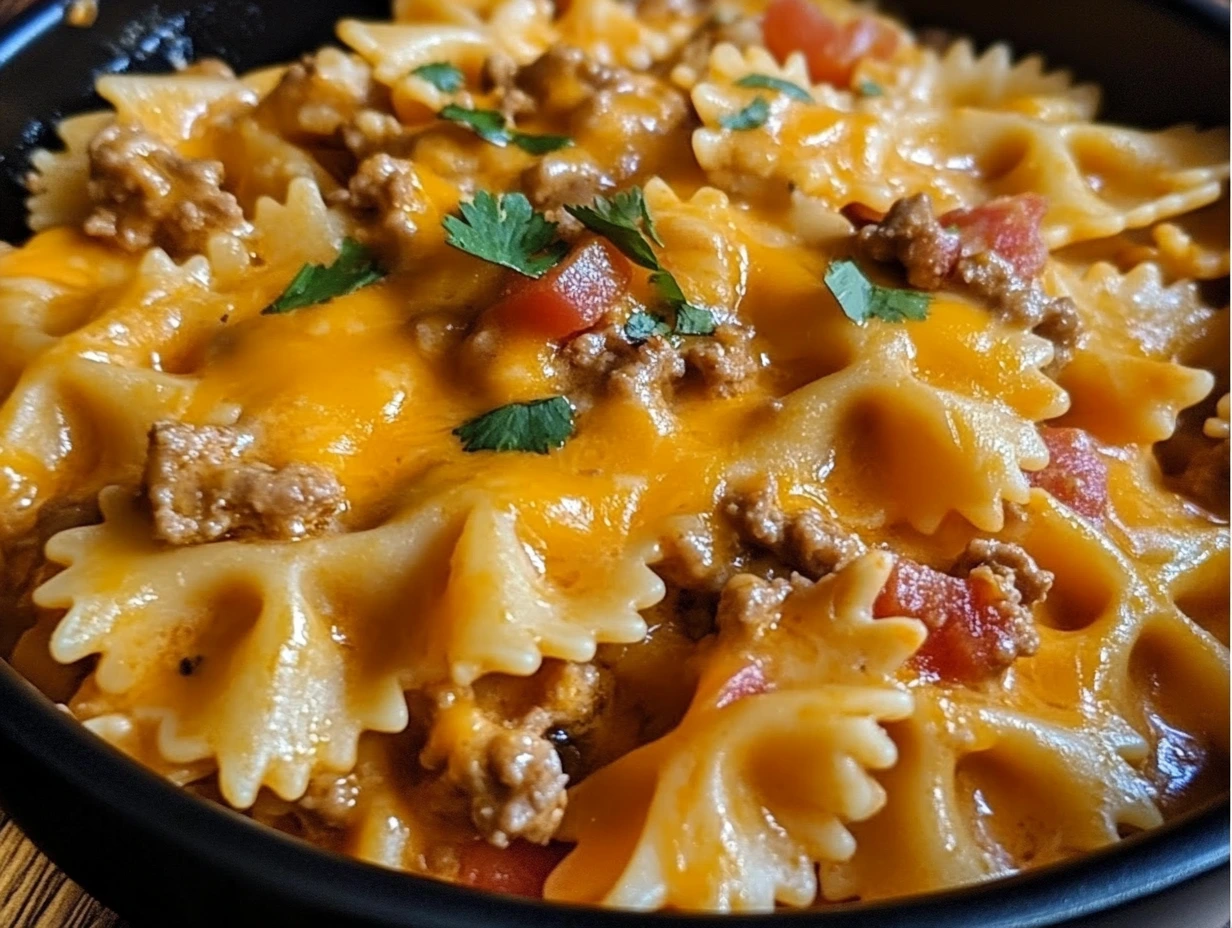
Now that your Cheesy Taco Pasta is perfectly cooked and unbelievably creamy, it’s time for the finishing touches! Scoop generous portions into bowls and let everyone top theirs however they like.
I love sprinkling fresh chopped cilantro over the top for a pop of color and flavor. You can also add diced fresh tomatoes, sliced jalapeños for a little heat, creamy avocado chunks, or even an extra handful of shredded cheese if you’re feeling wild.
This dish is best served hot and fresh while all that melty cheese is at its prime. You’ll want to dive right in, and honestly, I don’t blame you!
TIPS FOR MAKING THE BEST CHEESY TACO PASTA
Use a large skillet: A big skillet or Dutch oven will make it easier to stir everything without making a mess.
Taste the seasoning: Depending on your brand of taco seasoning, you might want to add a pinch more salt or a sprinkle of cumin or chili powder to suit your taste.
Pick your pasta wisely: Smaller pasta shapes like shells or elbows work best because they hold onto all that delicious sauce.
Customize the heat: Use a mild salsa for a kid-friendly version, or spice it up with medium or hot salsa if your family loves a little extra kick.
Don’t skimp on the cheese: The cheese is what really brings this dish together, so make sure you’re generous when you stir it in.

CHEESY TACO PASTA FAQS
I get it — even the easiest recipes sometimes bring up a few questions. Here are some of the most common ones about making Cheesy Taco Pasta, along with a few helpful tips to make sure your dinner turns out perfect every time.
CAN I USE GROUND TURKEY OR CHICKEN INSTEAD OF BEEF?
Absolutely! Ground turkey or chicken makes a great substitute if you’re looking for a lighter option. Just make sure to season it well since these meats are a little milder than beef.
WHAT TYPE OF PASTA WORKS BEST FOR THIS RECIPE?
Small pasta shapes like shells, elbows, or penne work best because they hold onto all that cheesy sauce. Avoid long noodles like spaghetti — they just don’t catch the sauce the same way.
CAN I MAKE THIS DISH SPICIER?
Definitely! If you love a little heat, use a spicy salsa, add some red pepper flakes, or even toss in a chopped jalapeño when you cook the onions and garlic. You can easily customize the spice level to your taste.
HOW DO I STORE LEFTOVERS?
Leftovers should be stored in an airtight container in the refrigerator. They’ll keep for about 3–4 days. When reheating, you might need to add a splash of broth or water to loosen up the sauce, as it tends to thicken up a bit after sitting.
CAN I MAKE THIS AHEAD OF TIME?
You sure can! You can cook the beef mixture ahead of time and store it separately. When you’re ready to eat, just bring everything together with the pasta and liquids, then simmer and finish as directed. It’s a great way to save a few minutes on a busy night.
CAN I FREEZE CHEESY TACO PASTA?
While you can freeze it, the texture of the pasta might get a little softer after thawing and reheating. If you do freeze it, make sure it’s completely cooled and stored in a freezer-safe container. It’ll keep for up to two months.
WHAT TOPPINGS GO BEST WITH THIS DISH?
There’s no wrong answer here! Some of my favorite toppings are diced tomatoes, fresh cilantro, jalapeños, diced avocado, extra shredded cheese, and even a little drizzle of hot sauce for an extra kick.
CONCLUSION: WHY YOU’LL LOVE MAKING CHEESY TACO PASTA AGAIN AND AGAIN
There’s something so satisfying about having a go-to recipe you know is going to hit the spot every single time — and Cheesy Taco Pasta is exactly that kind of dish. It’s quick, it’s easy, and it’s packed with flavor that the whole family will devour without a single complaint.
I love how customizable it is too. You can adjust the spice level, swap out the meat, or mix in extra veggies depending on what you have on hand. Plus, it all comes together in one skillet, making both cooking and cleanup a total breeze.
If you try this recipe, I’d love to hear how it turned out for you! Leave a comment below and let me know what toppings you added or if you made any fun variations. I’m always looking for new ideas to jazz up this family favorite!
Happy cooking — and enjoy every cheesy, taco-filled bite!
Print
CHEESY TACO PASTA
- Total Time: 30 minutes
Description
A quick and hearty one-pot dinner combining all your favorite taco flavors with cheesy pasta comfort! Perfect for busy weeknights and ready in under 30 minutes.
Ingredients
- 1 pound ground beef
- 1 small onion, finely diced
- 2 garlic cloves, minced
- 1 (1 oz) packet taco seasoning (or homemade)
- 1 (14.5 oz) can diced tomatoes (with juices)
- 2 cups beef broth (or chicken broth)
- 1/2 cup salsa (mild, medium, or spicy depending on preference)
- 2 cups uncooked pasta (shells, penne, or elbow macaroni)
- 1 cup shredded cheddar cheese (or Mexican cheese blend)
- 1/4 cup sour cream (optional, for creaminess)
For garnish:
- Fresh cilantro, chopped
- Diced tomatoes, jalapeños, or avocado
- Extra shredded cheese
Instructions
1️⃣ Cook the beef:
Heat a large skillet or Dutch oven over medium heat.
Add the ground beef and cook until browned, breaking it apart with a spoon.
Stir in the diced onion and minced garlic, cooking for another 3–5 minutes until softened.
2️⃣ Add seasonings and liquids:
Sprinkle the taco seasoning over the beef mixture and stir until evenly coated.
Add the diced tomatoes (with juices), beef broth, salsa, and uncooked pasta. Stir to combine well.
3️⃣ Simmer the pasta:
Bring the mixture to a boil, then reduce the heat to low.
Cover the skillet and simmer for 12–15 minutes, stirring occasionally, until the pasta is tender and most of the liquid is absorbed.
4️⃣ Make it cheesy:
Remove the skillet from heat.
Stir in the shredded cheese until melted and the sauce becomes creamy.
For extra creaminess, mix in the sour cream at this stage.
5️⃣ Garnish and serve:
Top with chopped fresh cilantro and your favorite taco toppings like diced tomatoes, jalapeños, or avocado.
Serve immediately while hot and cheesy!
Notes
- You can swap ground beef with ground turkey or chicken for a lighter version.
- Adjust the spice level by using mild or spicy salsa and adding extra jalapeños if you like it hot!
- Leftovers reheat beautifully — just add a splash of broth or milk when reheating to maintain creaminess.
- Prep Time: 10 minutes
- Cook Time: 20 minutes
Nutrition
- Serving Size: 4–6
