

There’s something so comforting about a classic peanut butter cookie. Maybe it’s the warm, nutty aroma that fills the kitchen while they bake, or the way each bite melts in your mouth with that perfect mix of softness and chew. For me, it takes me right back to childhood—standing on a stool in my grandmother’s kitchen, trying to press just the right crisscross pattern with a fork on dough that was almost too tempting not to sneak a bite of.
Whether you’re baking these for an after-school snack, a weekend treat, or just because your sweet tooth won’t leave you alone, this recipe is a total go-to. And the best part? You probably already have everything you need sitting in your pantry. These cookies are quick to throw together, and even quicker to disappear—trust me, they never last long in my house.
Let’s dive into what makes these cookies so special and how you can get that soft, chewy texture that every good peanut butter cookie should have.
WHY YOU’LL LOVE THIS RECIPE
-
Simple pantry ingredients: No fancy or hard-to-find stuff here. Just good, reliable baking basics.
-
Soft and chewy texture: Not too crispy, not too cakey—just that perfect in-between.
-
Customizable: Love a bit of crunch? Use chunky peanut butter. Want to get fancy? Toss in a few chocolate chips or chopped peanuts.
-
Quick and easy prep: From bowl to oven in about 15 minutes.
INGREDIENTS YOU’LL NEED
Before we get into the step-by-step process, here’s a quick peek at what you’ll need:
-
1/2 cup unsalted butter, softened
-
1/2 cup granulated sugar
-
1/2 cup brown sugar, packed
-
1 cup creamy peanut butter (or crunchy, if that’s more your style)
-
1 large egg
-
1 tsp vanilla extract
-
1 1/4 cups all-purpose flour
-
1/2 tsp baking soda
-
1/4 tsp salt
Now that you’ve got your ingredients ready, let’s get started with the dough.
STEP 1: PREHEAT THE OVEN
Go ahead and set your oven to 350°F (175°C) so it’s nice and hot by the time your cookies are ready to bake. I always line my baking sheet with parchment paper—not only does it make cleanup easier, but it also helps keep the cookies from sticking and ensures a golden bottom every time. A silicone baking mat works great too if you’ve got one.
STEP 2: MAKE THE DOUGH
Start by creaming together your softened butter, granulated sugar, and brown sugar in a large mixing bowl. You can use a hand mixer, stand mixer, or a wooden spoon and a bit of elbow grease if you’re feeling old-school. Mix until the texture is light and fluffy, which usually takes about 2–3 minutes.
Next, stir in the peanut butter, egg, and vanilla extract. Keep mixing until everything is well combined and smooth—this is when it really starts to smell amazing.
In a separate bowl, whisk together your flour, baking soda, and salt. Slowly add the dry mixture to the wet ingredients, stirring just until a soft dough forms. Be careful not to overmix here. You want everything to come together, but overworking the dough can make the cookies tough instead of tender.
STEP 3: SHAPE THE COOKIES
Once your dough is ready, scoop out 1-tablespoon-sized balls and roll them between your palms. Place them on your prepared baking sheet, spacing them about 2 inches apart. These cookies do spread a bit in the oven, so give them some room.
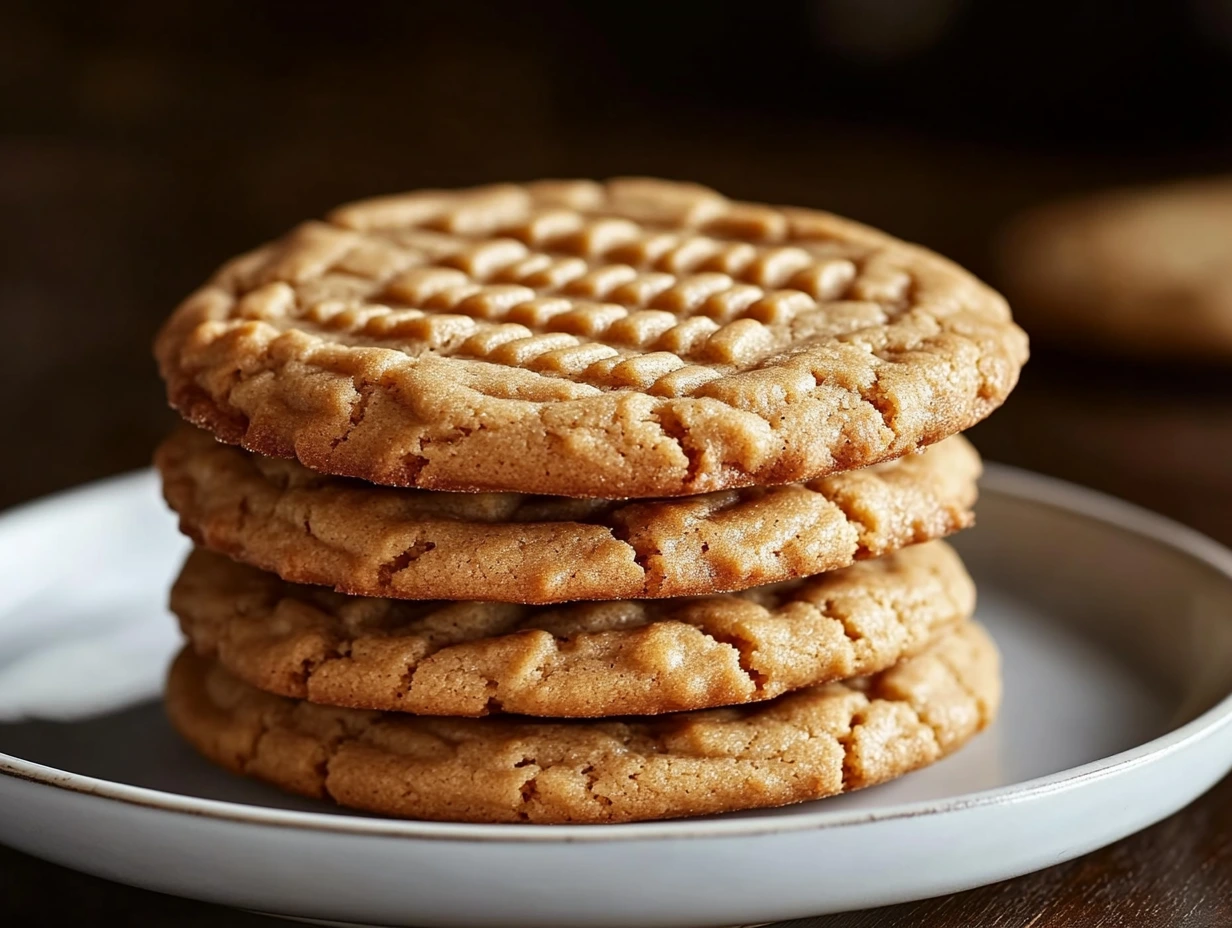
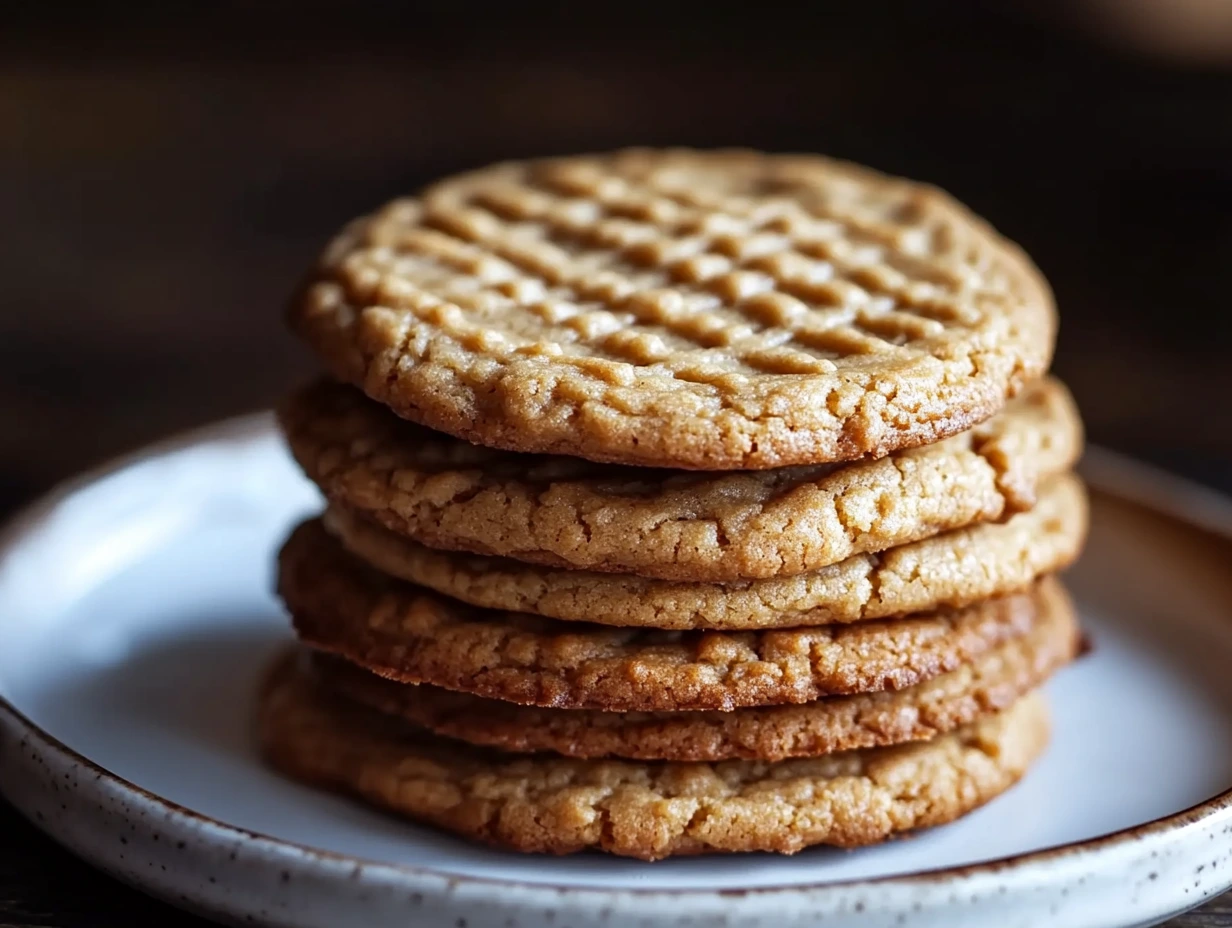
Now for that iconic peanut butter cookie look—use a fork to gently press down on each dough ball in one direction, then again in the opposite direction to make a crisscross pattern. It’s a small step, but it gives that classic, homemade feel that makes these cookies so nostalgic.
STEP 4: BAKE THE COOKIES
Slide that tray into your preheated 350°F (175°C) oven and bake the cookies for 10 to 12 minutes, or until the edges are lightly golden. It’s okay if the centers still look a little soft—actually, that’s what you want. They’ll continue to set up as they cool, giving you that tender, chewy bite we’re going for.
One thing I always tell friends when they make these: don’t overbake. Even just one or two extra minutes can turn your cookies from chewy to crunchy, and while crunchy peanut butter cookies have their place, this recipe really shines when they stay soft in the center.
Once they’re out of the oven, let the cookies cool on the baking sheet for about 5 minutes. This helps them firm up just enough so they won’t fall apart when you transfer them. Then, move them to a wire rack to cool completely. Or, if you’re anything like me, eat one warm and gooey straight off the pan. No shame.
TIPS FOR SUCCESS
If this is your first time making homemade peanut butter cookies (or even your hundredth), these simple tips will help make sure you get bakery-worthy results every single time.
-
Soften your butter the right way: Let it sit out at room temperature for about 30–60 minutes. Avoid microwaving—it can melt unevenly and change the texture of your dough.
-
Use room temperature ingredients: Bringing your egg and butter to room temp helps everything mix more evenly, which leads to a smoother dough and better cookies.
-
Measure your flour correctly: Too much flour can lead to dense cookies. The best way is to spoon the flour into your measuring cup and level it off with a knife—don’t scoop directly from the bag.
-
Don’t skip the crisscross pattern: It’s not just for looks! Pressing the cookies helps them bake evenly and keeps the center from staying too thick.
-
For extra flavor: Add a sprinkle of sea salt on top before baking. That little contrast of salty and sweet? Pure cookie magic.
VARIATIONS TO TRY
Classic peanut butter cookies are perfect on their own, but if you’re in the mood to switch things up, here are a few fun twists:
-
Add chocolate chips: A handful (or two) of semi-sweet or dark chocolate chips stirred into the dough adds richness and that irresistible peanut butter + chocolate combo.
-
Try crunchy peanut butter: Want a bit more texture? Swap in crunchy peanut butter for a little added crunch in every bite.
-
Drizzle with melted chocolate: Once the cookies are cooled, drizzle with melted dark or milk chocolate for an elegant finish.
-
Make them gluten-free: Sub in your favorite 1:1 gluten-free flour blend. This dough is pretty forgiving, and it still bakes up beautifully with the right GF flour.
STORAGE AND FREEZING TIPS
You’ll probably find that these cookies don’t stick around for long, but if you’re planning ahead (or trying to show some self-restraint), here’s how to store and freeze them:
-
To store: Keep the baked cookies in an airtight container at room temperature. They’ll stay fresh for up to 5 days, but they’re at their absolute best in the first 2–3.
-
To freeze the dough: Roll the dough into balls and place them on a baking sheet. Freeze until solid, then transfer to a zip-top freezer bag. You can bake them straight from frozen—just add an extra minute or two to the bake time.
-
To freeze baked cookies: Let them cool completely, then store them in a freezer-safe container or bag for up to 2 months. Thaw at room temperature when you’re ready to enjoy.
FREQUENTLY ASKED QUESTIONS
1. Why do my peanut butter cookies crack on top?
Cracks in peanut butter cookies are actually pretty common and not a bad thing at all. They often happen because of the way the dough sets while baking. As long as they’re not completely falling apart, a few cracks are totally normal and even give the cookies a bit of rustic charm.
2. How do I keep my peanut butter cookies soft after baking?
The key is to avoid overbaking. Pull them out of the oven when the edges are just golden and the centers still look slightly underdone—they’ll finish setting as they cool. Once cooled, store them in an airtight container with a slice of bread or a small piece of apple to help maintain moisture.
3. Can I use natural peanut butter in this recipe?
You can, but it does change the texture a bit. Natural peanut butter tends to be oilier and less stable, which can make your dough more crumbly. If you use it, stir it really well before measuring, and you might want to chill the dough for 30 minutes before baking to help it hold its shape.
4. Can I make these cookies without eggs?
Yes, you can substitute the egg with a flax egg (1 tablespoon ground flaxseed mixed with 3 tablespoons of water, left to sit for 5–10 minutes). This works well as a binder and keeps the cookies together. The texture will be slightly different, but still delicious.
5. What’s the best peanut butter to use?
For classic texture and flavor, regular creamy peanut butter (like Jif or Skippy) works best. It blends smoothly with the other ingredients and gives you that perfectly chewy consistency. Crunchy peanut butter is also a fun alternative if you like a little added texture.
6. Why do we press the cookies with a fork?
Peanut butter cookie dough is denser than most, so pressing them down helps them bake more evenly. The fork marks also give them that classic, nostalgic appearance we all know and love.
7. Can I freeze the dough and bake it later?
Absolutely. Just roll the dough into balls, freeze them on a baking sheet until firm, and then transfer to a freezer-safe bag or container. When you’re ready to bake, you can do so straight from frozen—just add a minute or two to the baking time.
FINAL THOUGHTS: BAKE, SHARE, REPEAT
There’s a reason classic peanut butter cookies never go out of style. They’re simple, satisfying, and filled with that cozy, home-baked flavor that always hits the spot. Whether you’re making them for a family gathering, filling up the cookie jar, or just sneaking a few bites of dough on a quiet afternoon, this recipe is one of those dependable go-to’s that’s worth bookmarking.
What I love most about these cookies is how versatile they are. You can enjoy them just as they are—soft, warm, and melt-in-your-mouth—or dress them up with a chocolate drizzle or a sprinkle of flaky salt. Either way, they always deliver.
If you give this recipe a try, I’d love to hear how it goes! Drop a comment below, share your tips, or let me know if you added your own twist. And if you’re like me and find yourself making a second batch before the first one’s even gone… well, welcome to the club.
Happy baking!
Print
CLASSIC PEANUT BUTTER COOKIES
- Total Time: 27 minutes
Description
A timeless treat with rich, nutty flavor and a soft, chewy center, these cookies are perfect for any occasion. With simple pantry staples and a quick prep, you’ll have warm, homemade cookies in no time.
Ingredients
- 1/2 cup unsalted butter, softened
- 1/2 cup granulated sugar
- 1/2 cup brown sugar, packed
- 1 cup creamy peanut butter (or crunchy, if preferred)
- 1 large egg
- 1 tsp vanilla extract
- 1 1/4 cups all-purpose flour
- 1/2 tsp baking soda
- 1/4 tsp salt
Instructions
1️⃣ Preheat the oven:
Preheat your oven to 350°F (175°C). Line a baking sheet with parchment paper or a silicone baking mat.
2️⃣ Make the dough:
In a large mixing bowl, cream together the softened butter, granulated sugar, and brown sugar until light and fluffy.
Add in the peanut butter, egg, and vanilla extract. Mix until smooth and well combined.
In a separate bowl, whisk together the flour, baking soda, and salt. Gradually add this dry mixture to the wet ingredients, stirring until a soft dough forms.
3️⃣ Shape the cookies:
Roll the dough into 1-tablespoon-sized balls and place them on the prepared baking sheet, about 2 inches apart.
Use a fork to flatten each dough ball, pressing twice to create the classic crisscross pattern.
4️⃣ Bake:
Bake for 10–12 minutes, or until the edges are lightly golden.
Allow the cookies to cool on the baking sheet for 5 minutes before transferring to a wire rack to cool completely.
Notes
- Peanut Butter Type: Creamy peanut butter gives a smoother texture, while crunchy adds a bit of bite. Natural peanut butter may cause the dough to be more crumbly, so mix thoroughly.
- Chilling the Dough (Optional): For thicker cookies, chill the dough for 30 minutes before baking. This prevents spreading and enhances the texture.
- Storage: Store cookies in an airtight container at room temperature for up to 5 days. They also freeze well for up to 2 months.
- Prep Time: 15 minutes
- Cook Time: 12 minutes
Nutrition
- Serving Size: 24 cookies
