

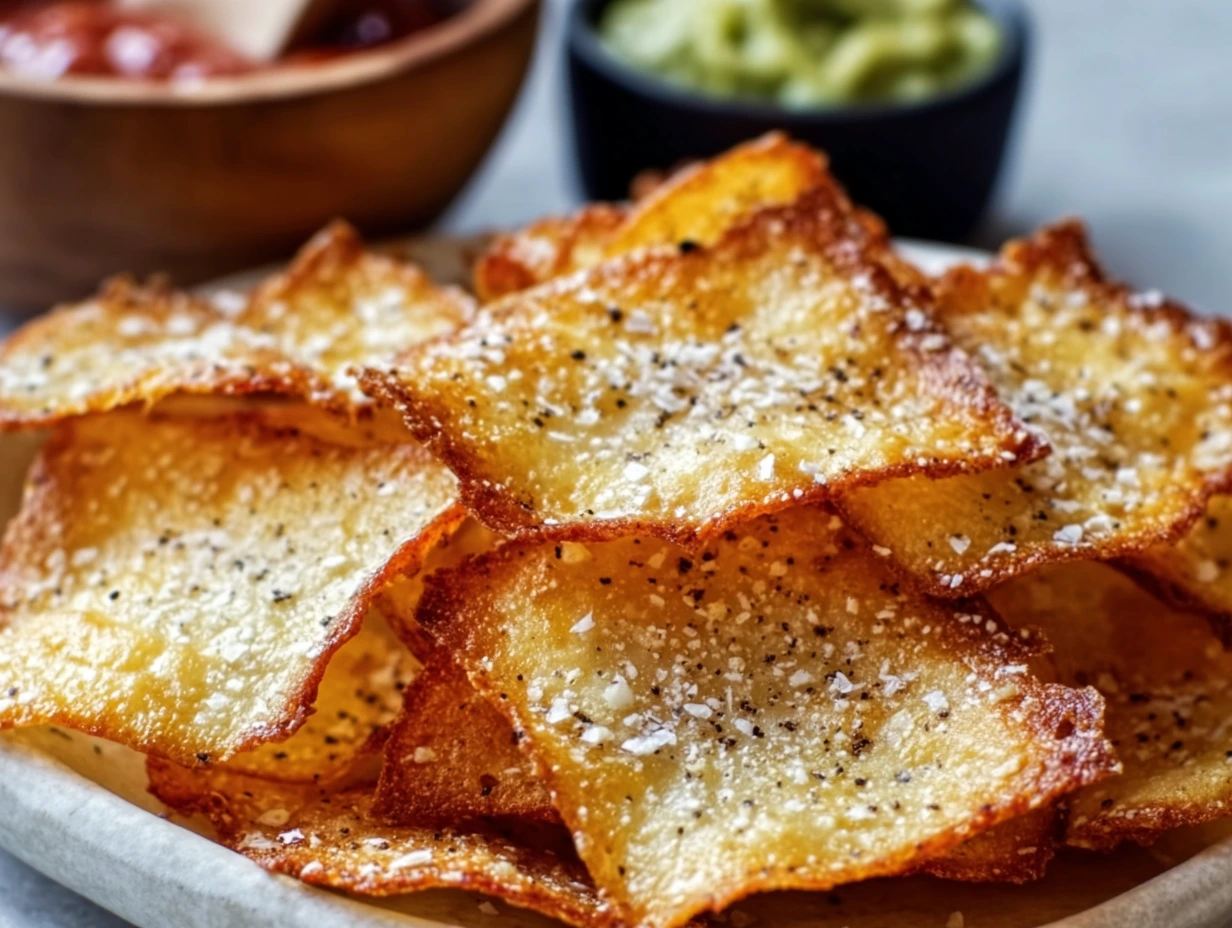
I’ve always been on the hunt for snacks that feel indulgent but won’t derail my healthy-eating intentions—and these cottage cheese chips might just be my latest obsession. A couple of months ago, I was craving something crunchy to dunk into my favorite tzatziki, but I didn’t want the carb overload of regular tortilla chips. In a flash of inspiration (and admittedly, a bit of late-night fridge scouring), I blended up some cottage cheese, added a few pantry spices, and the rest is crispy-snack history. Whether you’re meal-prepping for the week or just need a quick nibble, these chips deliver on that satisfying crunch while sneaking in a hefty dose of protein.
What I love most is how customizable they are. Keep it simple with garlic and onion powder, or ramp up the heat with a pinch of cayenne. Gluten-free friends can swap in almond flour with zero fuss. Plus, at roughly 2–3 inches across, they’re perfectly portioned—no more mindless scooping straight from a giant chip bag!
Below, you’ll find everything you need to whip up your own batch of homemade cottage cheese chips. We’ll start by gathering ingredients and blending the batter; in Part 2, we’ll shape, bake, and explore fun flavor tweaks. Ready? Let’s dive in.
Ingredients
-
For the Chips:
-
2 cups low-fat or full-fat cottage cheese
-
1 large egg
-
¼ cup grated Parmesan cheese (optional, for extra umami)
-
¼ cup all-purpose flour (or almond flour for gluten-free)
-
1 tsp garlic powder
-
1 tsp onion powder
-
½ tsp smoked paprika
-
Salt and freshly ground black pepper, to taste
-
Optional seasonings: chili powder, cayenne pepper, dried herbs (oregano, thyme)
-
-
For Serving:
-
Your favorite dips: salsa, guacamole, tzatziki, ranch, or anything else you love!
-
Step 1: Preheat & Prep the Pan
Before you do anything else, heat your oven to 375°F (190°C). While it warms, line a baking sheet with parchment paper or a silicone mat—this not only prevents sticking but helps the chips crisp evenly. If you skip this step, you’ll regret trying to pry off a stubborn chip later (trust me, I’ve been there).
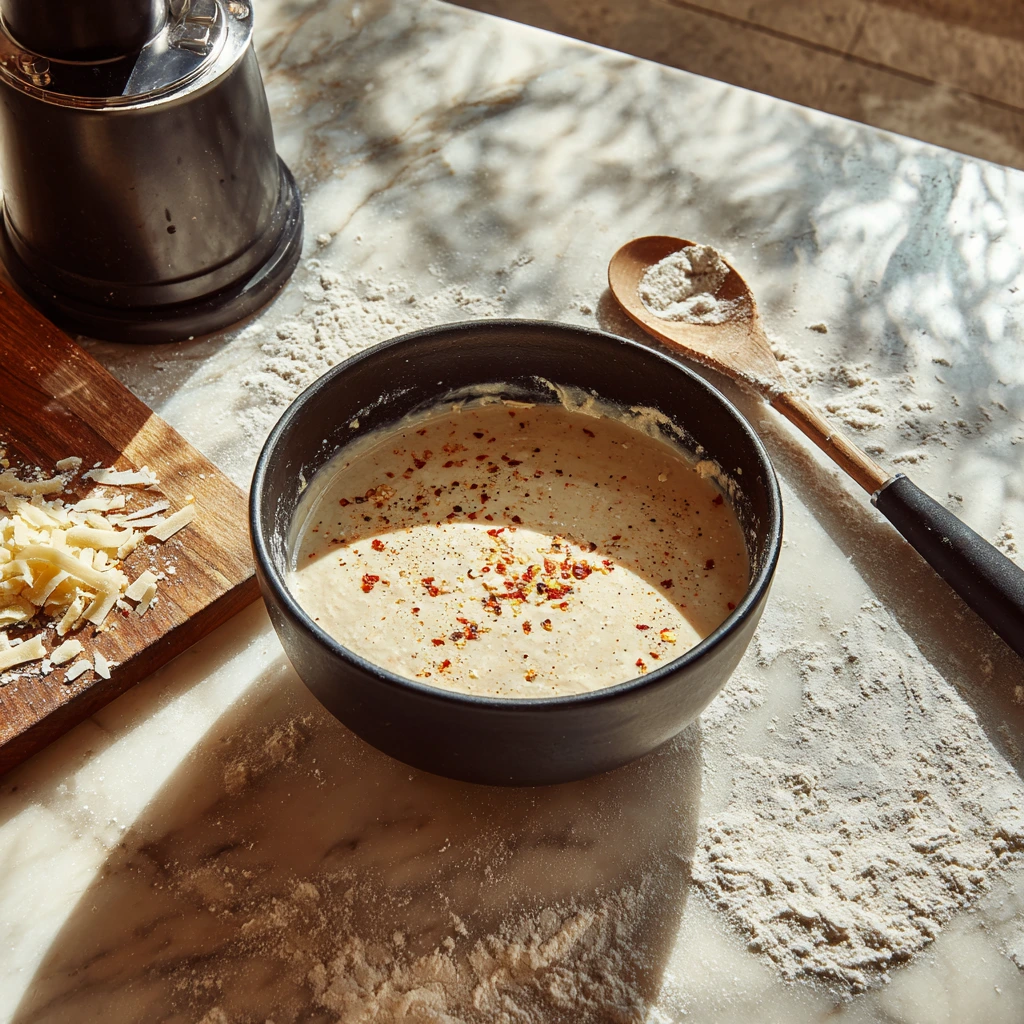
Step 2: Blend the Batter
Grab a blender or food processor and add:
-
Cottage cheese
-
Egg
-
Parmesan (if using)
-
Flour of your choice
-
Garlic powder
-
Onion powder
-
Smoked paprika
-
A pinch of salt and a few grinds of black pepper
Blend until completely smooth and thick—think pancake batter that’s just a tad stiffer. If the mix seems too runny, add an extra tablespoon of flour; if it’s too thick to scoop, a splash of milk will bring it back to life. The goal is a spreadable consistency that will hold its shape when scooped.
Baker’s Tip: For an ultra-fine texture, give your cottage cheese a quick pulse before adding the other ingredients. This makes the chips silkier and helps them crisp up uniformly.
Step 3: Portion & Shape
Working quickly, use a tablespoon to dollop mounds of batter onto your prepared sheet, spacing each about 1–2 inches apart. Using the back of your spoon (or an offset spatula), gently spread each mound into a round roughly 2–3 inches in diameter. Here’s where you decide how thin you want these babies—thinner equals crunchier, but they’ll bake faster, so keep an eye on them.
Step 4: Bake to Crispy
-
First Bake:
Slide the baking sheet onto the middle rack and bake for 12–15 minutes. You want the edges to start turning a light golden brown. Keep your oven light on (or use the window if you’re brave); these chips can go from perfectly crisp to slightly overdone in a minute or two. -
Flip ‘Em Over:
Using a thin, flexible spatula, gently lift each chip and flip it. Don’t worry if they feel a bit soft—that’s totally normal. The second side needs just as much love for even crisping. -
Second Bake:
Return the sheet to the oven and bake for another 12–15 minutes, or until the tops are golden and you can see the telltale bubbling and browning. Depending on how thin you spread your rounds, this time can vary—thinner chips might be done closer to 10 minutes on each side, while thicker ones need the full 15.
Behind-the-Scenes Tip: If you’re baking multiple sheets, rotate them top to bottom and front to back halfway through. Home ovens often have hot spots, and this little shuffle helps ensure every chip crisps evenly.
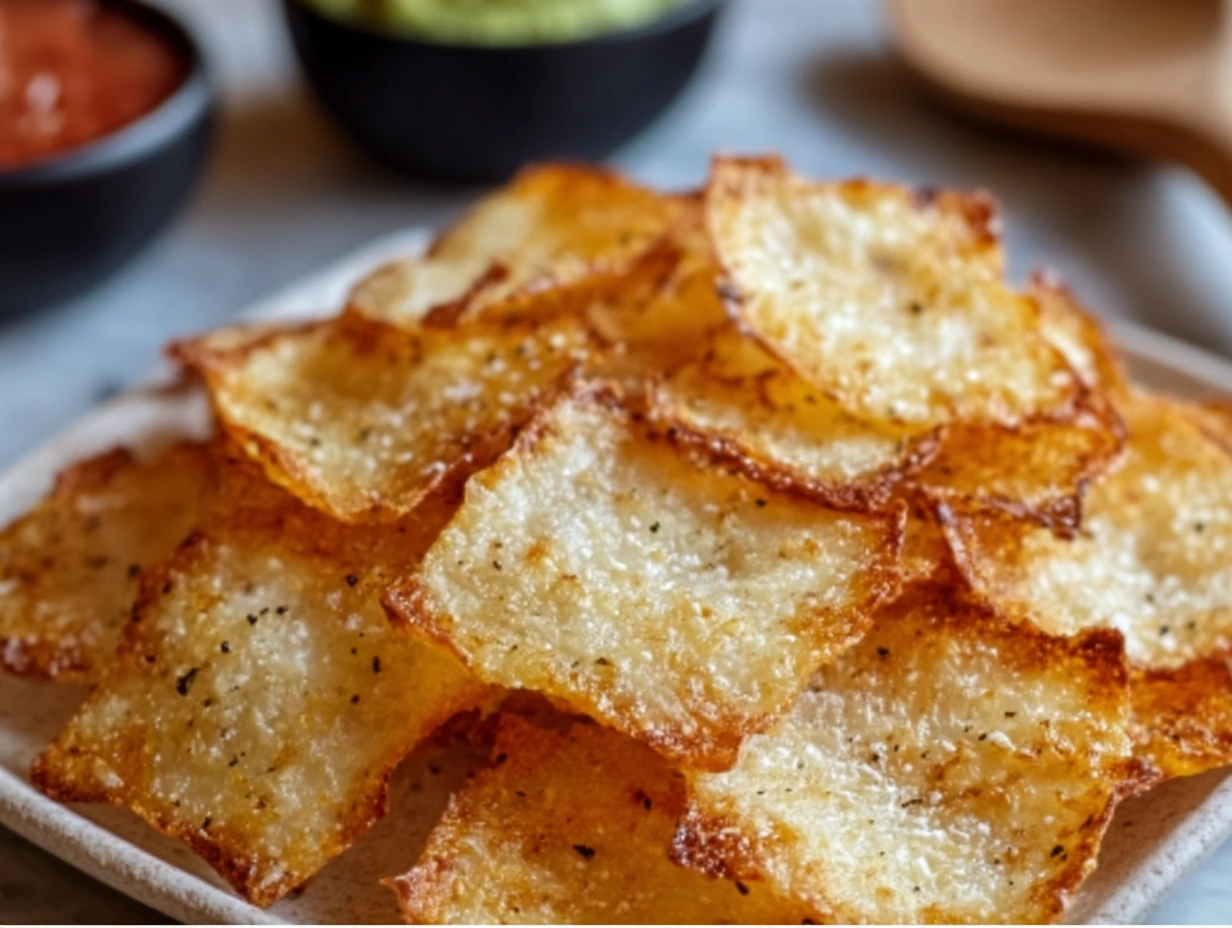
Step 5: Cool & Serve
-
Cool Completely:
Once your chips are uniformly golden, remove the sheet from the oven and let them rest—undisturbed—on the pan for 5–10 minutes. As they cool, they firm up into that satisfying snap. -
Transfer Carefully:
Use your spatula to nudge them onto a cooling rack or a clean plate. If you try to pile them too soon, they might steam and lose that hard-earned crunch. -
Serve & Store:
Arrange the chips on a serving platter alongside your favorite dips—creamy tzatziki, zesty salsa, or even a whipped feta dip are all stellar partners. If you’ve somehow got leftovers (unlikely, but let’s be optimistic), store them in an airtight container at room temperature for up to 2 days. They’ll stay crisp if sealed well.
Flavor Variations & Expert Tips
-
Spicy Kick: Stir in ¼–½ teaspoon of chili powder or a pinch of cayenne for chips that bring the heat. I like to sprinkle a smidge of extra cayenne on top right before baking for an eye-catching dusting of red.
-
Herb Lover’s Dream: Mix in a teaspoon of dried oregano, thyme, or rosemary to the batter. The herbs infuse during baking, giving your chips a fragrant, almost savory biscuit vibe.
-
Cheesy Upgrade: Swap half of the Parmesan for a sharp cheddar or crumbled blue cheese. The little pockets of melted cheese that bubble up are pure bliss.
-
Everything Bagel Style: After spreading your batter rounds, sprinkle Everything Bagel seasoning on top. Sesame seeds, poppy seeds, garlic, and onion combine for irresistible flavor and crunch.
-
Double-Dip Method: For extra crispiness, let the first side bake a bit longer (up to 18 minutes) before flipping. Just keep an eye on that color!
Pro Tip: If you notice chips are sticking, your batter might be too moist. Next batch, either blend cottage cheese a touch more thoroughly or add an extra teaspoon of flour. Conversely, if the batter feels stiff, whisk in a teaspoon of almond milk or water.
Frequently Asked Questions
1. Can I make these chips dairy-free?
Absolutely! Swap the cottage cheese for a plant-based ricotta alternative (available at many health food stores), and use a dairy-free Parmesan-style sprinkle. You might need to add an extra tablespoon of flour for structure, but the method remains the same.
2. What’s the best flour substitute for a gluten-free version?
Almond flour is your go-to here—it bakes up light and nutty, and crisps beautifully. If you prefer a more neutral taste, try a cup-for-cup gluten-free flour blend. Just be mindful: blends that contain xanthan gum may yield a firmer chip, so adjust liquid sparingly.
3. How thin should I spread the batter?
Aim for rounds that are roughly 1/8 inch thick (about the thickness of a standard potato chip). Thinner chips (closer to 1/16 inch) will bake faster and turn extra-crisp, but they’re more prone to over-browning. Thicker chips hold up better for scooping but can feel slightly cakier—so find your happy medium by experimenting on a small test batch.
4. My chips stick to the pan—what went wrong?
Sticking usually means the batter was too moist or the pan wasn’t lined properly. Make sure your parchment paper or silicone mat covers every inch of the baking surface. If moisture is the culprit, next time blend the cottage cheese a bit longer or stir in an extra teaspoon of flour until the mix holds shape more firmly.
5. Can I prepare the batter ahead of time?
Yes, you can blend the batter and store it, covered, in the fridge for up to 24 hours. When you’re ready to bake, give it a quick stir to recombine any separated liquid, then proceed with portioning and baking. The flavors actually deepen a little overnight, which is a nice bonus.
6. What dips pair best with these chips?
The mild, tangy flavor of cottage cheese chips makes them incredibly versatile. My top picks:
-
Tzatziki – cool and herby, especially with a squeeze of lemon.
-
Salsa Verde – bright, zesty, and a perfect contrast to the savory chip.
-
Avocado Mash – simply smashed avocado with lime, salt, and cilantro.
-
Spicy Black Bean Dip – for a heartier, protein-packed snack.
Conclusion
And there you have it—a crunchy, protein-rich snack that’s as fun to make as it is to eat. These cottage cheese chips strike the perfect balance between healthy and indulgent: they satisfy that unmistakable chip craving while keeping carbs in check and protein on point.
Whether you’re hosting a movie night, packing school lunches, or just need a guilt-free pick-me-up, these chips have got your back. Experiment with the seasoning blends, try different flours, and don’t be afraid to get creative with your dips. The beauty of this recipe is its flexibility—there’s room to play, adapt, and make it truly your own.
If you give these chips a whirl, I’d love to hear how they turned out! Drop a comment below with your favorite flavor tweak or the dip combination that stole the show. Happy baking, and here’s to crunchy snacking without compromise!
Print
Cottage Cheese Chips
- Total Time: 35 minutes
Description
A crispy, protein-packed snack that’s easy to whip up and endlessly customizable. These cottage cheese chips are a low-carb alternative to traditional chips, perfect for dipping or enjoying on their own.
Ingredients
For the Chips:
- 2 cups low-fat or full-fat cottage cheese
- 1 large egg
- ¼ cup grated Parmesan cheese (optional, for extra flavor)
- ¼ cup all-purpose flour (or almond flour for a gluten-free option)
- 1 tsp garlic powder
- 1 tsp onion powder
- ½ tsp smoked paprika
- Salt and freshly ground black pepper, to taste
- Optional seasonings: chili powder, cayenne pepper, dried herbs (e.g., oregano, thyme)
For Serving:
- Your favorite dips (e.g., salsa, guacamole, tzatziki, ranch)
Instructions
1️⃣ Preheat & Prep:
Preheat your oven to 375°F (190°C). Line a baking sheet with parchment paper or a silicone baking mat.
2️⃣ Blend the Batter:
In a blender or food processor, combine cottage cheese, egg, Parmesan (if using), flour, garlic powder, onion powder, smoked paprika, salt, and pepper. Blend until the mixture is smooth and thick—similar to pancake batter in consistency.
3️⃣ Portion & Shape:
Spoon out ~1 tablespoon portions of the batter onto the prepared baking sheet, spacing them 1–2 inches apart. Use the back of a spoon or an offset spatula to spread each into a thin, even round (about 2–3 inches in diameter). The thinner they are, the crispier they’ll get.
4️⃣ Bake to Crispy:
Bake for 25–30 minutes, flipping each chip halfway through, until golden brown and crisp. Keep an eye on them in the final minutes to avoid burning.
5️⃣ Cool & Serve:
Remove from oven and let cool completely on the baking sheet; they’ll crisp up further as they cool. Serve with your favorite dips or enjoy plain.
Notes
- Gluten-Free Option: Swap all-purpose flour for almond flour or a gluten-free baking mix.
- Flavor Variations: Stir in ¼ tsp chili powder or cayenne for heat, or sprinkle dried herbs (oregano, thyme, rosemary) on top before baking.
- Storage: Store cooled chips in an airtight container at room temperature for up to 2 days; they may lose some crispness—re-crisp with a quick bake at 350°F (175°C) for 5 minutes.
- Prep Time: 10 minutes
- Cook Time: 25 minutes
Nutrition
- Serving Size: 4
