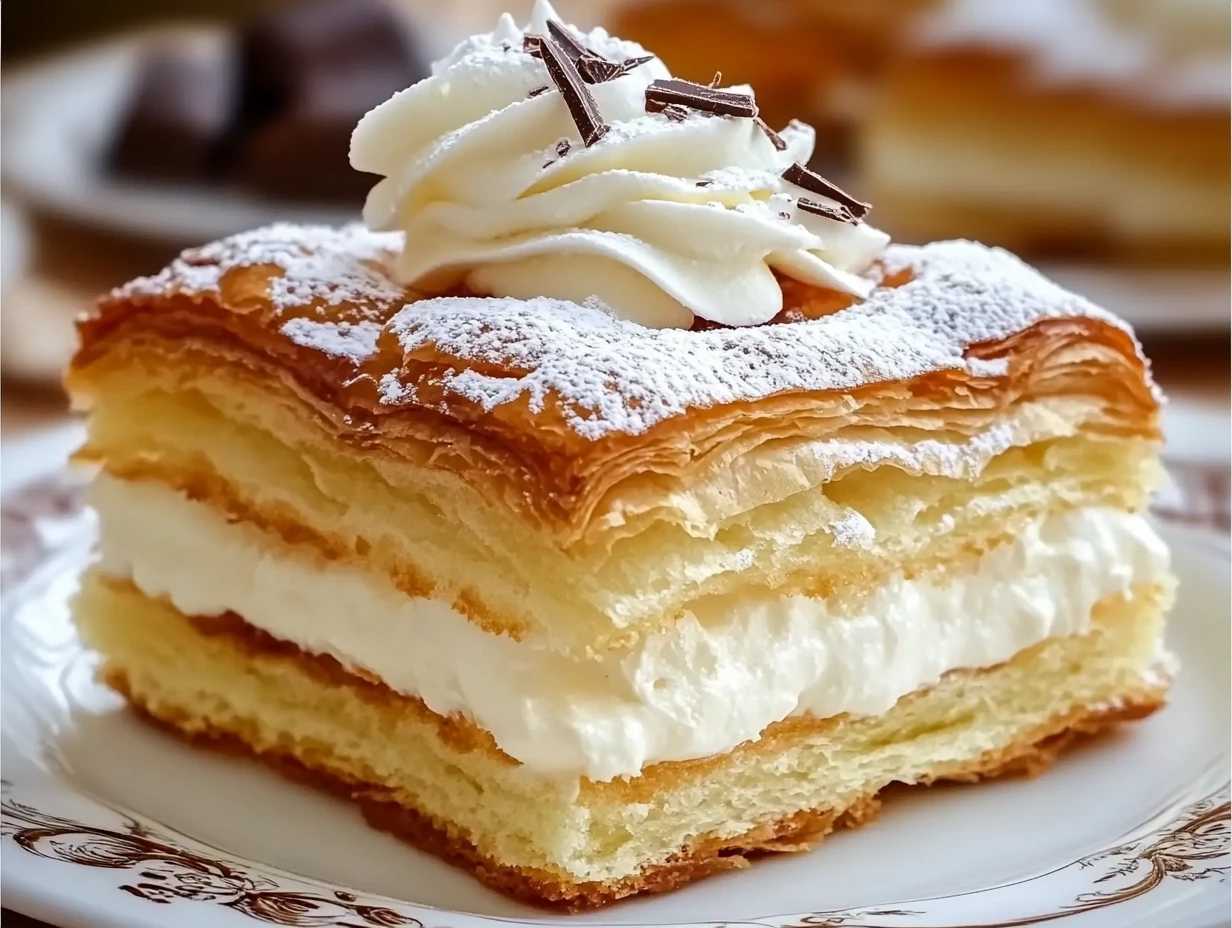
If you’re anything like me, the search for the perfect dessert that looks as good as it tastes is always ongoing. That’s why I absolutely love this Cream Puff Cake—it’s a showstopper, simple to make, and absolutely delicious. Every layer is indulgent, with a crispy base, a creamy filling, and a fluffy topping that ties it all together perfectly.
I first discovered this cake at a family gathering where someone brought it to the dessert table. One bite, and I was hooked. It has all the qualities of a traditional cream puff but in a fun, shareable cake form. It’s the kind of dessert that is sure to impress everyone, from kids to adults, without requiring hours of work in the kitchen. You know, the kind of dessert that you make once and people ask for the recipe for years to come!
Now, let’s break this down step by step. Whether you’re a seasoned baker or someone who just wants to try something new, this recipe will guide you through creating a dessert that’s nothing short of spectacular. And don’t worry, even though it may look fancy, it’s pretty simple to put together. Let’s dive right into the first part of this recipe: making the base.
Step 1: Preheat the Oven and Prepare the Pan
The first step is to get that oven warmed up to 400°F (200°C). You’ll also want to grease a 9×13-inch baking dish to prevent the dough from sticking. A quick spray of non-stick cooking spray will do the trick, or you can use butter if you prefer. This step ensures that once your dough is ready, it’ll bake evenly and slide out of the dish without a fuss.
Step 2: Make the Base
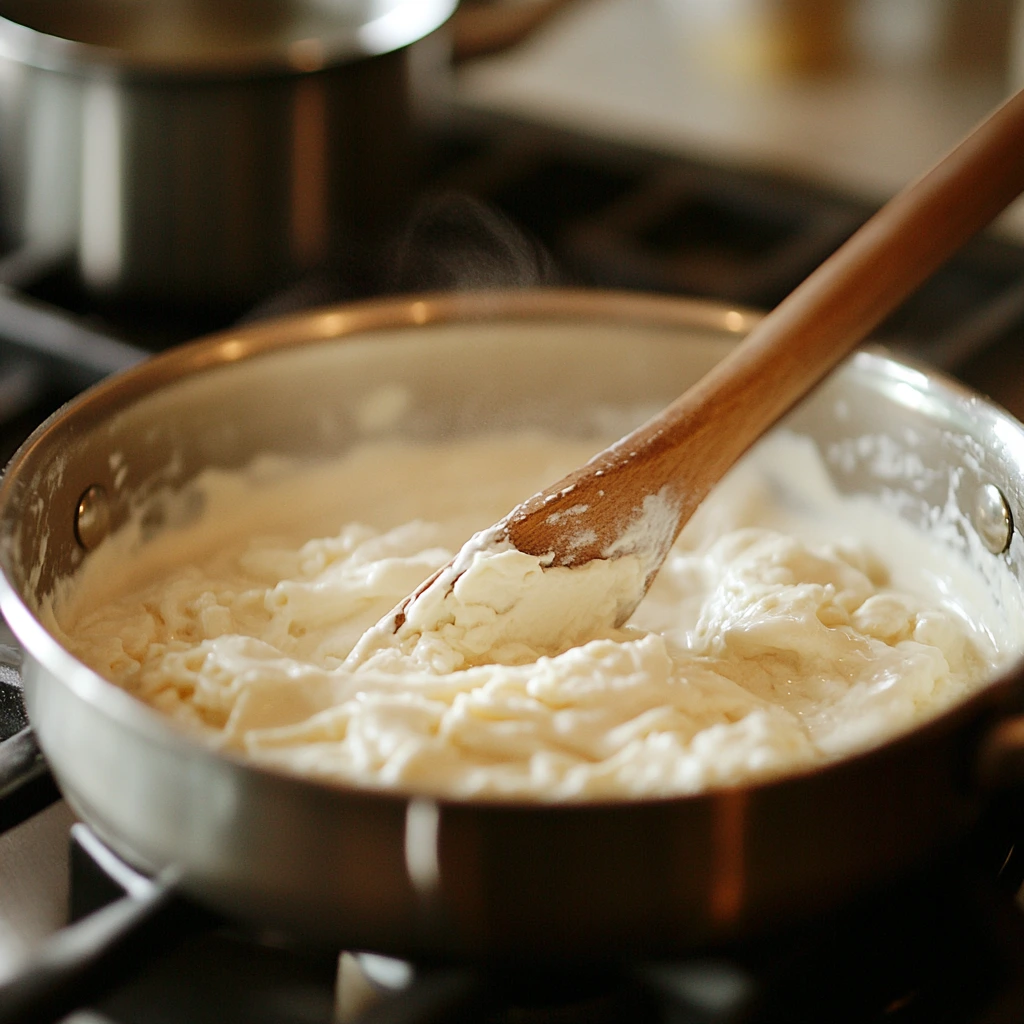
Now comes the fun part! The base of this cream puff cake is essentially a dough that puffs up beautifully when baked, creating the perfect foundation for all the creamy layers that follow. In a medium saucepan, combine 1 cup of water and 1/2 cup of unsalted butter. Bring this mixture to a boil over medium heat. You’ll want to stir it occasionally, but it won’t take long for the butter to melt into the water.
Once the water and butter are boiling, add 1 cup of all-purpose flour all at once. Start stirring immediately and keep stirring until the mixture comes together into a smooth ball and begins pulling away from the sides of the pan. It will look almost like dough rather than a batter, which is exactly what you want! This step might feel a little odd, but trust me, it’s all part of the magic.
Now, take the pan off the heat and let it cool for about 5 minutes. This is important because adding the eggs while the dough is too hot could cause them to scramble. Once it has cooled slightly, beat in the eggs one at a time. I find it easiest to use a hand mixer for this, but you can use a wooden spoon if you don’t mind a little extra muscle work. After each egg, mix well until the dough is smooth and shiny. You’ll see it come together beautifully, and you’ll know you’re on the right track.
At this point, you’re ready to spread this dough into your prepared baking dish. Don’t worry about it looking perfect—just spread it out as evenly as you can. It will puff up during baking, and any imperfections will be covered by the filling and topping. Place the dish in the oven and bake for 25-30 minutes, or until the dough is golden brown and puffed up.
Step 3: Let the Base Cool
After you’ve taken the base out of the oven, let it cool completely before you start adding the filling. This is important because if you try to add the creamy filling while the base is still warm, it could melt and become a mess. I know it’s hard to wait, but trust me, the end result will be so much better if you give it the time it needs to cool down.
Once the base has cooled, it’s time to move on to the filling—this is where things get really exciting! But before we dive into that, let’s take a quick break to appreciate how simple yet amazing this base is. It’s flaky, golden, and forms the perfect texture for holding all the creamy goodness that’s coming next.
Step 4: Prepare the Creamy Filling
The filling for this cake is so easy to make, but it’s so rich and delicious that you’ll want to make extra just to snack on! Start by softening 8 ounces of cream cheese. You can leave it on the counter for about 30 minutes before starting, or you can speed things up by microwaving it in short bursts. The goal here is for the cream cheese to be smooth and spreadable, which will make your filling silky and lump-free.
Once your cream cheese is softened, transfer it to a large mixing bowl and beat it until it’s nice and smooth. It should be light and fluffy—this is key to achieving a great texture for your filling. Next, gradually add in 3 cups of milk, a little at a time, mixing well after each addition. This will help keep the cream cheese from clumping up. It may look a bit runny at first, but don’t worry, that’s all part of the process.
Now for the magic ingredient: two packages of instant vanilla pudding mix (3.4 ounces each). Stir these into the milk and cream cheese mixture. As you mix, you’ll notice the filling starting to thicken up—this is exactly what we want! Continue beating until it’s smooth and creamy, with no lumps. The pudding will help give the filling that perfect creamy consistency without the need for any baking or additional thickening agents.
Once the filling is ready, it’s time to spread it evenly over the cooled base. Don’t be afraid to use an offset spatula or the back of a spoon to make sure the filling is as smooth as possible. This layer will add that perfect creamy texture to balance out the crispy, airy base. Once it’s spread evenly, set it aside while you prepare the topping.
Step 5: Prepare the Topping
The topping of this cake is what really takes it to the next level. I love using freshly whipped cream because it adds a light, airy texture that complements the rich filling perfectly. Start by placing 1 1/2 cups of heavy whipping cream into a chilled bowl. The colder the cream and the bowl, the easier it is to whip up to stiff peaks.
Whip the cream on high speed until it starts to thicken. When you start to see soft peaks form, you can add in 2–3 tablespoons of powdered sugar, depending on how sweet you like your whipped cream. If you want a bit of extra flavor, a teaspoon of vanilla extract will take the whipped cream to the next level and give it a rich, fragrant finish.
Continue whipping until the cream forms stiff peaks—this means that when you lift the beaters out, the cream should stand up firmly and hold its shape. Don’t overwhip it, though, or you’ll end up with butter instead of whipped cream! Once it’s perfect, spread the whipped cream over the pudding layer, making sure to cover it completely. You can use an offset spatula or simply spoon it on and spread it evenly.
If you’re not a fan of homemade whipped cream, don’t stress! You can use an 8-ounce container of whipped topping as a shortcut. It’s just as delicious and saves you a little time in the kitchen.
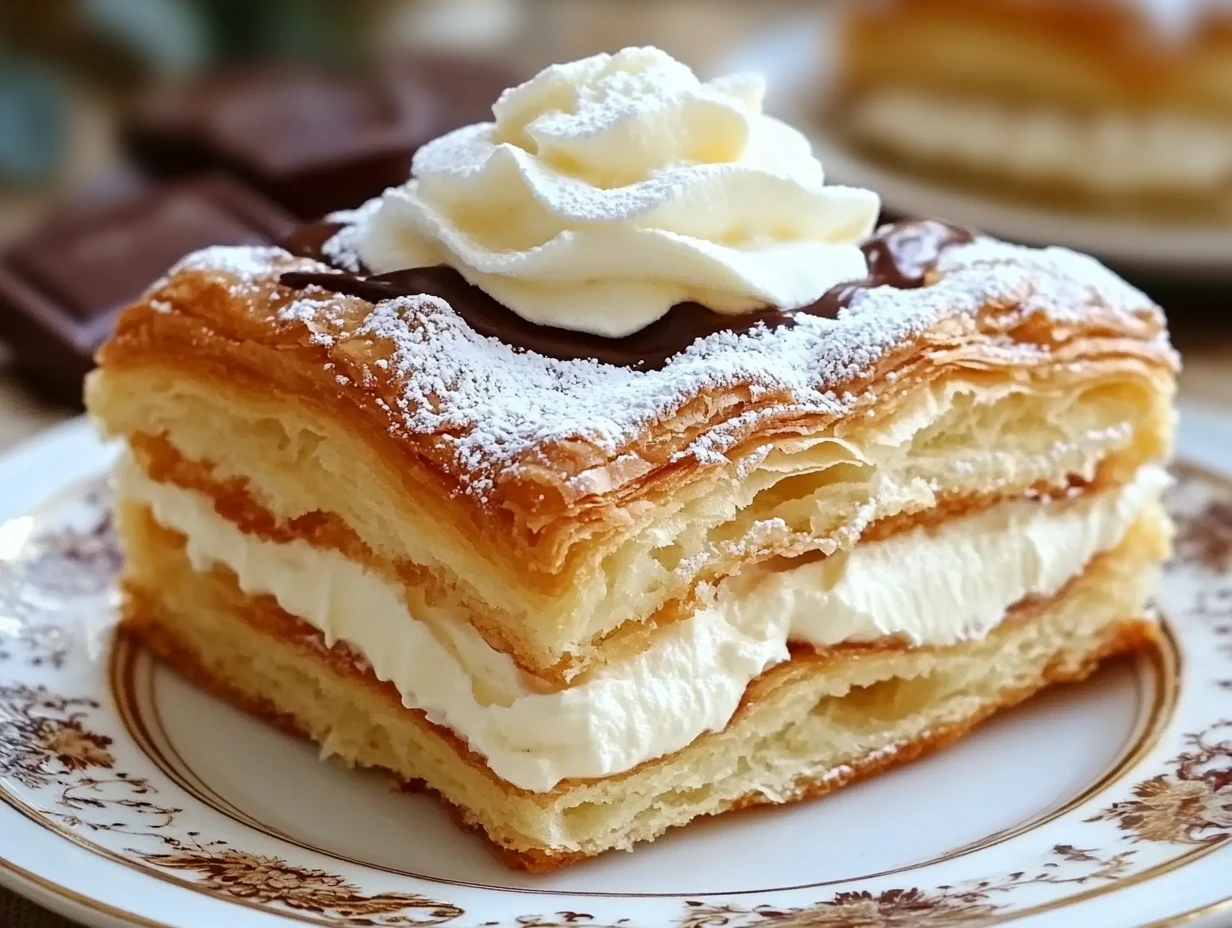
Step 6: Garnish and Chill
Now that your cake is assembled, it’s time to give it a little extra touch of flair. Drizzle some chocolate syrup over the whipped cream for a glossy, decadent finish. Alternatively, you can sprinkle shaved chocolate over the top for a more elegant look that adds a bit of texture. Both options make this dessert even more irresistible—it’s all about what you’re in the mood for!
Once garnished, it’s essential to let the cake chill in the refrigerator for at least 2 hours before serving. This allows the layers to set properly, making it easier to slice and ensuring that all the flavors meld together beautifully. Plus, chilling the cake helps it hold its shape when served, so every bite is as perfect as the last.