

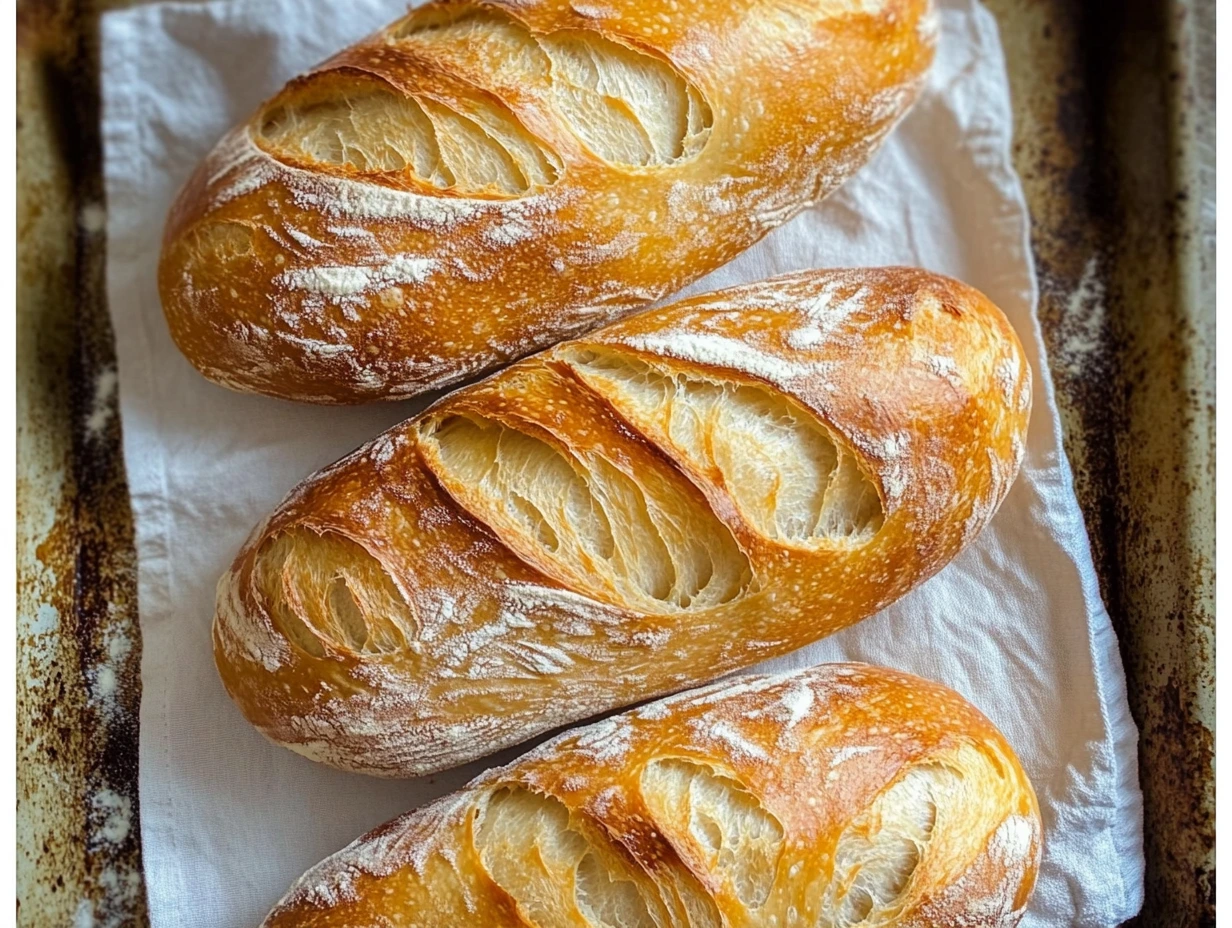
There’s something truly magical about pulling fresh bread from the oven—especially when it’s golden, crusty, and still warm enough to make butter melt the second it touches the surface. These crusty mini baguettes are one of my go-to recipes when I’m craving that fresh bakery vibe at home without needing any fancy equipment or complicated techniques.
I started baking bread during a particularly rainy weekend when going out for groceries just didn’t seem worth it. I had flour, yeast, and a bit of time on my hands, so I gave it a shot. And wow—there’s just nothing like the satisfaction of making your own bread from scratch. Since then, these mini baguettes have become a staple around here. Whether we’re having soup for dinner, building sandwiches for lunch, or putting together a last-minute appetizer spread, they’re the perfect fit every single time.
The best part? You don’t need any special tools, just your hands and a baking sheet. Let’s dive right in!
WHY YOU’LL LOVE THESE MINI BAGUETTES
-
Crusty on the outside, soft on the inside: That classic baguette texture we all love.
-
Simple ingredients: You probably have everything in your pantry already.
-
Versatile uses: Sandwiches, sides, crostini, or just slathered with butter.
-
Beginner-friendly: No sourdough starters, no fancy shaping skills needed.
INGREDIENTS YOU’LL NEED
For the dough:
-
3 cups all-purpose flour (plus extra for dusting)
-
1 cup warm water (about 110°F/43°C)
-
1 packet (2 ¼ tsp) active dry yeast
-
1 tsp sugar
-
1 tsp salt
-
1 tbsp olive oil (optional, for added softness)
For the crust:
-
½ cup water (for steam in the oven)
-
Cornmeal, for sprinkling on the baking sheet
STEP 1: ACTIVATE THE YEAST
This first step is all about waking up your yeast so it’s ready to help your dough rise. In a small bowl, stir together the warm water, sugar, and yeast. Then let it sit for 5 to 10 minutes. You’ll know it’s ready when the top gets frothy and bubbly—kind of like the head on a beer. If nothing happens, your yeast might be expired or the water too hot or too cold, so make sure it’s around 110°F. I always test the water with my finger—it should feel warm but not hot.
STEP 2: MAKE THE DOUGH
Grab a large mixing bowl and whisk together your flour and salt. Once that’s combined, pour in your frothy yeast mixture and add the olive oil if you’re using it. Stir it all together until it forms a rough, shaggy dough. Don’t worry about perfection here—it’s going to come together beautifully once we knead it.
STEP 3: KNEAD THE DOUGH
Now the fun (and slightly messy) part—kneading! Lightly flour your countertop or cutting board and turn the dough out onto it. Knead the dough for about 8 to 10 minutes. You’re aiming for a smooth, elastic ball that springs back when you press it lightly with your finger.
If you’ve got a stand mixer with a dough hook, you can save your arms and let the mixer do the work for about 5 to 7 minutes on low speed. Either way, you’ll end up with a dough that’s smooth and ready for its first rise.
STEP 4: FIRST RISE
Once your dough is ready, it’s time to let it rest and rise. Lightly oil a clean bowl (you can use the same one you mixed in to save dishes), pop the dough inside, and cover it with a damp towel or plastic wrap. Let it sit in a warm, draft-free spot for 1 to 1.5 hours. You’re looking for it to double in size—this is when the yeast really does its magic.
Pro tip: If your kitchen runs cold, turn your oven on for just a couple of minutes to warm up, then switch it off and place your covered bowl inside. It creates a cozy little proofing box that helps speed things along.
STEP 5: SHAPE THE MINI BAGUETTES
Start by gently punching down the dough. This just means pressing your fist into the dough to release some of the air—it’s oddly satisfying. Turn the dough out onto a lightly floured surface and divide it into 4 to 6 equal pieces, depending on how big you want your mini baguettes to be.
Now, shape each piece into a log about 6 to 8 inches long. Taper the ends slightly so you get that classic baguette look. Don’t stress too much about making them perfect—rustic is part of the charm.
Once shaped, transfer the baguettes to a baking sheet that’s been lightly dusted with cornmeal. The cornmeal keeps the bread from sticking and adds just a hint of crunch to the bottom. If you don’t have cornmeal on hand, parchment paper works too, but I definitely recommend giving cornmeal a try at least once—it makes a difference.
STEP 6: SECOND RISE
Cover the shaped baguettes with a clean kitchen towel and let them rise again for about 30 to 45 minutes. They should look puffier and lighter—this second rise helps create a more open crumb inside (that beautiful chewy texture we’re aiming for).
While the dough is rising, go ahead and preheat your oven to 450°F (230°C). You’ll also want to place a shallow metal pan or oven-safe dish on the bottom rack. This is what we’ll use to create steam for that gorgeous crust.
STEP 7: PREHEAT AND SCORE
Once the baguettes have finished their second rise and the oven is preheated, it’s time to score the tops. Use a very sharp knife or a bread lame to make 2 to 3 diagonal cuts across the top of each loaf. These slashes aren’t just decorative—they help the bread expand properly in the oven and give it that signature artisan look.
Don’t be afraid to go about ¼ inch deep with your cuts. It may feel like you’re deflating the dough, but it bounces right back in the oven.
STEP 8: BAKE WITH STEAM
Right before you slide your baking sheet into the oven, pour about ½ cup of water into the hot pan on the bottom rack. Be careful—it’ll sizzle and release a burst of steam. That steam is the secret to getting that shatteringly crisp crust we all love in a baguette.
Now bake the baguettes for 15 to 20 minutes, or until they’re golden brown and sound hollow when tapped on the bottom. The exact time can vary depending on your oven and the size of your loaves, so keep an eye on them in the last few minutes.
And yes, your kitchen will smell incredible right about now. You’re welcome.
STEP 9: COOL AND ENJOY
Once they’re done baking, transfer the baguettes to a wire rack and let them cool completely. I know it’s tempting to slice into one right away, but letting them cool helps finish the cooking process inside and gives you a better texture.
When they’re fully cooled, you can slice them up for sandwiches, toast them with garlic butter, or just tear off a piece and dip it in olive oil with a sprinkle of sea salt. They also freeze beautifully, so don’t hesitate to make a double batch.
TIPS FOR MINI BAGUETTE SUCCESS
-
Use fresh yeast: Old or expired yeast is the number one culprit of flat, dense bread. Always check the date and make sure it foams when activated.
-
Don’t skip the steam: It really does create that crispy crust. If you don’t have a metal pan, toss a few ice cubes onto the oven floor (carefully) for a similar effect.
-
Flour is flexible: All-purpose flour works great, but if you want a slightly chewier bite, try using bread flour instead.
-
Don’t rush the rises: Give your dough the full rising times. Good bread takes a bit of patience, but the results are 100% worth it.
-
Practice makes perfect: Even if your first batch isn’t bakery-beautiful, keep at it. Each time you make these, your shaping and timing will improve.
FREQUENTLY ASKED QUESTIONS
1. Can I use instant yeast instead of active dry yeast?
Yes! You can substitute instant yeast using the same amount (2 ¼ teaspoons). The main difference is that instant yeast doesn’t need to be activated in water. You can skip the frothing step and just mix it right in with your dry ingredients, then add the water.
2. Why didn’t my dough rise?
This is usually due to expired yeast, water that’s too hot (which can kill the yeast), or a cold proofing environment. Make sure your yeast is fresh, your water is warm (not hot), and that your dough is rising somewhere cozy—like an oven that was just slightly warmed up and then turned off.
3. What if I don’t have cornmeal?
No worries! You can use parchment paper or lightly flour the baking sheet instead. Cornmeal just gives the bottoms a slightly crispier texture and helps prevent sticking, but your baguettes will still bake up beautifully without it.
4. Can I freeze these mini baguettes?
Absolutely. Once they’re fully cooled, you can freeze the baguettes whole or sliced. Wrap them tightly in plastic wrap and store in a freezer-safe bag. To reheat, just pop them in the oven at 350°F (175°C) for 10–15 minutes or toast the slices directly.
5. How do I store leftover baguettes?
If you’re eating them within a day or two, store the baguettes in a paper bag at room temperature. Avoid plastic bags, which trap moisture and make the crust soggy. For longer storage, freezing is your best bet.
6. Can I add herbs or cheese to the dough?
Yes! Mix-ins like chopped rosemary, shredded Parmesan, or even roasted garlic can be folded into the dough before the first rise. Just be mindful not to add too much moisture, and keep the pieces small so they don’t affect the texture of the dough.
7. How do I make the crust even crispier?
Bake your baguettes a minute or two longer, and make sure your oven is fully preheated. Also, don’t skip the steam—adding moisture at the beginning of baking is key to that crackly crust.
FINAL THOUGHTS: BREAD WORTH SHARING
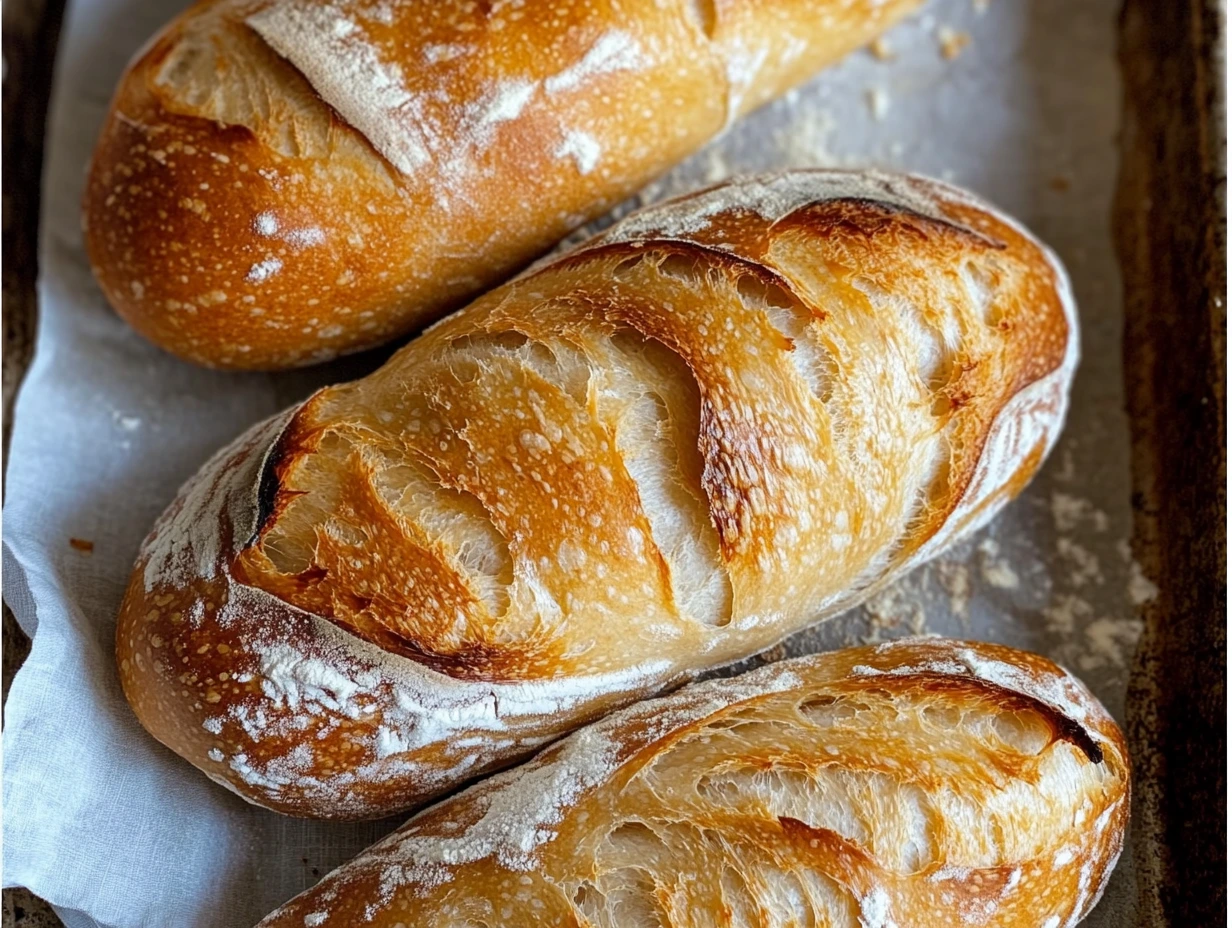
There’s a special kind of joy in baking something from scratch, especially when it turns out as golden, crusty, and downright irresistible as these mini baguettes. They’re the kind of bread that makes even a simple soup dinner feel like a cozy café experience. And once you make them once, I promise you’ll be hooked.
What I love most about this recipe is how approachable it is. No special pans, no overnight fermenting, no sourdough starter to babysit—just simple ingredients, a little time, and a whole lot of flavor. And let’s be honest, when you serve these at the table, people always think you’ve gone full-on artisan baker.
If you try these crusty mini baguettes, I’d love to hear how they turn out. Did you stuff them with turkey and brie? Turn them into bruschetta? Or just eat them warm with salted butter like I always end up doing? Let me know in the comments—and don’t forget to share any creative twists you try!
There’s no better way to bring people together than fresh bread. So grab your flour, get your hands a little messy, and bake something worth sharing.
Print
CRUSTY MINI BAGUETTES
- Total Time: 2 hours 40 minutes
Description
Golden on the outside with a soft, chewy interior, these mini baguettes are perfect for sandwiches, appetizers, or as a simple side to soup or salad. Homemade bread is surprisingly simple and incredibly rewarding.
Ingredients
For the dough:
- 3 cups all-purpose flour (plus extra for dusting)
- 1 cup warm water (about 110°F/43°C)
- 1 packet (2 ¼ tsp) active dry yeast
- 1 tsp sugar
- 1 tsp salt
- 1 tbsp olive oil (optional, for added softness)
For the crust:
- ½ cup water (for steam in the oven)
- Cornmeal, for sprinkling on the baking sheet
Instructions
1️⃣ Activate the yeast:
In a small bowl, mix the warm water, sugar, and yeast. Let sit for 5–10 minutes until frothy. This shows the yeast is alive and ready.
2️⃣ Make the dough:
In a large bowl, whisk together flour and salt. Add the frothy yeast mixture and olive oil (if using). Stir until a rough dough forms.
3️⃣ Knead the dough:
Transfer the dough to a lightly floured surface and knead for 8–10 minutes until smooth and elastic. You can also use a stand mixer with a dough hook on low for 5–7 minutes.
4️⃣ First rise:
Lightly oil a clean bowl, place the dough inside, and cover with a damp towel or plastic wrap. Let rise in a warm spot for 1 to 1.5 hours, or until doubled in size.
5️⃣ Shape the baguettes:
Punch down the dough, turn it out onto a floured surface, and divide into 4–6 equal pieces. Shape each piece into a small baguette, tapering the ends slightly. Place them on a cornmeal-dusted baking sheet.
6️⃣ Second rise:
Cover the shaped baguettes with a kitchen towel and let rise again for 30–45 minutes until puffy.
7️⃣ Preheat and score:
Preheat your oven to 450°F (230°C). Place a shallow pan on the bottom oven rack. Using a sharp knife or bread lame, make 2–3 diagonal cuts on each baguette.
8️⃣ Bake with steam:
Just before baking, pour ½ cup of water into the hot pan in the oven to generate steam. Bake the baguettes for 15–20 minutes or until golden and hollow-sounding when tapped.
9️⃣ Cool and enjoy:
Transfer to a wire rack and let cool completely before slicing. Enjoy them fresh or toasted!
Notes
- Flour matters: All-purpose flour works well, but for even more structure and chew, you can substitute up to half with bread flour.
- Warm environment for rising: If your kitchen is cool, place the dough inside an oven (turned off) with just the light on, or near a warm window to encourage rising.
- Scoring technique: Use a sharp knife, razor blade, or bread lame to score. This controls expansion and gives your baguettes that classic artisan look.
- Prep Time: 20 minutes
- Cook Time: 2 hours 20 minutes
Nutrition
- Serving Size: 4–6 mini baguettes
