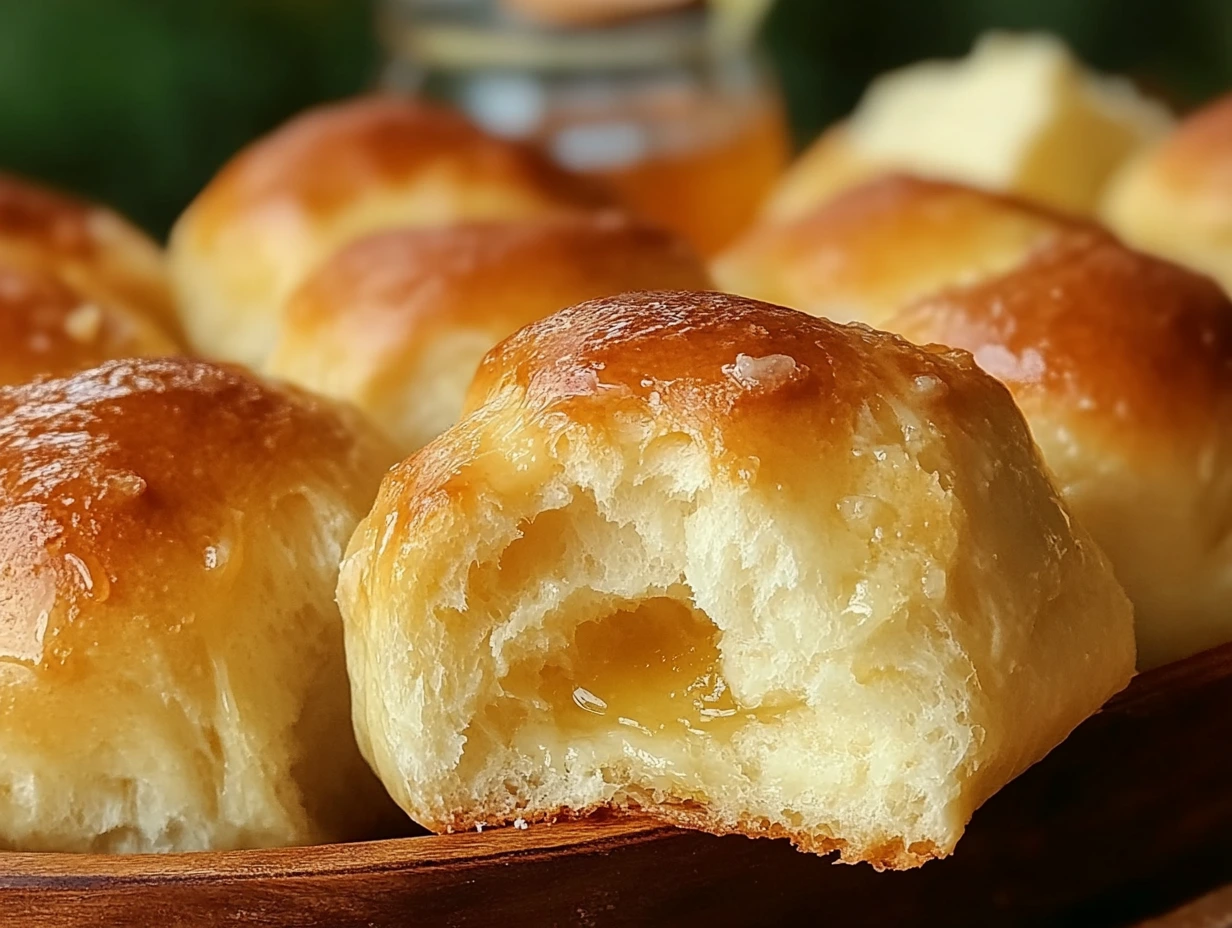
There’s something truly comforting about homemade rolls fresh from the oven — the warm, buttery aroma, the soft, pillowy texture, and that golden crust that just melts in your mouth. If you’ve ever wanted to master the art of making rolls that are both fluffy and tender, you’re in the right place. These buttery homemade rolls are exactly that: easy to make from scratch, irresistibly soft, and perfect alongside any meal or just enjoyed on their own with a swipe of jam or honey.
I remember the first time I made these rolls. I was a little nervous, wondering if the yeast would cooperate or if I’d end up with something more like hockey pucks than soft dinner rolls. But as soon as I pulled them from the oven, that warm buttery scent filled the kitchen, and the light, fluffy texture was just perfect. Since then, they’ve become a staple at family dinners and holiday gatherings — honestly, there’s rarely any left to save for later!
If you’ve got a bit of time and are ready to get your hands a little floury, these rolls are a fantastic place to start your bread-baking journey. Let’s dive into making these soft, golden beauties step by step.
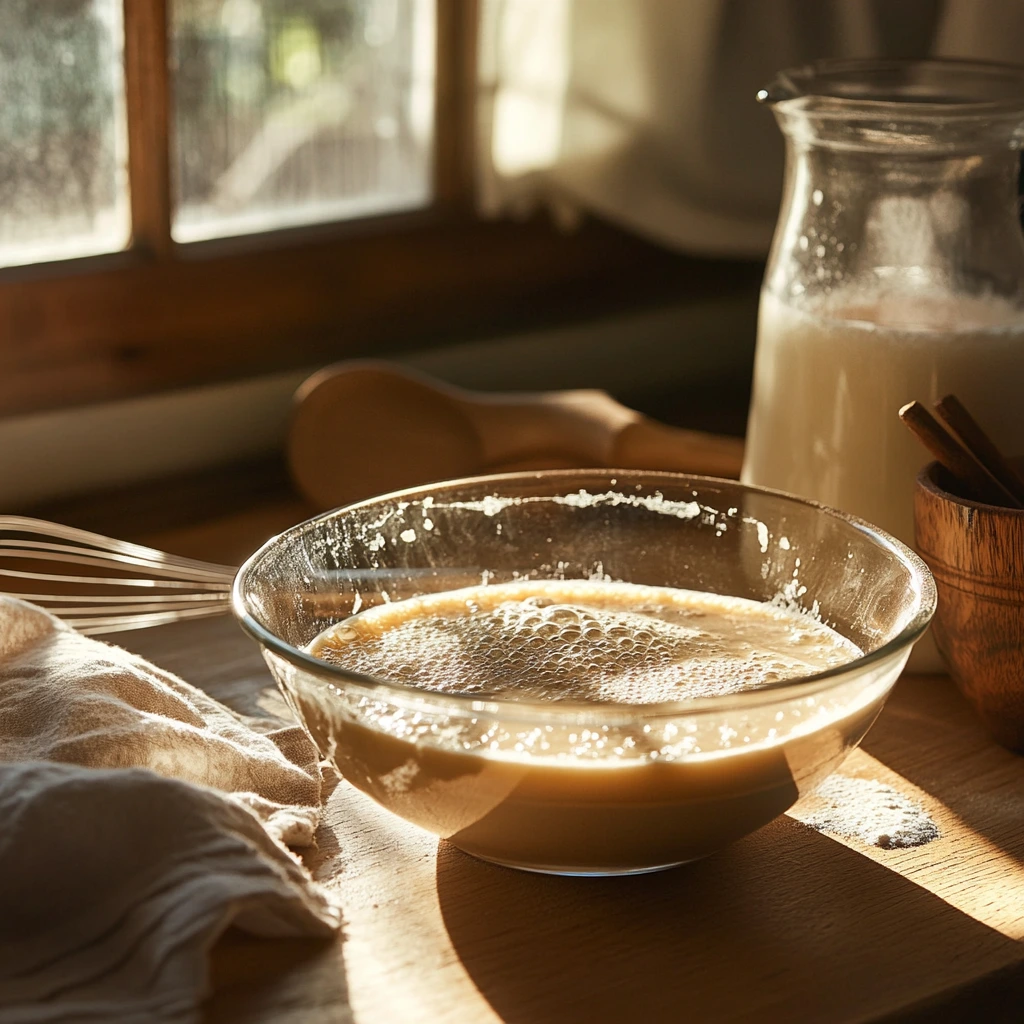
Step 1: Activating the Yeast
The magic starts with the yeast. You’ll need warm whole milk, ideally around 110°F (43°C) — not too hot, or it might kill the yeast, and not too cold, or the yeast won’t activate properly. Pour your warm milk into a bowl, sprinkle in the active dry yeast, and add a touch of sugar to feed it. Let this mixture sit for about 5 to 10 minutes until it becomes frothy and bubbly. This tells you your yeast is alive and ready to work its magic. If you don’t see any bubbles, it might be worth trying again with fresh yeast.
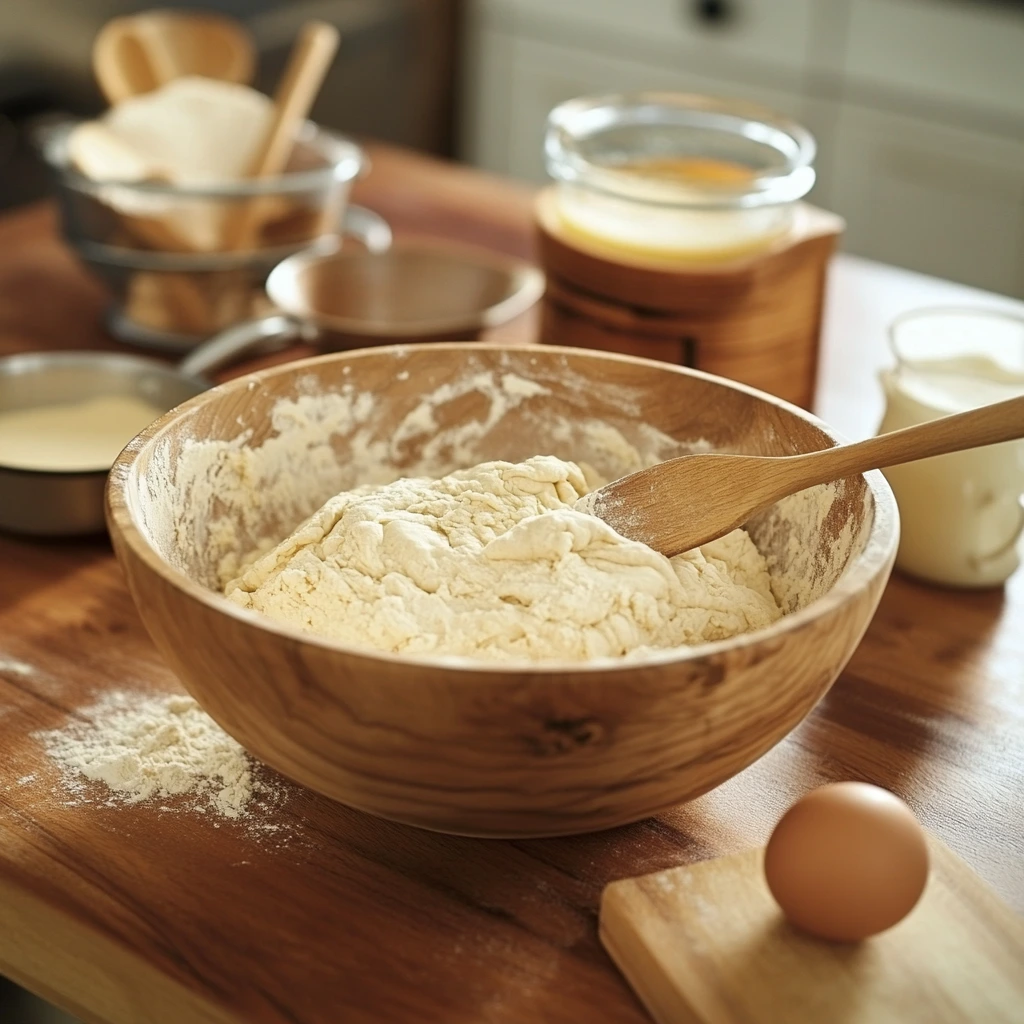
Step 2: Making the Dough
Once your yeast mixture is nice and bubbly, it’s time to add in the richness that will give your rolls that tender crumb. Whisk in a room-temperature egg and some melted unsalted butter — these add flavor and help keep the rolls soft. Then, add your dry ingredients: all-purpose flour and a bit of salt for balance.
At first, you’ll stir everything together until it forms a shaggy dough — that’s when the flour is all moistened but the dough still feels rough and a little sticky. The next step is kneading, which is crucial for developing the gluten that gives the rolls structure and elasticity. Whether you’re using a stand mixer with a dough hook or kneading by hand, aim for about 5 to 7 minutes until the dough feels smooth and elastic. It might feel a bit sticky at first, but with time, it’ll come together beautifully.
This part is honestly one of my favorite moments in bread making — there’s something so satisfying about working the dough until it springs back when you poke it. Plus, it’s a great excuse to get your hands messy and really connect with the process.
Step 3: First Rise
Transfer your dough to a greased bowl—just a light coating of butter or oil will do. Cover it with a clean kitchen towel or plastic wrap to keep the moisture in and set it somewhere warm and draft-free. I like to place mine in the oven with the light on, which creates a cozy little environment. Let the dough rise for about 1 to 1.5 hours until it’s doubled in size.
You’ll know it’s ready when you gently poke it with a finger and the indentation springs back slowly. If it doesn’t bounce back, it might need a little more time. This rise is crucial because it allows the yeast to produce gas, creating those air pockets that make the rolls so fluffy.
Step 4: Shaping and Second Rise
Once your dough has doubled, punch it down gently to release the gas. This step might sound intimidating, but it’s actually just a soft press to deflate the dough evenly.
Now comes the fun part: shaping the rolls. Divide the dough into 12 equal pieces — I usually use a kitchen scale to be precise, but you can eyeball it if you’re feeling casual. Roll each piece into a smooth, tight ball by cupping your hands around it and gently rolling it on a clean surface. This rolling technique helps create that soft, round shape and tight skin on the outside.
Place each ball evenly spaced in a greased 9×13-inch baking pan. I’ve found that leaving a little space between each roll helps them bake evenly and rise into perfect little domes. Once they’re all nestled in the pan, cover them again and let them rise for another 30 to 45 minutes. You want them puffy and slightly touching at the edges — that means they’re ready to bake.
Step 5: Baking to Golden Perfection
Preheat your oven to 375°F (190°C) while your rolls are finishing their second rise. This temperature is just right to cook them through without drying them out.
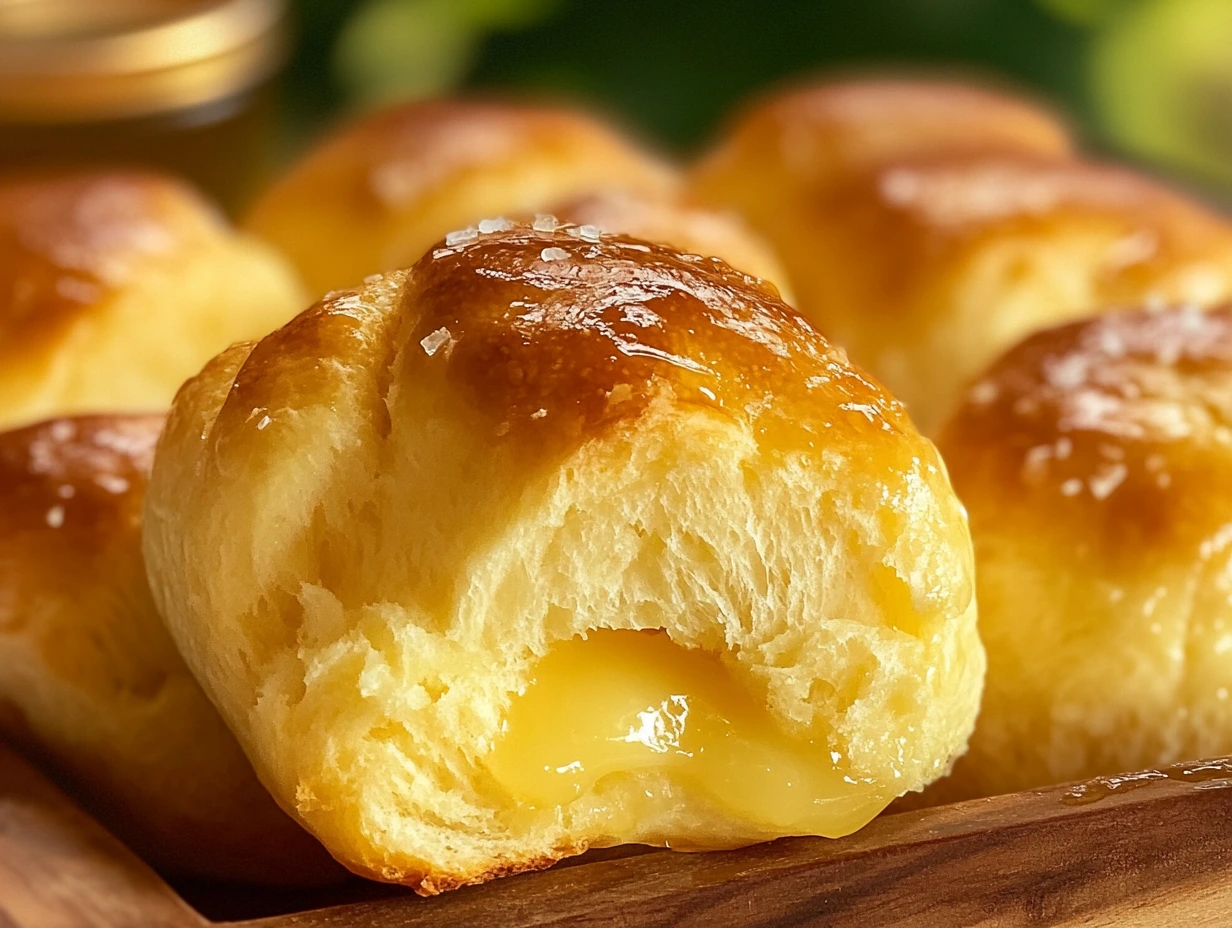
Bake the rolls for about 18 to 22 minutes, keeping an eye on them toward the end. You’re aiming for that gorgeous golden-brown top — the kind that makes you want to pull one apart immediately. If you’re unsure, you can tap the top; it should sound hollow when fully baked.
As soon as the rolls come out of the oven, brush them generously with melted butter. This little step takes the flavor to the next level and keeps the crust soft and shiny. If you like a subtle savory touch, sprinkle a pinch of sea salt flakes on top while the butter is still warm. It adds a nice contrast that I personally love.
Helpful Tips and Variations
-
Make Ahead: You can prepare the dough up to the second rise stage, cover the pan tightly, and refrigerate overnight. The next day, bring it to room temperature and bake as usual. This is great for planning ahead.
-
Flour Swap: All-purpose flour works best for these rolls, but if you want a slightly denser texture, you can experiment with half bread flour.
-
Add-ins: For a twist, try mixing in herbs like rosemary or thyme into the dough before the first rise, or sprinkle shredded cheese on top before baking for savory rolls.
-
Butter Glaze: Don’t skip the melted butter glaze right after baking — it’s the secret to keeping these rolls soft and adding that irresistible richness.