

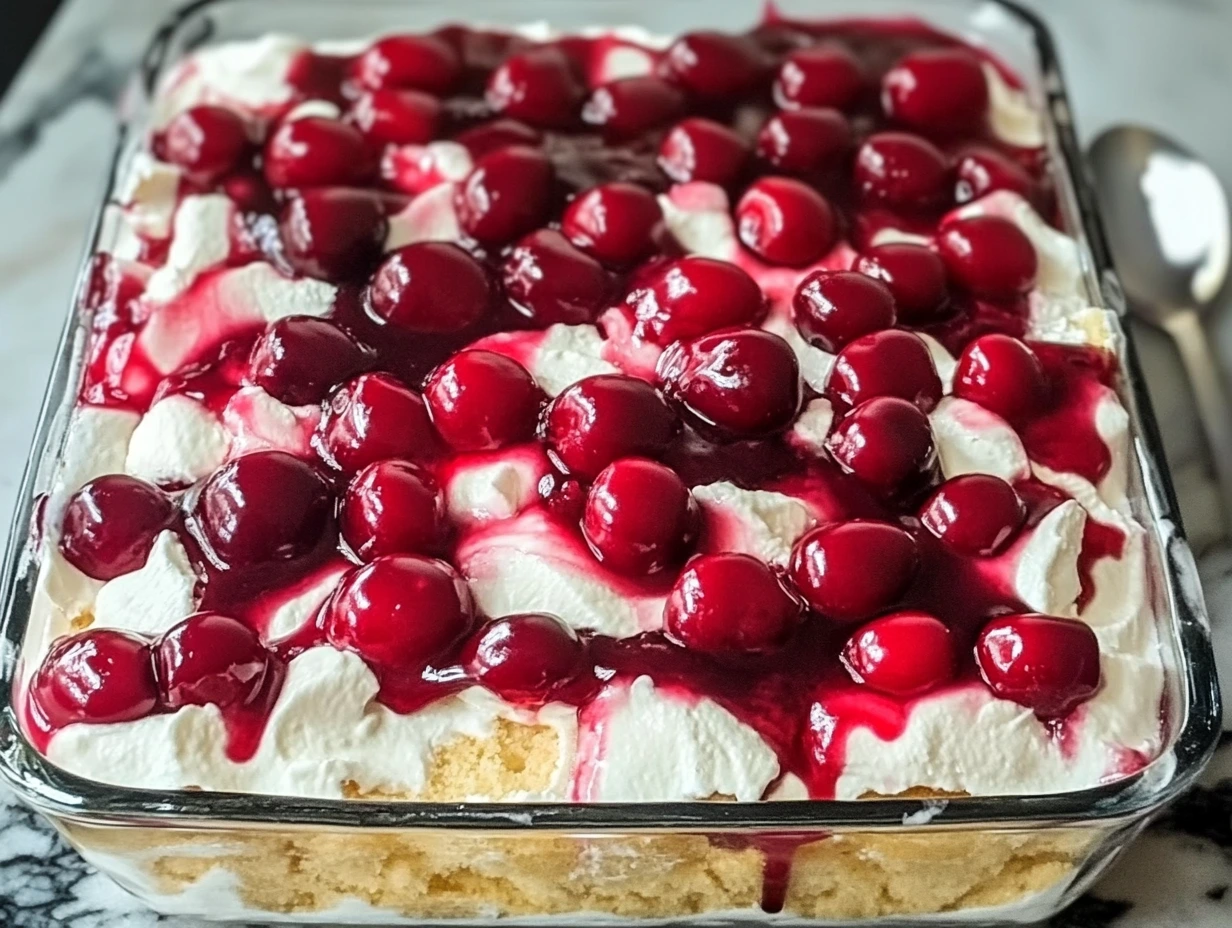
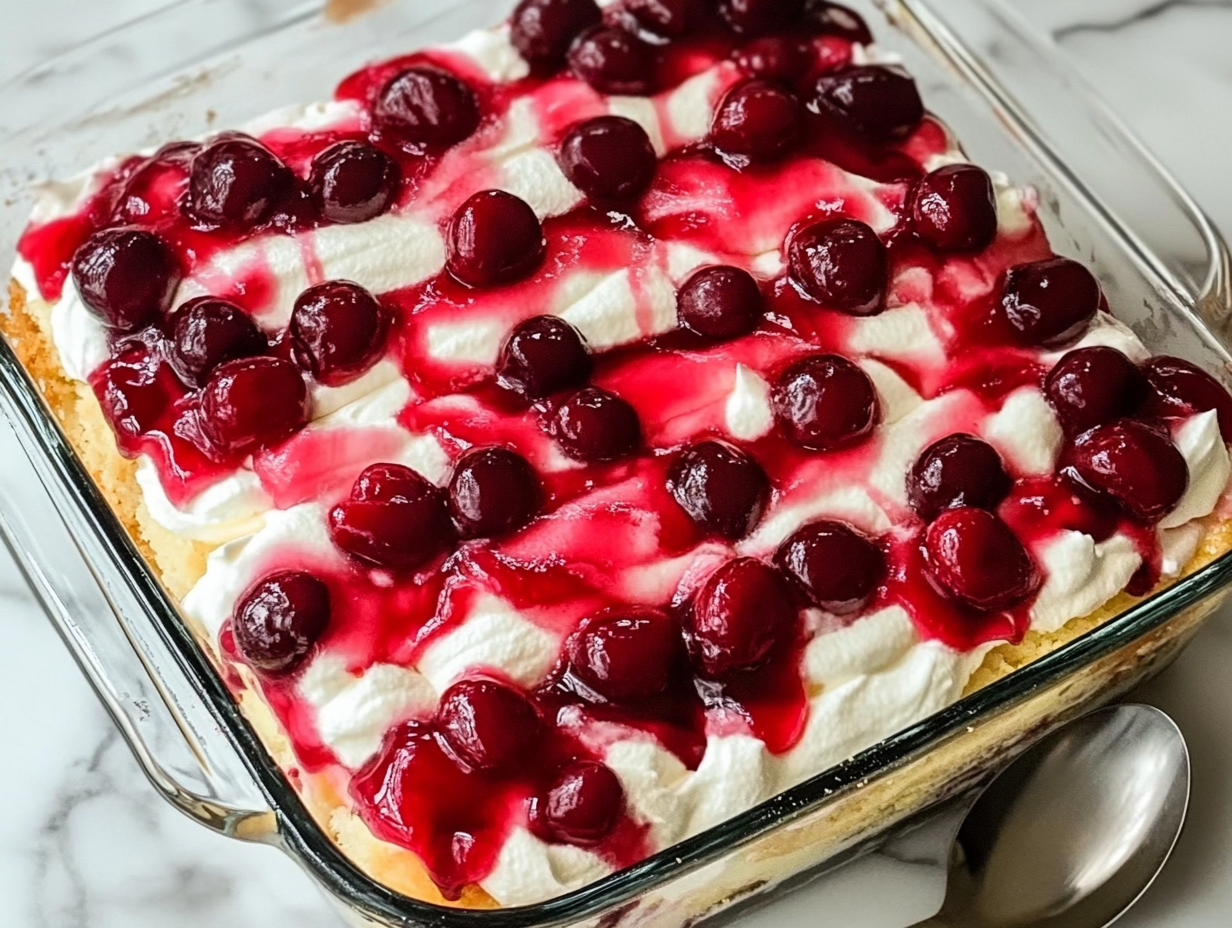
If you’re in the mood for a dessert that tastes like pure bliss, look no further than Heaven on Earth Cake. This no-bake dessert is a delightful combination of light and fluffy angel food cake, creamy vanilla pudding, rich cream cheese, and a sweet-tart cherry topping—all layered together to create the perfect bite.
It’s refreshingly simple to make, which means you don’t have to be a baking pro to pull it off. Whether you need a crowd-pleasing dish for a potluck, a family gathering, or just a treat to keep in the fridge for those late-night dessert cravings, this cake delivers every time.
Why You’ll Love This Recipe
- No baking required – Perfect for when you don’t want to turn on the oven.
- Light yet indulgent – The angel food cake keeps it airy, while the cream cheese and pudding make it rich and creamy.
- Easy to assemble – Just a few simple layers, a quick chill in the fridge, and you’re good to go.
- Great for make-ahead – The flavors get even better after sitting overnight, making it a stress-free dessert option.
Alright, now let’s get into the step-by-step process of making this heavenly dessert.
How to Make Heaven on Earth Cake
Step 1: Prepare the Angel Food Cake
If you’re using a store-bought angel food cake, this step couldn’t be easier—just cut the cake into bite-sized cubes and set them aside.
If you prefer to bake your own from a mix, follow the package instructions, let the cake cool completely, and then cut it into cubes. Either way, you’ll end up with light, airy pieces that will soak up all the delicious flavors of the layers we’re about to create.
Step 2: Make the Vanilla Pudding Mixture
In a medium mixing bowl, whisk together the vanilla pudding mix and milk until it thickens—this usually takes about 2 minutes.
Once the pudding has reached the right consistency, stir in 1 cup of sour cream. This might seem like an unusual addition, but trust me, it adds just the right touch of tangy creaminess that balances out the sweetness of the cake and cherries. Set this mixture aside while we move on to the next layer.
Step 3: Prepare the Cream Cheese Layer
Now for the part that makes this dessert really rich and creamy! In a separate large bowl, beat the softened cream cheese until it’s smooth and lump-free. This step is important because it ensures you don’t end up with any clumps in the final dish.
Once the cream cheese is smooth, fold in the whipped topping (such as Cool Whip) gently, making sure to keep it light and fluffy. The result? A luscious, airy mixture that will add a luxurious texture to the cake.
At this point, all of our components are ready—now it’s time to start layering everything together!
Step 4: Assemble the Cake
Now that all your components are ready, grab a 9×13-inch baking dish—this is the perfect size to build the layers and ensure every bite has the right balance of cake, cream, and fruit.
Layer 1: The Angel Food Cake
Start by spreading half of the angel food cake cubes evenly across the bottom of your dish. They don’t have to be perfectly arranged—just make sure they cover the base.
Layer 2: The Vanilla Pudding Mixture
Next, pour half of the vanilla pudding mixture over the cake cubes. Use a spatula to spread it out evenly, making sure each piece of cake gets coated in that creamy, sweet goodness.
Layer 3: The Cream Cheese Mixture
Now it’s time to gently spread half of the cream cheese and whipped topping mixture over the pudding layer. This part is a little delicate, so take your time to smooth it out evenly. The light, fluffy texture adds an irresistible richness to the dessert.
Repeat the Layers
For the next round, repeat the same steps:
- Add the remaining angel food cake cubes on top.
- Spread the rest of the vanilla pudding mixture over the cake.
- Finish with the remaining cream cheese and whipped topping mixture.
At this point, your cake is looking thick, creamy, and completely irresistible—but we’re not done yet!
Step 5: Add the Cherry Topping
Now for the finishing touch! Spread the cherry pie filling evenly across the top of the cream cheese layer. The bright red cherries add a beautiful contrast to the creamy layers and bring a tart, fruity pop of flavor that ties everything together.
If you want to take it up a notch, you can also sprinkle chopped almonds or pecans over the top for a bit of crunch.
Step 6: Chill and Let the Flavors Meld
The hardest part of this entire recipe? Waiting!
Cover the dish with plastic wrap and refrigerate it for at least 4 hours, but for the best results, let it sit overnight. This chilling time allows the flavors to fully blend together, creating a dessert that’s even creamier, dreamier, and more delicious than when you first assembled it.
When you’re ready to serve, grab a spoon and scoop out generous portions. You’ll get layers of soft cake, silky cream, and sweet cherries in every bite—pure heaven in a dish!
Pro Tips for the Best Heaven on Earth Cake
- Use a serrated knife to cut the angel food cake into cubes—it keeps the cake fluffy and prevents it from getting squished.
- Chill overnight if possible. It makes a huge difference in taste and texture!
- Experiment with flavors—swap the cherry pie filling for blueberry, strawberry, or even a mixed berry medley for a fun twist.
- Make it extra fancy by drizzling a little chocolate or caramel sauce over the top before serving.
FAQ: Everything You Need to Know About Heaven on Earth Cake
1. Can I use a different cake instead of angel food cake?
Yes! While angel food cake keeps this dessert light and fluffy, you can swap it out for pound cake, sponge cake, or even vanilla or butter cake if you want a richer texture. Just make sure the cake is not too dense so it still soaks up the creamy layers.
2. How long does this cake need to chill before serving?
It needs to chill for at least 4 hours, but I highly recommend letting it sit overnight for the best flavor and texture. The extra time allows the layers to fully meld together, making each bite even better!
3. Can I make this dessert ahead of time?
Absolutely! This is one of the best make-ahead desserts because it actually tastes better after sitting in the fridge. You can make it a day in advance, and it will be perfect when you’re ready to serve.
4. What other fruit toppings can I use?
If cherries aren’t your thing, you can swap them for strawberry pie filling, blueberry pie filling, or a mixed berry topping. You could also try fresh fruit like sliced strawberries or raspberries for a fresher take.
5. Can I freeze Heaven on Earth Cake?
I wouldn’t recommend freezing this cake. The pudding and cream cheese layers don’t freeze well, and the texture can become watery once thawed. If you need to store leftovers, they’ll stay fresh in the fridge for up to 3-4 days.
6. Can I make this dessert lighter?
Yes! You can use:
- Sugar-free pudding mix
- Fat-free Cool Whip
- Light cream cheese and sour cream
- A homemade angel food cake (which is naturally lower in fat)
These swaps will lighten up the dessert without sacrificing flavor!
7. How do I serve this cake?
This dessert is best served cold, straight from the fridge. Just grab a spoon and scoop it onto plates or into bowls. You can also garnish with extra whipped topping, nuts, or even a drizzle of caramel or chocolate syrup for an extra special touch.
Final Thoughts: Why You’ll Love This Dessert
Heaven on Earth Cake is one of those desserts that feels fancy but is incredibly simple to make. With no baking required and only a handful of ingredients, it’s the perfect go-to recipe when you need a sweet treat that impresses with minimal effort.
Whether you’re making it for a holiday, a summer barbecue, or just because you’re craving something creamy and delicious, this cake is sure to be a hit.
Print
HEAVEN ON EARTH CAKE
- Total Time: 4 hours 15 mins
Description
A dreamy, no-bake dessert made with layers of light angel food cake, creamy vanilla pudding, smooth cream cheese, and sweet cherry pie filling. It’s a heavenly treat that melts in your mouth!
Ingredients
For the Cake Layers:
- 1 package angel food cake (or 1 prepared angel food cake)
- 1 package (3.4 oz) instant vanilla pudding mix
- 1 ½ cups milk
- 1 cup sour cream
- 1 package (8 oz) cream cheese, softened
For the Topping:
- 1 can (21 oz) cherry pie filling
- 1 tub (8 oz) whipped topping (e.g., Cool Whip)
- Optional: Chopped almonds or pecans for garnish
Instructions
1️⃣ Prepare the Angel Food Cake:
If using a store-bought cake, cut it into bite-sized cubes.
Set aside while preparing the creamy layers.
2️⃣ Make the Vanilla Pudding Mixture:
In a medium bowl, whisk together the instant vanilla pudding mix and milk until smooth and thickened (about 2 minutes).
Add the sour cream and mix until fully combined. Set aside.
3️⃣ Prepare the Cream Cheese Layer:
In a large bowl, beat the softened cream cheese until smooth and creamy.
Gently fold in the whipped topping until fully combined.
4️⃣ Assemble the Cake:
In a 9×13-inch dish, place half of the angel food cake cubes in an even layer.
Spread half of the vanilla pudding mixture over the cake cubes.
Gently spread half of the cream cheese and whipped topping mixture over the pudding.
Repeat the layers: Add the remaining cake cubes, followed by the rest of the pudding mixture, and then the remaining cream cheese mixture.
Spread the cherry pie filling evenly over the top layer.
5️⃣ Chill:
Cover the dish with plastic wrap and refrigerate for at least 4 hours, or overnight, to let the flavors meld together.
Notes
- Make-Ahead Friendly: Best when chilled overnight!
- Flavor Variations: Swap cherry pie filling for blueberry or strawberry for a twist!
- Extra Crunch: Add crushed graham crackers or nuts for texture.
- Prep Time: 15 mins
- Cook Time: 4 hours
