

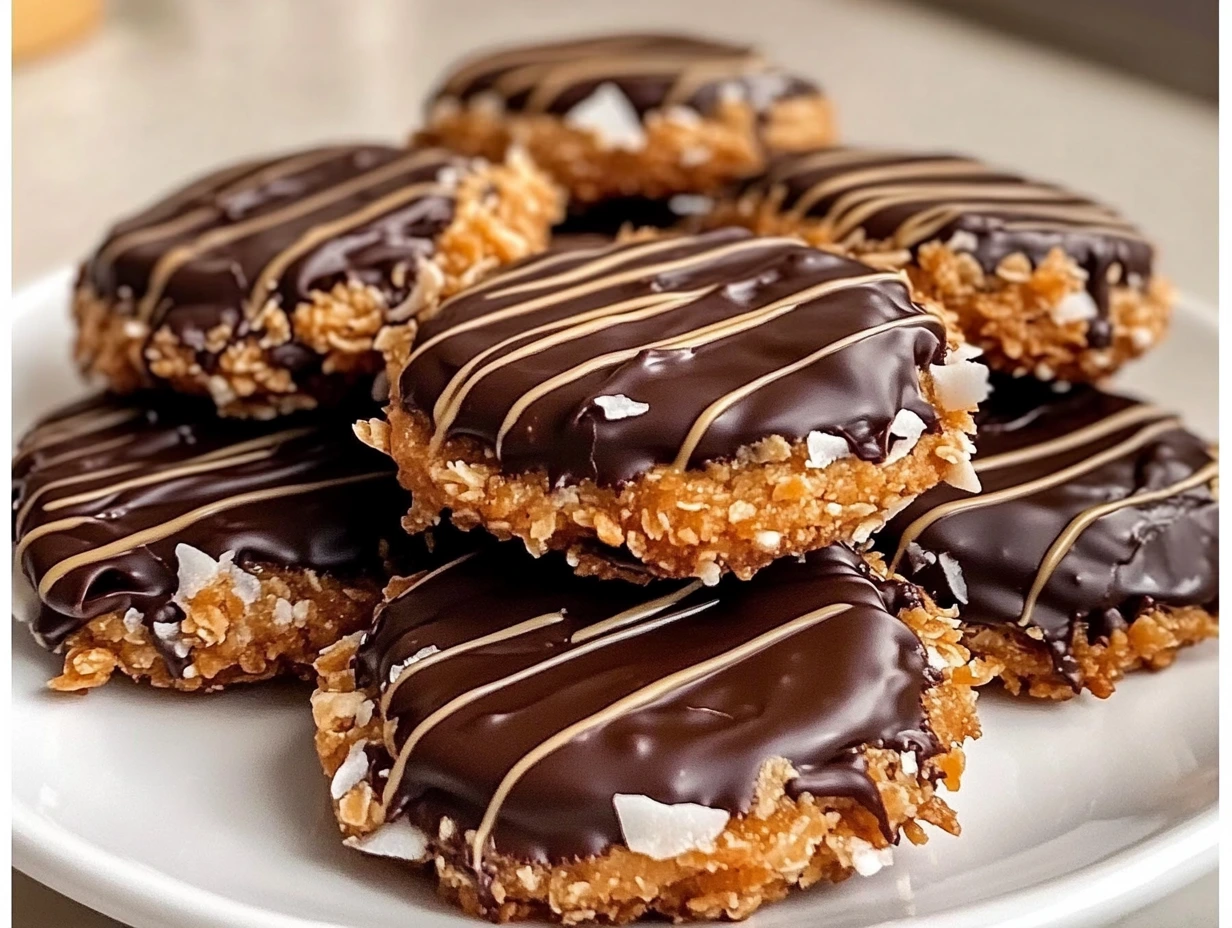
Who doesn’t love a good Girl Scout cookie? The only thing better than buying a box from your local Girl Scout troop is making them yourself at home. One of the most popular cookies in the lineup is the iconic Samoas. With a crunchy, buttery cookie base topped with sweet caramel, toasted coconut, and a smooth layer of chocolate, it’s hard to resist.
If you’ve ever been tempted to recreate the magic of Samoas in your own kitchen, then this homemade version is for you! Making these cookies from scratch may sound like a big task, but it’s surprisingly easy and oh-so-rewarding. Plus, there’s something incredibly satisfying about biting into a homemade version of this beloved treat—complete with a crispy bottom, gooey caramel, and just the right amount of chocolate.
Today, I’m going to walk you through every step of making these Homemade Samoas Girl Scout Cookies. Whether you’re craving a sweet snack or you’re preparing for a cookie swap, this recipe is a surefire hit. Let’s get started!
Gathering the Ingredients: What You’ll Need
Before diving into the recipe, let’s make sure we’ve got everything ready. I’m all about simplicity and making sure the process is as smooth as possible, so here’s a breakdown of what you’ll need to create these delicious cookies:
For the Cookies:
-
1 cup unsalted butter (softened)
-
1/2 cup granulated sugar
-
2 cups all-purpose flour
-
1/4 teaspoon salt
-
1/2 teaspoon vanilla extract
For the Topping:
-
3 cups shredded sweetened coconut
-
1 cup caramel sauce (store-bought or homemade)
-
1/4 teaspoon salt (only if your caramel is unsalted)
For the Chocolate:
-
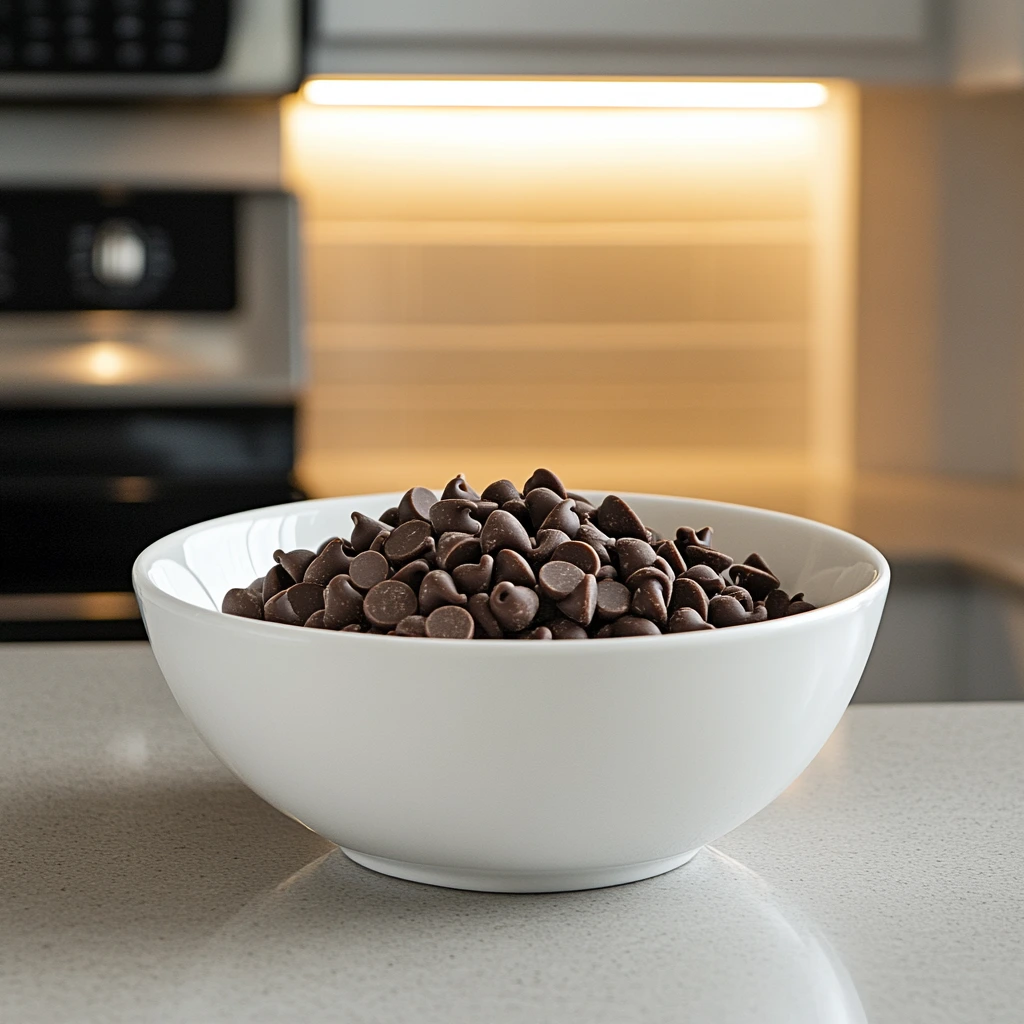
10 oz semi-sweet chocolate chips
As you can see, the ingredients aren’t anything too exotic, which is great because it means you can make these cookies without running around town for special items. The real magic lies in the technique and the love you put into making them!
Step 1: Preheat the Oven and Prepare Your Baking Sheets
Let’s start by getting the oven ready. Preheat it to 350°F (175°C) and line two baking sheets with parchment paper. If you don’t have parchment paper, silicone baking mats work just as well. This step ensures your cookies don’t stick to the sheet, making cleanup a breeze.
Step 2: Make the Cookie Dough
In a large mixing bowl, it’s time to combine your butter and sugar. Beat the softened unsalted butter and granulated sugar together until they’re light and fluffy. This is key because the texture of your cookie dough depends on getting a good airy base. You’ll know it’s ready when the mixture looks smooth and slightly puffed up.
Once that’s done, add in the vanilla extract. This will infuse your dough with a lovely depth of flavor, making the cookies even more irresistible. Now, gradually add in your all-purpose flour and salt. You’ll want to mix slowly and keep an eye on the dough. Once it begins to come together, you’ll know it’s ready to roll out.

Step 3: Shape and Cut the Cookies
Here’s the fun part: shaping the cookies! Lightly flour your work surface and roll out the dough to about 1/4-inch thickness. The dough should be soft but manageable, and rolling it out to an even thickness will ensure your cookies bake uniformly.
Next, grab a round cookie cutter and cut out circles. For the classic Samoas shape, use a smaller cutter (or even a bottle cap) to remove the center of each circle, creating a donut-like shape. If you’re making these cookies for the first time, don’t stress about getting each cut perfect. Homemade Samoas are all about the love and care you put into them!
Once you’ve cut out all your cookies, place them on the prepared baking sheets. Make sure to leave a little space between each cookie to allow them to spread slightly while baking.
Step 4: Bake the Cookies
Now it’s time to bake! Pop the trays into the oven and bake for about 10–12 minutes. You’re looking for the edges of the cookies to turn a light golden color. Keep an eye on them to avoid overbaking; you want a crispy edge but a soft center.
When they’re ready, remove the cookies from the oven and let them cool completely on a wire rack. Be patient here—if you try to assemble the cookies before they cool, the warm cookies can break or become too soft to handle. Once they’re cool, you’re ready for the next step.
Step 5: Prepare the Caramel Topping
The secret to the perfect Samoa is in the caramel topping. You want it to be sticky enough to adhere to the cookie but smooth enough to spread easily. If you’re using store-bought caramel, that works perfectly fine. But, if you happen to have some homemade caramel sauce on hand (or feel like whipping up a quick batch), that will make your cookies extra special.
In a mixing bowl, combine your toasted coconut and caramel sauce. Stir them together gently until the coconut is fully coated in the sweet caramel. If your caramel sauce is not salted, add a small pinch of salt—this will really enhance the flavor and give your cookies that extra oomph that makes them so delicious.
Take a moment to taste the coconut-caramel mixture. It should be perfectly sweet, with a slight saltiness if you added the salt. If you want a bit more flavor, you can add a dash of vanilla or even a touch of dark brown sugar to deepen the richness.
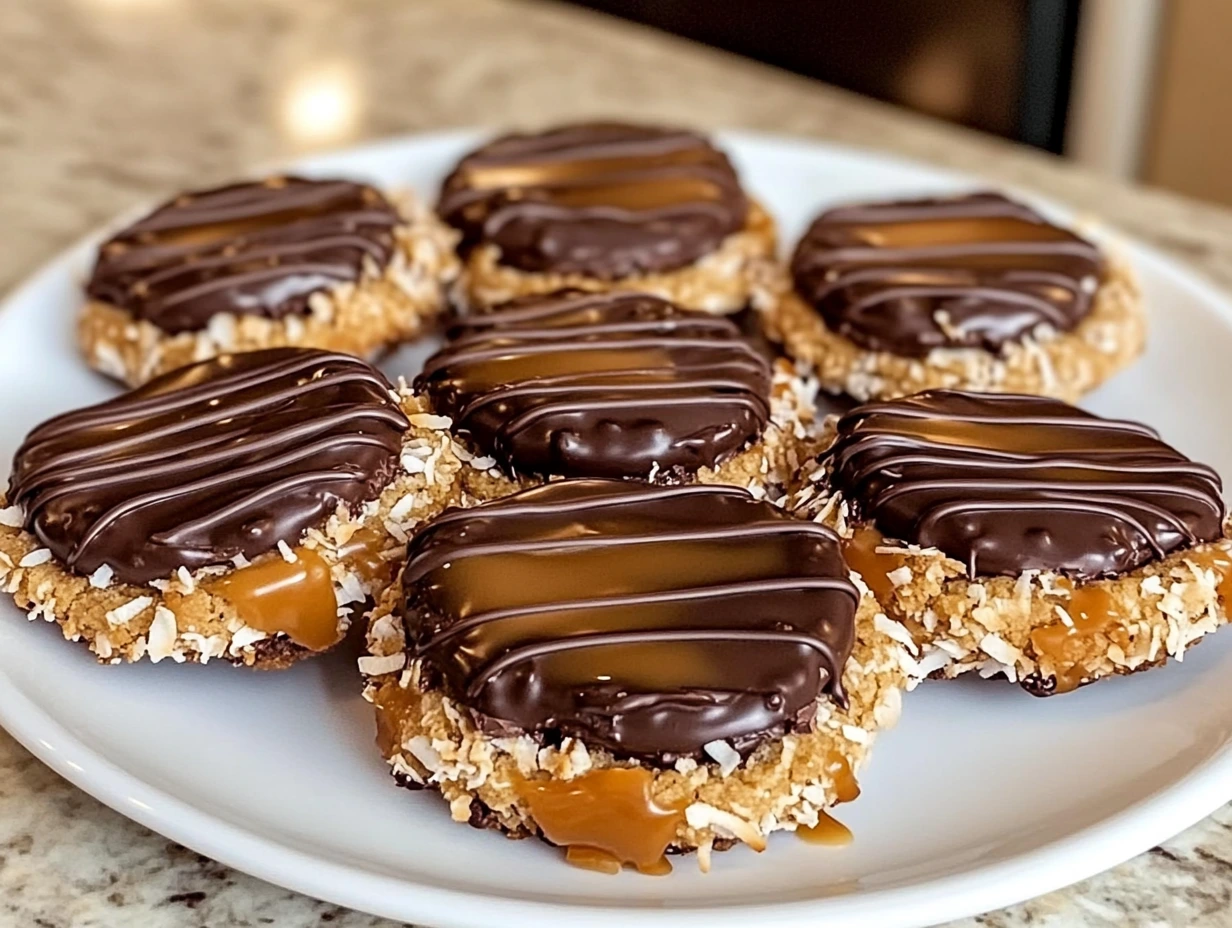
Step 6: Assemble the Cookies
Now that we have our delicious topping, it’s time to assemble the cookies. Grab each baked cookie and, using a spoon or an offset spatula, spread the coconut-caramel mixture evenly on top of each one. Don’t be shy—make sure you press the mixture down gently to create a nice thick layer.
As you work, be mindful of the edges of the cookies. You want the topping to stay within the cookie’s edges, so be sure to press it down carefully, but not so hard that it squeezes out. You’re aiming for a thick, even layer of caramel and coconut that will hold beautifully when you dip the cookies in chocolate.
Once all your cookies are topped with the coconut-caramel mixture, it’s time to set them aside. Pop them into the refrigerator for about 10–15 minutes to let the topping firm up. This will ensure that it stays in place when we start dipping in chocolate.
Step 7: Melt the Chocolate
While the cookies cool and the topping sets, it’s time to melt the chocolate chips. You can do this in a microwave-safe bowl by heating them in 30-second intervals, stirring between each one. Be patient during this process—chocolate can burn easily if you overheat it, so slow and steady wins the race here.
If you don’t have a microwave, you can melt the chocolate on the stovetop by using a double boiler. Just place the chocolate chips in a heatproof bowl over a pot of simmering water, and stir until smooth.
Once your chocolate is completely melted, set it aside to cool for just a minute or two before you start dipping. This ensures that it won’t be too hot to handle and that the chocolate will harden nicely once it’s on the cookies.
Step 8: Dip the Bottoms and Drizzle the Tops
Here’s where things get really fun! Grab each cookie and dip the bottom into the melted chocolate. Make sure to coat it well, covering the entire bottom with a thin, even layer of chocolate. You can also give the cookie a little swirl to make sure the chocolate sticks and coats evenly.
Once each cookie is dipped, place it back on the parchment-lined baking sheet. You’ll want to work quickly, as the chocolate can start to set once it hits the cool cookie.
But we’re not done yet! Once all the cookies are dipped, take the remaining melted chocolate and transfer it into a piping bag (or a zip-top bag with a small corner cut off). Drizzle the chocolate over the top of each cookie in a zig-zag pattern. This adds that signature chocolate swirl on top of your Samoas, just like the Girl Scout version.
Step 9: Cool and Set
At this point, the cookies are almost ready to eat! To ensure the chocolate sets properly, let the cookies cool at room temperature for a while. Alternatively, you can place them in the refrigerator for about 20 minutes to speed up the process. Once the chocolate is fully set, the cookies are ready to serve!
The cooling step is crucial—without it, your chocolate might still be too soft to handle, and the cookies could become a gooey mess. Trust me, a little patience goes a long way here!

HOMEMADE SAMOAS GIRL SCOUT COOKIES
- Total Time: 2 hour
Description
These Homemade Samoas are a delicious twist on the classic Girl Scout cookie! With a buttery, crisp shortbread cookie base topped with sweet toasted coconut, rich caramel sauce, and a decadent chocolate drizzle, these treats are an irresistible combination of flavors and textures. The buttery cookie provides the perfect foundation, while the coconut and caramel topping offers a chewy, sweet bite, finished off with a smooth layer of semi-sweet chocolate on the bottom.
Ingredients
For the Cookies:
- 1 cup unsalted butter, softened
- 1/2 cup granulated sugar
- 2 cups all-purpose flour
- 1/4 teaspoon salt
- 1/2 teaspoon vanilla extract
For the Topping:
- 3 cups shredded sweetened coconut
- 1 cup caramel sauce (store-bought or homemade)
- 1/4 teaspoon salt (if the caramel isn’t salted)
For the Chocolate:
- 10 oz semi-sweet chocolate chips
Instructions
1️⃣ Preheat the Oven: Preheat your oven to 350°F (175°C) and line two baking sheets with parchment paper.
2️⃣ Make the Cookies: In a large mixing bowl, beat the softened butter and granulated sugar together until light and fluffy. Add the vanilla extract and continue to mix. Gradually add the flour and salt, mixing until a dough forms.
3️⃣ Shape and Cut: Roll the dough out on a lightly floured surface to about 1/4-inch thickness. Use a round cookie cutter to cut circles, and then use a smaller cutter (or a bottle cap) to cut out the centers, creating a donut shape.
4️⃣ Bake the Cookies: Arrange the dough circles on the prepared baking sheets and bake for 10–12 minutes, or until the edges are lightly golden. Remove from the oven and let cool completely on a wire rack.
5️⃣ Toast the Coconut: While the cookies cool, spread the shredded coconut on a baking sheet and toast it in the oven for 5–7 minutes, stirring occasionally to prevent burning. Once golden brown, remove from the oven and set aside.
6️⃣ Prepare the Caramel Topping: In a mixing bowl, stir together the toasted coconut and caramel sauce. If the caramel is not salted, add a pinch of salt to enhance the flavor.
7️⃣ Assemble the Cookies: Using a spoon or an offset spatula, spread the coconut-caramel mixture evenly over the top of each cookie, gently pressing it down.
8️⃣ Cool and Set: Place the cookies in the refrigerator for 10–15 minutes to allow the topping to set.
9️⃣ Melt the Chocolate: In a microwave-safe bowl, melt the chocolate chips in 30-second intervals, stirring between each, until smooth and melted.
🔟 Dip the Bottoms and Drizzle: Dip the bottom of each cookie into the melted chocolate, ensuring it’s coated well. Place the cookies back on the parchment paper to set. Transfer the remaining melted chocolate to a piping bag or a zip-top bag with a small tip cut off and drizzle it over the top of the cookies.
1️⃣1️⃣ Chill and Serve: Let the cookies cool and set completely at room temperature, or place them in the refrigerator for faster setting. Once fully set, serve and enjoy your homemade Samoas!
Notes
- You can use store-bought caramel sauce for convenience, but homemade caramel will give a richer flavor.
- If you prefer extra crunch, toast the coconut until it’s more golden brown, but be careful not to burn it!
- These cookies will store well in an airtight container for several days, or you can freeze them for longer storage.
- Prep Time: 30 minutes
- Cook Time: 1 hour, 30 minutes
