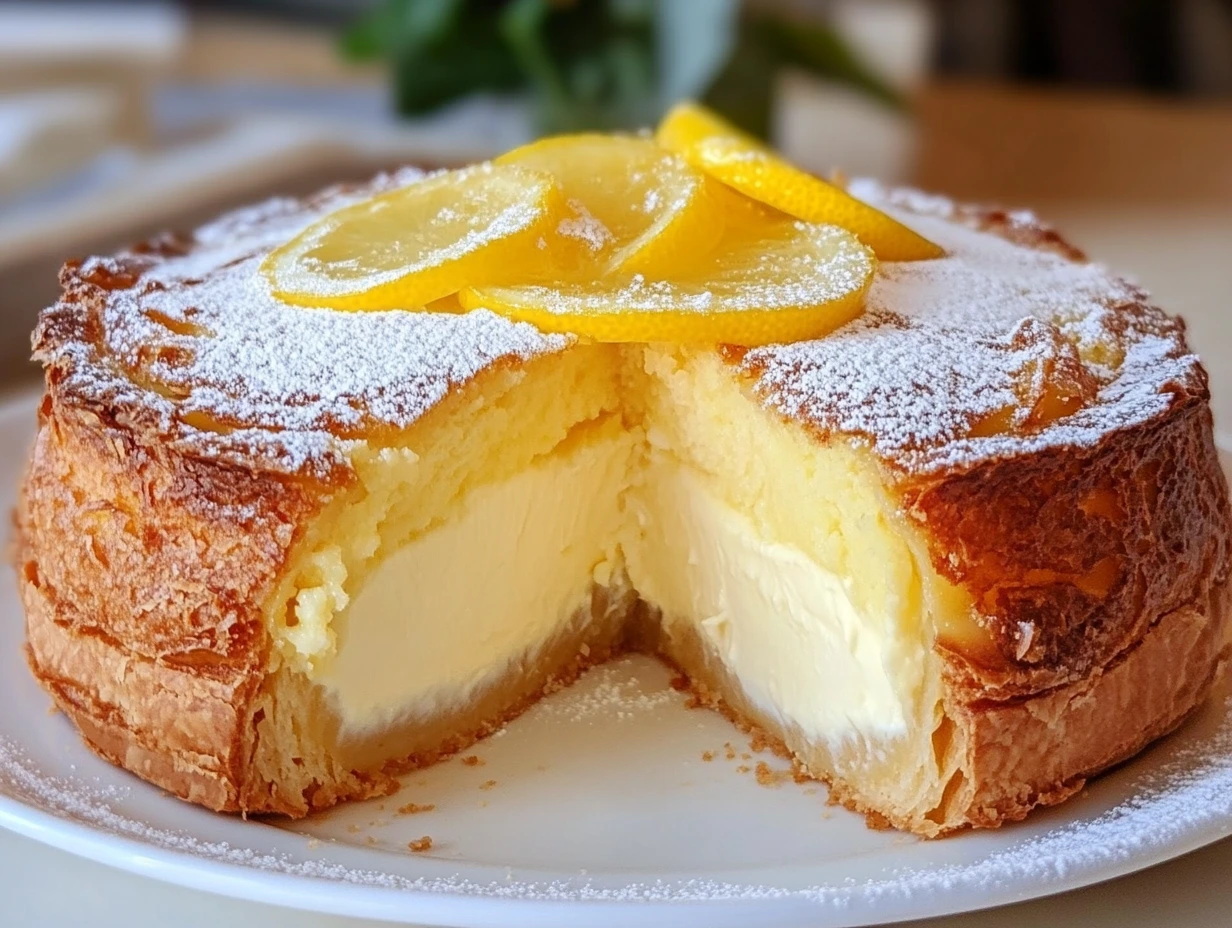
There’s something beautifully nostalgic about a dessert that feels like it came straight from an Italian grandmother’s kitchen. That’s exactly what Torta della Nonna—Italian Pine Nut Custard Cake—brings to the table. It’s humble and elegant all at once, with its flaky pastry, velvety vanilla custard, and toasty pine nut topping that’s just the right kind of golden. Whether you’re planning a cozy Sunday dinner or looking to impress at a potluck, this classic dessert is always a crowd-pleaser.
The first time I made Torta della Nonna, I was a little intimidated. It looked fancy in that rustic, European kind of way, and the thought of homemade custard had me second-guessing my skills. But once I broke it down step by step, I realized just how approachable it actually is. The best part? It tastes even better the next day, making it a perfect make-ahead option for entertaining.
This cake is a staple in many regions of Italy, especially Tuscany, and it’s easy to see why it has stood the test of time. The combination of the buttery crust, silky custard, and slightly nutty topping hits every note you want in a dessert. Now let’s walk through the first steps of this beautiful bake and get your kitchen smelling like an Italian bakery.
STEP 1: MAKING THE PASTRY DOUGH
Before we even get to the luscious custard, we need to start with the base—and trust me, this pastry is the real deal. Tender but sturdy, it holds everything together and gives that beautiful bite every great tart or cake needs.
Here’s what you’ll need:
-
2 cups all-purpose flour
-
1/2 cup granulated sugar
-
1/2 tsp salt
-
1/2 cup unsalted butter, cold and cubed
-
2 large egg yolks
-
1/4 cup whole milk (plus more if needed)
Start by whisking together the flour, sugar, and salt in a large bowl. This dry mix sets the stage for your crust. Next comes the butter. You’ll want it cold—like straight-from-the-fridge cold. Cut it into cubes and then work it into the flour with a pastry cutter or your fingertips. The goal is a crumbly, sandy texture with little bits of butter still visible.
Once it looks like coarse crumbs, make a well in the center and add your egg yolks and milk. Mix gently with a fork or your hands until a dough starts to come together. If it feels a little dry, add a splash more milk, just a teaspoon at a time. You’re looking for a dough that holds without being sticky.
Divide it in half and shape each portion into a disc. Wrap them tightly in plastic wrap and refrigerate for 30 minutes. This chill time gives the butter a chance to firm up again, which makes rolling out easier and helps prevent shrinking in the oven.
STEP 2: PREPARING THE CUSTARD FILLING
While the dough is chilling, it’s the perfect time to work on the custard—the creamy heart of this dessert. Don’t be scared off by the idea of making custard from scratch. It’s simpler than you might think and 100% worth the effort.
Here’s what you’ll need:
-
2 cups whole milk
-
1 vanilla bean (or 1 tsp vanilla extract)
-
4 large egg yolks
-
1/2 cup granulated sugar
-
3 tbsp cornstarch
-
2 tbsp unsalted butter
Start by warming the milk in a saucepan over medium heat. If you’re using a vanilla bean, split it down the center and scrape out the seeds, then toss both seeds and pod into the milk. If you’re using vanilla extract, wait to add it later. Let the milk heat until it’s just simmering—don’t let it boil—then take it off the heat and let the vanilla steep for about 5 to 10 minutes. This infuses the milk with a deep, comforting aroma.
Meanwhile, whisk the egg yolks, sugar, and cornstarch in a separate bowl until smooth and pale. It’s important to whisk well here—you want everything fully combined and lump-free. Slowly pour the warm milk into the egg mixture, whisking constantly so you don’t scramble the yolks. Then return the whole mixture to the saucepan.
Cook over medium heat, stirring constantly, until it thickens—usually around 5 to 7 minutes. You’ll know it’s ready when it coats the back of a spoon. Remove it from the heat and stir in the butter (and vanilla extract if using instead of the bean). The butter adds a rich finish that really rounds out the flavor.
Press a piece of plastic wrap directly onto the surface of the custard to prevent a skin from forming, and let it cool completely. You can pop it into the fridge if you’re in a hurry, but make sure it’s cooled before assembling the cake—warm custard will melt your dough.
STEP 3: ASSEMBLING THE CAKE
At this point, your kitchen probably already smells pretty amazing from that custard. Now let’s get everything into the pan.
Here’s what you’ll need for the next step:
-
Chilled pastry dough (2 discs)
-
Cooled custard filling
-
9-inch tart or springform pan (greased)
Start by preheating your oven to 350°F (175°C). This gives your oven time to come up to the right temp while you roll and assemble.
Take one of the dough discs out of the fridge and let it sit for a couple of minutes to soften slightly. Then roll it out on a lightly floured surface to about 1/8-inch thickness. You want it wide enough to line the bottom and sides of your tart or springform pan.
Gently lay the dough into your prepared pan. If it tears a little, no worries—just patch it with extra dough. Press it into the corners and up the sides, trimming any excess. A little overhang is fine; you can tidy it up once the top is on.
Now spoon in that luscious custard. Use a spatula to smooth it into an even layer. Try not to sneak too many bites—though I won’t blame you if you do.
Take out the second dough disc and roll it out to form the top crust. Carefully place it over the custard, lining it up with the edges. Press the edges together to seal—this helps keep all that delicious custard inside where it belongs. Trim away any excess dough and crimp the edges slightly if you like a decorative finish.
STEP 4: ADDING THE FINISHING TOUCHES AND BAKING
Now for that classic Torta della Nonna topping—pine nuts. They might seem like a simple garnish, but they’re essential to the flavor and texture of this dessert. As they toast in the oven, they bring a buttery crunch that perfectly balances the soft custard and flaky crust.
You’ll need:
-
1/2 cup pine nuts
-
1 beaten egg (optional, for brushing)
If you want a glossy, golden finish, brush the top crust lightly with a beaten egg. It’s not required, but it adds a nice sheen.
Then sprinkle the pine nuts evenly over the top. Don’t worry if a few fall off the sides; they’ll toast up nicely in the pan and add some extra texture.
Bake for 35 to 40 minutes, or until the top is golden brown and the crust is fully baked. The custard may puff up slightly as it bakes, but it will settle as it cools. Keep an eye on it toward the end—if the pine nuts start to brown too quickly, you can tent the top loosely with foil.
Once it’s done, remove it from the oven and let it cool completely in the pan. This is important. If you try to take it out too early, the custard might still be a little soft and the crust could break.
STEP 5: DUST AND SERVE
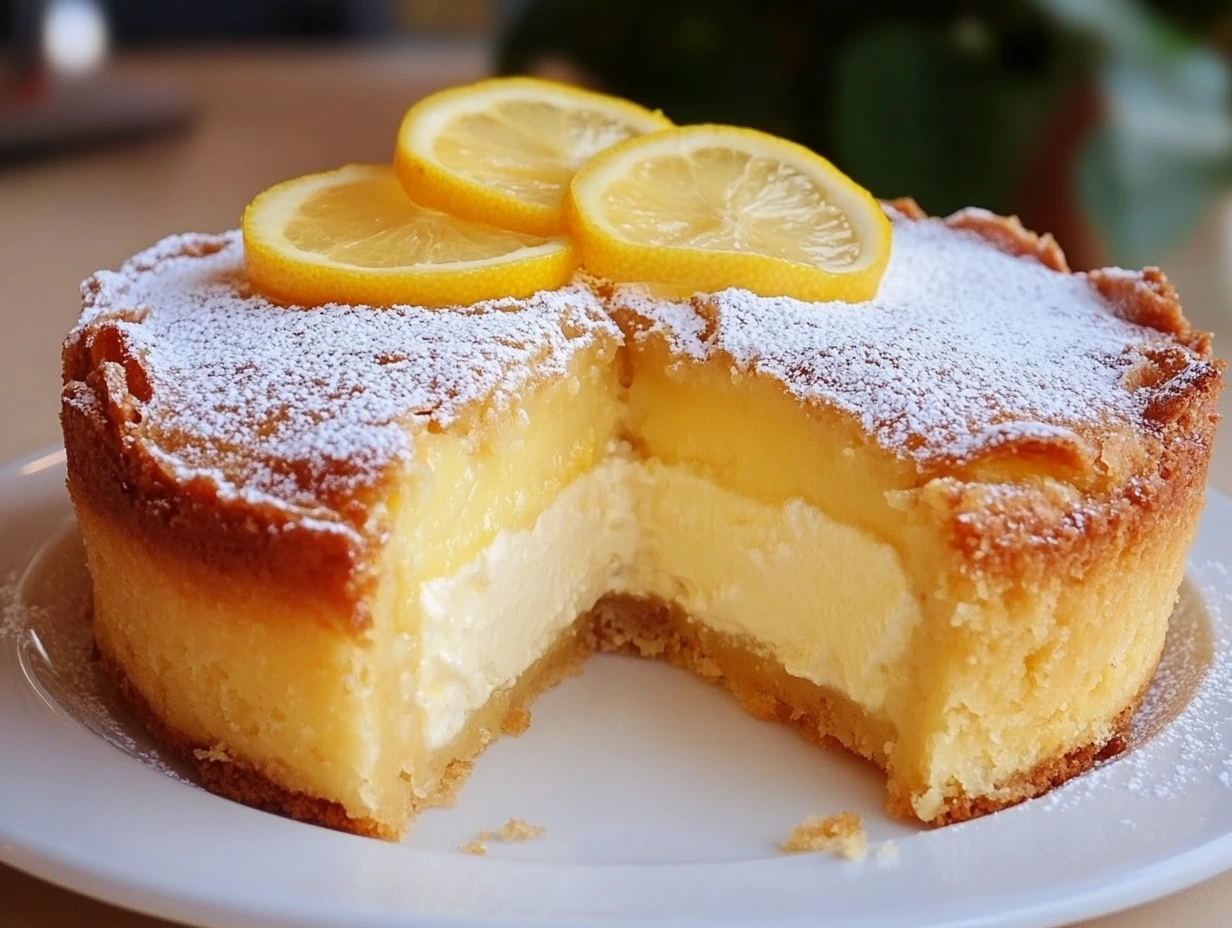
The final touch is simple but elegant—a generous dusting of powdered sugar right before serving. It gives the cake that signature bakery-style finish and just the right touch of extra sweetness.
Slice into thick wedges and serve at room temperature. It pairs beautifully with a cup of espresso or a glass of dessert wine if you’re going all out Italian-style.
This cake is best enjoyed the day after baking, once the flavors have had time to meld. Just cover it and store it in the fridge overnight, then let it come to room temp before serving. It’s also a great dessert to make ahead for a dinner party or holiday gathering.
TIPS & VARIATIONS
Here are a few quick tips and ideas if you want to customize your Torta della Nonna:
-
Citrus Twist: Add the zest of a lemon or orange to the custard for a fresh, bright flavor.
-
Nut-Free Option: If pine nuts aren’t an option due to allergies or cost, try sliced almonds or skip the nuts entirely.
-
Vanilla Bean Substitute: No vanilla bean? Use 1 teaspoon of vanilla extract or vanilla paste for a similar effect.
-
Short on Time? You can make the dough and custard a day ahead, then assemble and bake the next day.
-
Serving Suggestion: A dollop of whipped cream or a small scoop of vanilla gelato makes this dessert extra indulgent.