

You know those recipes that come out of nowhere and instantly become a family favorite? That’s exactly what happened with these Keto Philly Cheesesteak Roll Ups at my house. One night, I was craving something hearty and cheesy (isn’t that always the case?), but I didn’t want to wreck my low-carb streak. That’s when the idea hit me—why not turn the classic Philly cheesesteak into a cheesy, bread-free roll up? And friends, let me tell you—this one’s a keeper.
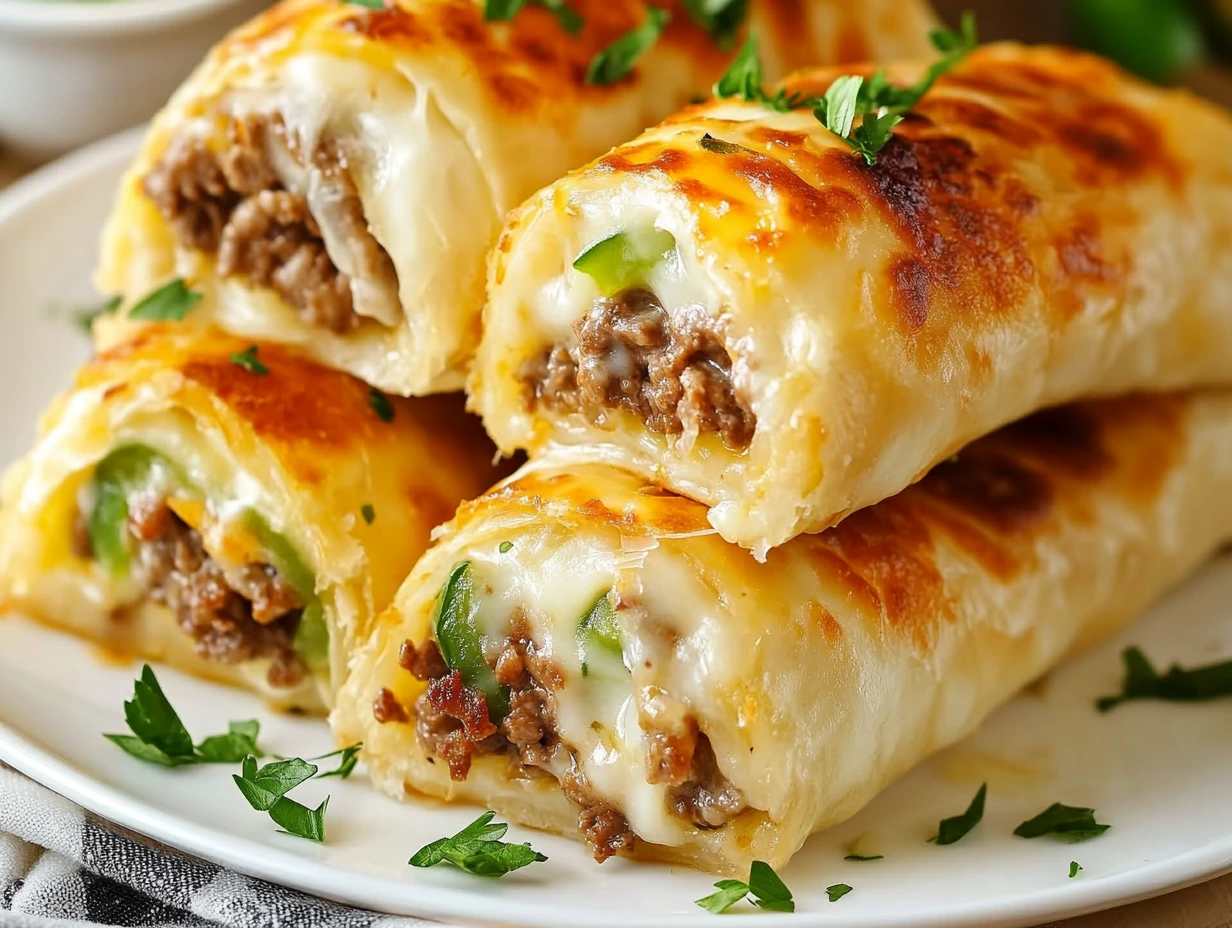
These roll ups are a game-changer. Imagine everything you love about a traditional Philly cheesesteak—the savory beef, tender peppers and onions, creamy texture, and rich flavor—wrapped not in a hoagie bun, but in a lacy, golden circle of melted cheese. The result is a delicious, handheld meal that’s as satisfying as the original, with way fewer carbs. Whether you’re deep into keto or just trying to cut back on bread, this is the kind of recipe that makes eating low-carb feel like a treat instead of a compromise.
WHY YOU’LL LOVE THESE KETO PHILLY CHEESESTEAK ROLL UPS
-
Super low-carb and keto-friendly
-
Takes only 35 minutes from start to finish
-
Perfect for weeknight dinners, party snacks, or meal prepping
-
No fancy ingredients—just real, flavorful food
-
Completely customizable based on your preferences
Let’s jump right into the recipe! I’ll walk you through each step and share a few tips along the way to make sure these turn out just right. No guesswork here—just simple, delicious food made easy.
INGREDIENTS YOU’LL NEED
Before we get started, here’s a quick rundown of what you’ll need to make these cheesy roll ups:
-
2 cups Monterey Jack cheese, shredded
-
16 oz ground beef
-
½ medium onion, thinly sliced
-
1 bell pepper, thinly sliced
-
1 tsp Worcestershire sauce
-
4 oz cream cheese
-
Salt and black pepper, to taste
Optional Swaps:
You can absolutely use provolone or mozzarella instead of Monterey Jack if that’s what you have on hand or prefer. Each cheese brings its own flavor and meltiness to the party, so feel free to play around and find your favorite version.
STEP 1: PREHEAT THE OVEN
First things first, get your oven going. Preheat it to 350°F (175°C). Then line a large baking sheet with parchment paper—this step is key for making cleanup a breeze and helping the cheese come off easily once it’s baked. Trust me, you do not want to skip this.
STEP 2: COOK THE FILLING
Now it’s time to build that savory cheesesteak filling. Grab your favorite large skillet and heat it over medium-high heat.
Add in the ground beef, onion, and bell pepper, and cook everything together for about 6–8 minutes. You’ll want to stir frequently to break up the beef and ensure the veggies soften and caramelize just a bit. When the beef is browned and the vegetables are nice and tender, go ahead and drain any excess grease from the skillet.
Next, add the Worcestershire sauce, cream cheese, and a pinch of salt and black pepper. Stir until the cream cheese melts and coats everything in a creamy, flavorful mixture. It should be rich, savory, and absolutely irresistible at this point.
Pro Tip: If you like a little extra kick, now’s the time to add a sprinkle of garlic powder or a pinch of red pepper flakes. It adds a subtle heat that takes these roll ups to the next level.
STEP 3: MAKE THE CHEESE WRAPS
Now for the fun part—turning cheese into wraps. On your parchment-lined baking sheet, scoop out eight small mounds of shredded cheese (about ¼ cup each). Flatten them into thin circles, leaving enough space between each one so they don’t melt together.
Pop them into the oven and bake for 8–10 minutes, or until the edges are golden and crispy, and the centers are bubbly with that perfect lacy look. Keep an eye on them toward the end—cheese goes from golden to burnt pretty quickly.
Once they’re done baking, let them cool for 1–2 minutes. You want them to be firm enough to handle, but still soft and pliable so they can be rolled.
STEP 4: ASSEMBLE THE ROLL UPS
By now, your cheese circles should have been out of the oven for a minute or two. You want them pliable but not too soft—kind of like a warm tortilla. If you wait too long, they’ll harden and crack when you try to roll them, so timing is everything.
Here’s how to assemble:
-
Spoon a portion of the beef filling onto the center of each cheese circle. Don’t overfill—just enough to comfortably roll without spilling out the sides.
-
Carefully roll the cheese circle around the filling, kind of like a mini burrito. Start from one side and gently fold over, using your fingers to guide and shape it into a tight roll.
-
Let them cool for a few more minutes so they can set up and hold their shape.
Once cooled slightly, they’re ready to serve! You can enjoy them warm and melty straight off the tray, or let them sit for a bit to firm up if you’re prepping them for a party or storing for later.
TIPS FOR SUCCESS
While this recipe is super straightforward, a few simple tricks can help make sure your roll ups turn out perfect every single time.
1. Use Parchment Paper (Not Foil or Wax Paper)
I can’t stress this enough—parchment paper is your best friend here. It prevents sticking and helps the cheese release easily once it cools. Foil might cause sticking, and wax paper can actually melt in the oven, which we definitely don’t want.
2. Don’t Skip the Cream Cheese in the Filling
That little bit of cream cheese goes a long way. It adds creaminess, binds the ingredients together, and gives the filling that rich, satisfying texture you want in a cheesesteak. If you’re dairy-free or want to skip it, you can, but the roll ups may not hold together quite as well.
3. Make Ahead for Easy Meal Prep
These roll ups are great fresh out of the oven, but they also reheat surprisingly well. Store them in an airtight container in the fridge for up to 3 days. To reheat, pop them in a 350°F oven for 5-7 minutes, or just microwave them for about 30 seconds per roll. Perfect for quick lunches or low-carb dinners on busy nights.
4. Customize the Veggies and Protein
Not a fan of bell peppers? Swap them for mushrooms or spinach. Want to switch up the protein? Ground chicken or thin-sliced steak works beautifully. The base recipe is super flexible, so feel free to adjust it to suit your taste or whatever you have on hand.
5. Use Different Cheeses for Flavor Variety
Monterey Jack melts like a dream, but don’t hesitate to experiment with provolone, mozzarella, or even cheddar for a different flavor profile. Just be aware that some cheeses (like cheddar) tend to be a little oilier when melted, so you may want to blot them slightly after baking.
SERVING SUGGESTIONS
These Keto Philly Cheesesteak Roll Ups are pretty filling on their own, but if you want to turn them into a complete meal, here are a few low-carb side dish ideas that pair really well:
-
Simple Green Salad with a tangy vinaigrette
-
Roasted Zucchini or Cauliflower
-
Avocado slices for extra healthy fats
-
Low-carb coleslaw for a little crunch
Or serve them party-style as finger food at your next get-together. They hold up great on a platter and are always a hit, especially with folks who might not even realize they’re low-carb.
FREQUENTLY ASKED QUESTIONS
1. Can I use steak instead of ground beef?
Absolutely! If you want to go more traditional, thinly sliced ribeye or sirloin works beautifully. Just cook it quickly over high heat, slice it thin if not already, and mix it with the onions, peppers, and cream cheese as directed.
2. How do I keep the cheese wraps from breaking when I roll them?
Timing is key here. Let the baked cheese circles cool for just 1–2 minutes—they should still be warm and pliable. If they’re too hot, the cheese will be too soft to hold shape. If they cool too much, they’ll get crispy and snap instead of bend.
3. Can I make these dairy-free?
These roll ups are definitely cheese-forward, so going dairy-free is tricky. That said, there are some good-quality dairy-free cheeses that melt well. Look for mozzarella-style or provolone-style alternatives that are specifically made to melt and stretch. The texture and flavor will vary, but it’s worth experimenting if you’re avoiding dairy.
4. Can I freeze these roll ups?
I wouldn’t recommend freezing them, mainly because the texture of the cheese wrap can change quite a bit after thawing. They’re best made fresh or stored in the fridge for up to 3 days.
5. Are these good for meal prep or work lunches?
Yes! These hold up well in the fridge and reheat easily in the microwave or oven. If you’re taking them to work, I suggest wrapping them individually and reheating uncovered so they stay firm and delicious.
6. What can I serve with these to make a full meal?
Keep it simple and low-carb. A crisp salad, roasted veggies, or even a side of cauliflower rice are great. You could also serve them with some pickles or mustard for dipping—so good!
7. Can I double this recipe?
Yes, and you probably should. These go fast! Just make sure your cheese circles have enough space on the baking sheet to melt without touching. You may need to bake in batches.
FINAL THOUGHTS: WHY YOU’LL WANT TO MAKE THESE AGAIN AND AGAIN
There’s something so satisfying about a recipe that feels indulgent but still fits into your healthy eating goals. These Keto Philly Cheesesteak Roll Ups hit that perfect balance. They’re rich and filling, packed with classic flavors, and totally bread-free.
What I really love about this recipe is how easy it is to make and customize. Once you get the hang of baking the cheese into wraps, the possibilities are endless. You can change up the filling, try different cheeses, or even make a spicy version with jalapeños and pepper jack.
Whether you’re serving these as a hearty lunch, a weeknight dinner, or a low-carb appetizer for game day, they’re bound to be a hit. Everyone in my house—even the non-keto folks—asks for these by name, which is always a good sign.
So, go ahead and give these a try. When you do, I’d love to hear how it went! Drop a comment with your favorite variations or any clever swaps you tried. And if this becomes a regular in your meal rotation (which it just might), don’t say I didn’t warn you.
Happy rolling!
Print
KETO PHILLY CHEESESTEAK ROLL UPS
- Total Time: 35 minutes
Description
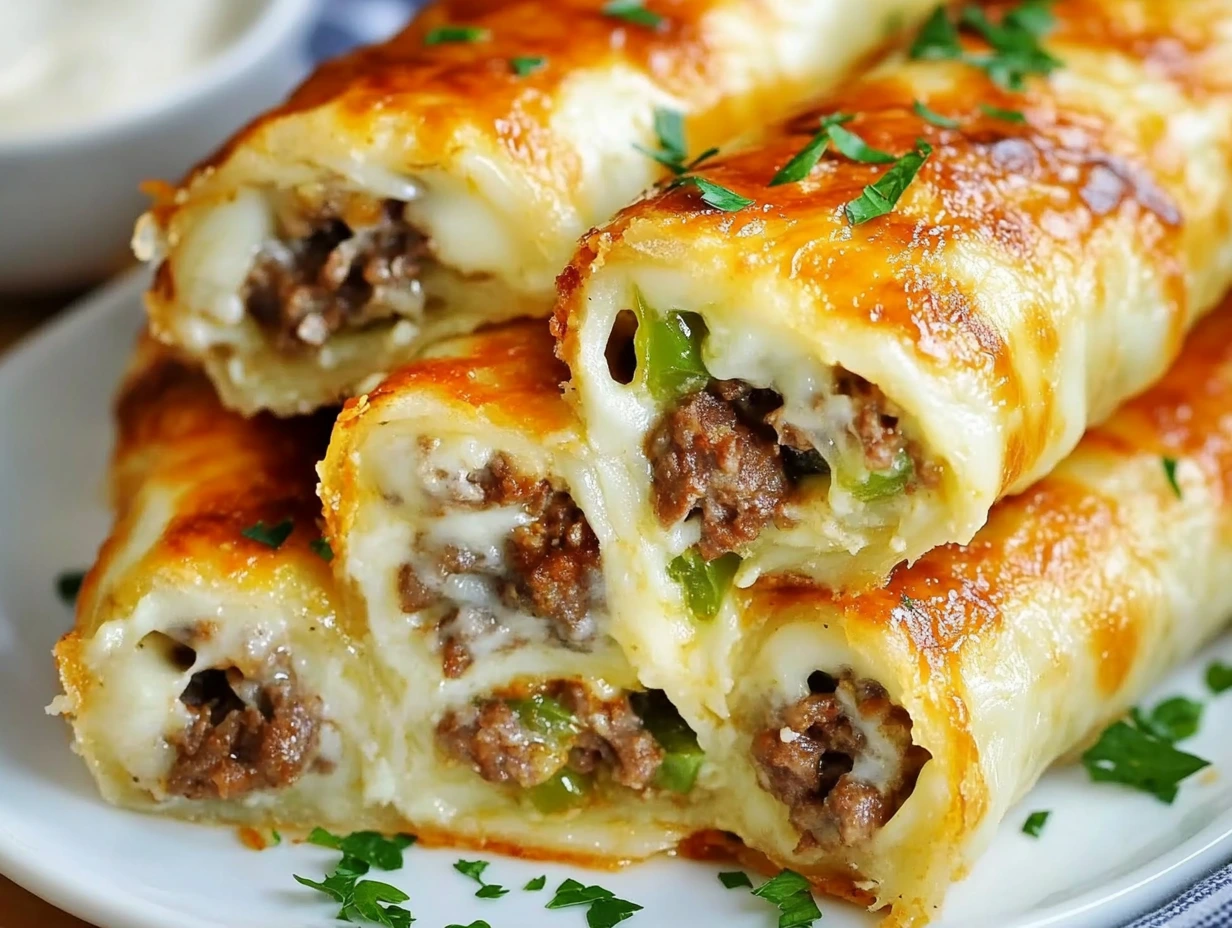
A low-carb twist on the classic Philly cheesesteak, these roll ups are wrapped in crispy, golden cheese instead of bread—delivering all the flavor without the carbs. Perfect as a main course, snack, or party appetizer!
Ingredients
- 2 cups Monterey Jack cheese, shredded
- 16 oz ground beef
- ½ medium onion, thinly sliced
- 1 bell pepper, thinly sliced
- 1 tsp Worcestershire sauce
- 4 oz cream cheese
- Salt & black pepper, to taste
Instructions
1️⃣ Preheat the Oven
Preheat your oven to 350°F (175°C). Line a large baking sheet with parchment paper for easy removal and cleanup.
2️⃣ Cook the Filling
In a large skillet over medium-high heat:
Add ground beef, onion, and bell pepper.
Cook for 6–8 minutes until beef is browned and vegetables are tender.
Drain excess grease.
Stir in Worcestershire sauce, cream cheese, salt, and pepper.
Mix until the cream cheese is melted and everything is creamy and combined.
Pro Tip: Add a dash of garlic powder or red pepper flakes if you like it spicy!
3️⃣ Make the Cheese Wraps
Place 8 mounds (about ¼ cup each) of shredded cheese on the prepared baking sheet.
Flatten each into a thin circle, leaving space between them.
Bake for 8–10 minutes, until edges are golden and cheese is bubbly with a lacy texture.
4️⃣ Assemble the Roll Ups
Let cheese circles cool for 1–2 minutes (they should still be pliable).
Spoon beef filling onto the center of each.
Carefully roll the cheese around the filling to form a wrap.
Let them cool slightly to firm up and hold shape.
Notes
- Cheese Choice Matters:
Monterey Jack gives a mild flavor and crisps well. For a more traditional Philly flavor, try provolone. Mozzarella works too, but it’s stretchier and less crispy. - Don’t Overfill:
Stick to about 2 tablespoons of filling per cheese wrap to keep them easy to roll and prevent tearing. - Let Cheese Set Slightly:
After baking, let the cheese circles cool for just 1–2 minutes—just enough to firm up slightly but still be flexible. If they cool too much, they’ll crack when you try to roll them.
- Prep Time: 15 minutes
- Cook Time: 20 minutes
Nutrition
- Serving Size: 4
