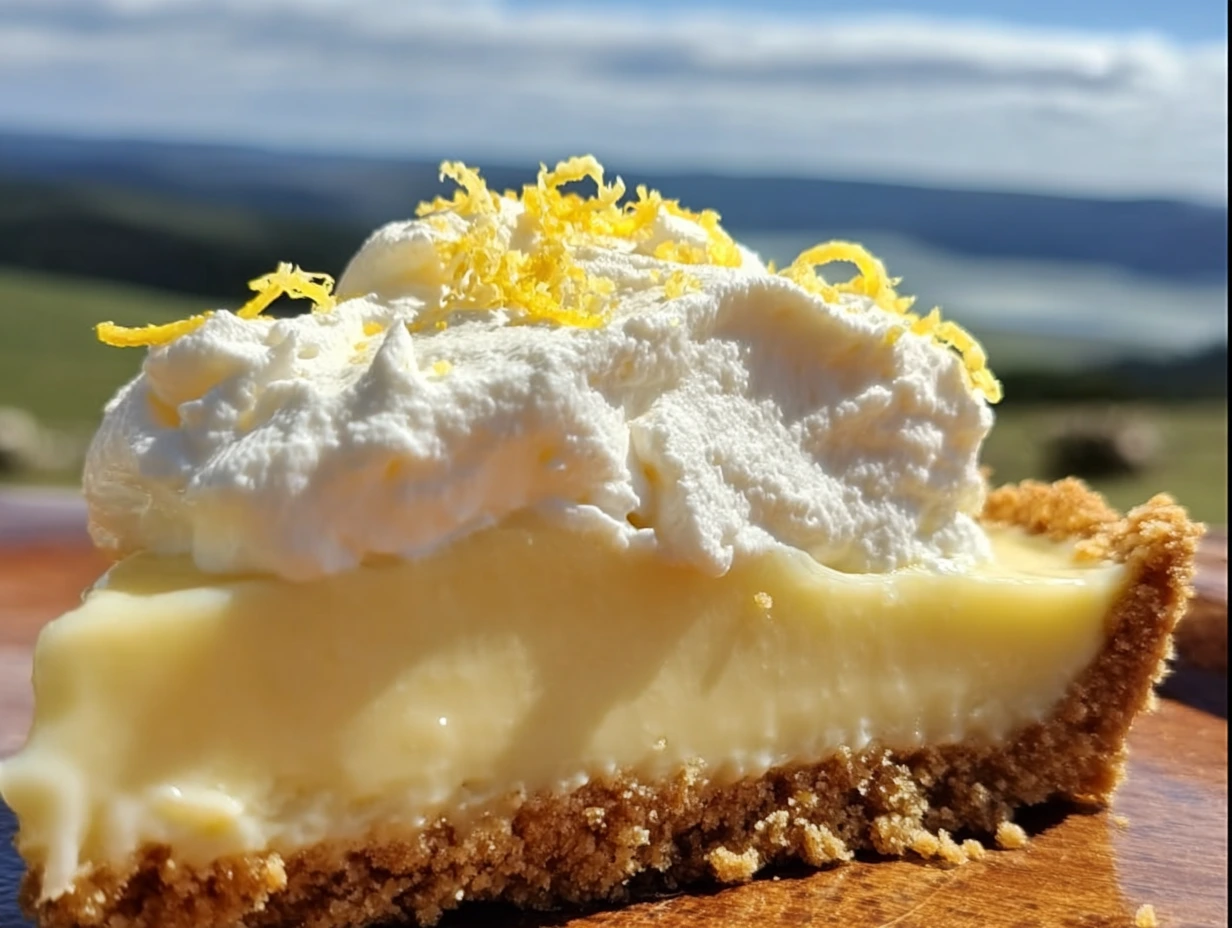
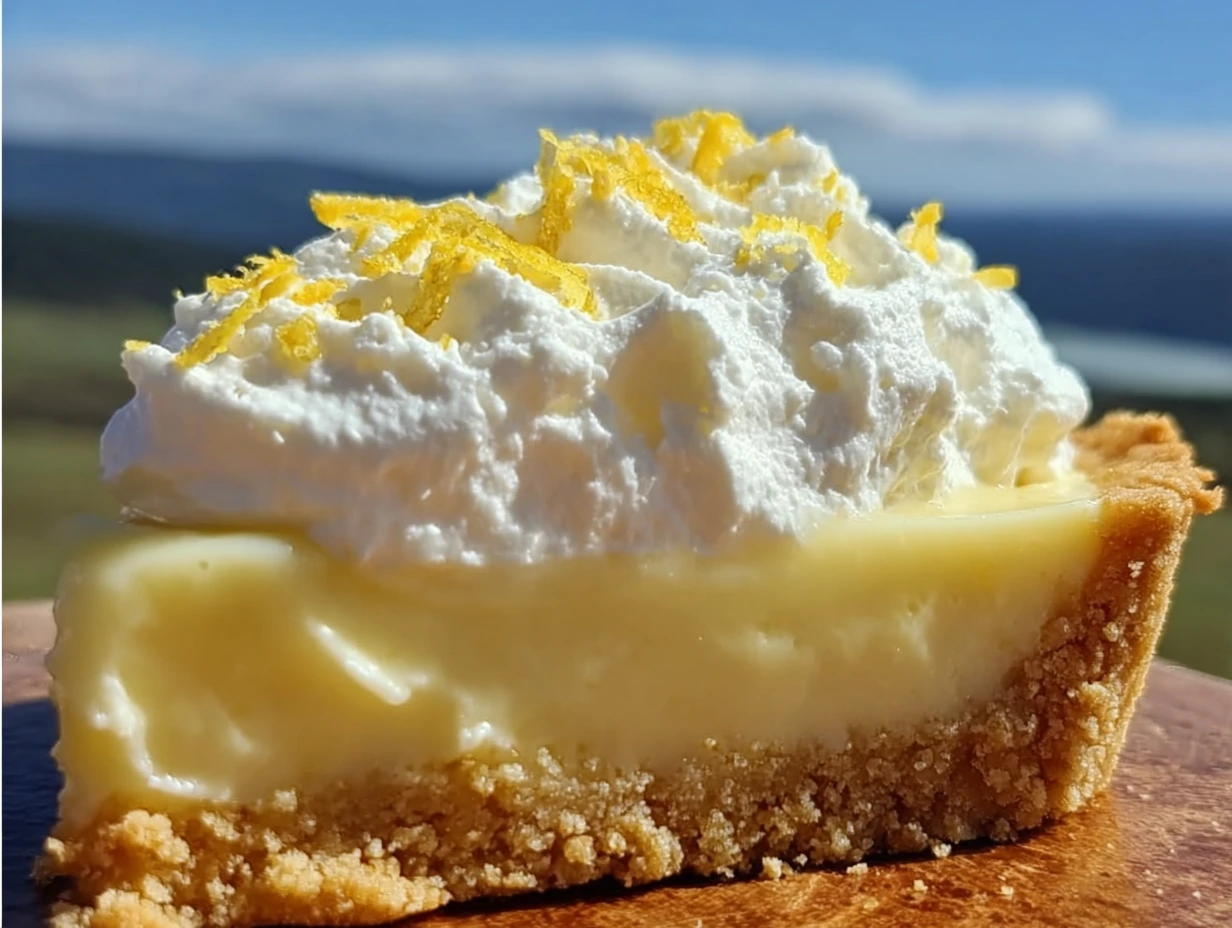
If you’re a fan of desserts that are just the right balance of sweet and tart, then this Lemon Bliss Tart is exactly what you need in your life. There’s something incredibly satisfying about a slice of this tart— the crisp, buttery shortbread crust paired with the smooth, lemony filling that makes every bite a burst of sunshine. Honestly, it’s one of those desserts that has the perfect combination of flavors and textures to make your taste buds do a little happy dance.
I first discovered this tart on a particularly warm spring day when I was craving something that wasn’t too heavy but still rich in flavor. After a few test runs, this Lemon Bliss Tart became my go-to dessert for everything from family get-togethers to dinner parties. What’s even better is that it’s a showstopper dessert with a surprisingly simple recipe. If you’re looking to impress your friends or family with minimal effort, this is your dessert. It’s the kind of treat that looks fancy but doesn’t require you to be a pastry chef to pull off.
Let’s break down the steps and get started with creating this wonderful tart!
Step 1: Make the Shortbread Crust
The base of this tart is a classic shortbread crust, which is buttery, crisp, and totally irresistible. I love that it’s easy to make yet gives such a satisfying crunch that complements the lemon filling perfectly.
Start by preheating your oven to 350°F (175°C). While your oven is warming up, grease a 9-inch tart pan with a removable bottom. I recommend using a removable-bottom tart pan because it makes the tart much easier to remove once it’s set and ready to serve.
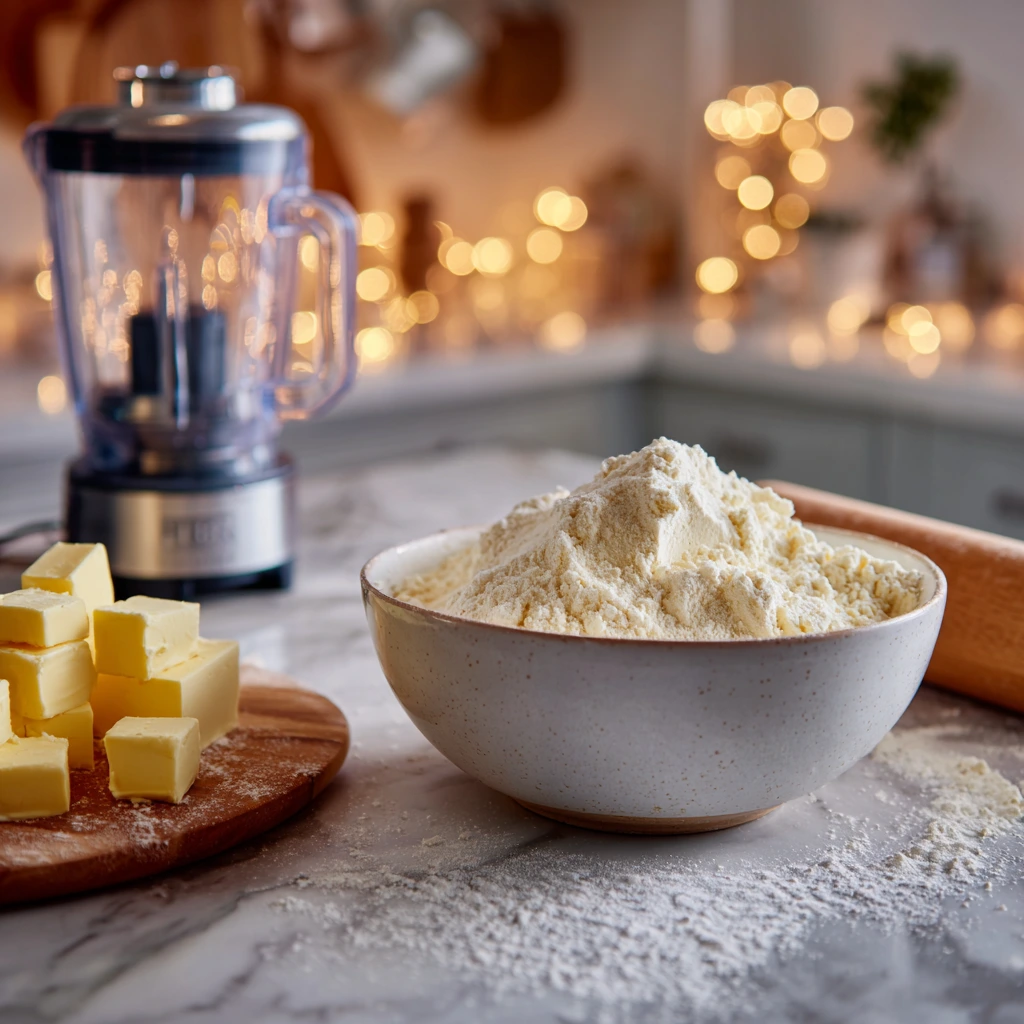
Next, grab your food processor (if you don’t have one, a stand mixer with the paddle attachment will work too) and combine the all-purpose flour, sugar, and salt. Pulse these dry ingredients together until they’re well mixed. Now, it’s time to add the cold, cubed butter. You want to make sure the butter is cold because it will help the dough maintain that perfect flaky texture when baked. Pulse the butter into the dry ingredients until the mixture resembles coarse crumbs.
The key here is to not overdo it. You don’t want the butter to fully blend into the flour—it should still look a bit crumbly. After that, add the egg yolk and pulse again until the dough just comes together in a ball. This should take only a few quick pulses.
Now, it’s time to press the dough into the tart pan. You’ll want to make sure it’s evenly spread on the bottom and up the sides of the pan. I like to use the back of a spoon or the bottom of a measuring cup to gently press the dough in place, making sure it’s nice and even. Don’t forget to prick the dough all over with a fork before baking to prevent it from puffing up while it bakes.
Pop the crust into the preheated oven and bake it for 15-18 minutes, or until it’s lightly golden. When it’s done, remove it from the oven and let it cool while you work on the lemon filling. This cooling step is essential because you want the crust to be at room temperature before you pour the lemon filling in, so it doesn’t melt or affect the texture.
Step 2: Make the Lemon Filling
Now for the star of the show: the lemon filling. This filling is what really makes the tart special—it’s creamy, tart, and just sweet enough to balance out the zingy lemon flavor. It also has a lovely smooth texture that contrasts wonderfully with the crumbly shortbread crust.
To get started, grab a medium saucepan and whisk together the eggs, sugar, fresh lemon juice, lemon zest, heavy cream, and a pinch of salt. You want to make sure the eggs and sugar are well-combined before turning on the heat. This mixture is going to be cooked over medium-low heat, so make sure you’re stirring constantly with a wooden spoon or a silicone spatula. You need to be patient here because the filling will take about 10-12 minutes to thicken up enough to coat the back of the spoon.
The trick is to cook it slowly, so the mixture thickens without curdling. Trust me, it’s totally worth the wait! You’ll know it’s ready when it coats the back of the spoon and holds its shape. Don’t let it boil, though. Once it thickens, immediately strain the mixture through a fine-mesh sieve into a clean bowl to remove any lumps or bits of zest. This step ensures that your filling will be smooth and silky.
Once the filling is ready, carefully pour it into the pre-baked shortbread crust. Use a spatula to spread it out evenly across the surface. At this point, you should have a smooth, lemony layer just waiting to set up into perfection.

Step 3: Bake the Tart
Now that your tart is filled with that dreamy lemon filling, it’s time to bake it again. But don’t worry—this step is quick and easy. The idea is to gently bake the tart so that the filling sets, but still retains a slight jiggle in the center, creating that perfectly creamy texture when sliced.
Start by reducing the oven temperature to 325°F (160°C). This lower temperature ensures that the filling cooks evenly without over-baking or becoming rubbery. Place your filled tart pan onto a baking sheet for extra stability while you bake it (just in case it gets a little wobbly).
Bake the tart for 10-12 minutes. You’ll know it’s ready when the filling is set but still a tiny bit wobbly in the center. Be sure to check it carefully around the 10-minute mark because you don’t want to overbake it. The filling should firm up but not become dry or cracked. Once it’s set just right, remove the tart from the oven and let it cool completely on a wire rack.
Step 4: Chill the Tart
Once your tart has cooled down to room temperature, the next important step is to chill it. Refrigeration allows the filling to set fully, which gives you that perfect slice with a clean, smooth edge. I recommend letting the tart chill for at least 2 hours, or even overnight if you have the time. The longer it chills, the more the flavors will meld together, and the filling will firm up beautifully.
This is the part where you can take a deep breath, relax, and let the tart do its magic in the fridge. I know the waiting game can be tough, but trust me, it’s worth it. While it’s chilling, you can plan out the finishing touches and get excited to serve this beautiful dessert!
Step 5: Add the Topping and Serve
Before serving, you’ll want to add a topping that enhances the tart’s creamy lemon filling and makes it look absolutely stunning. You’ve got a few options here depending on how you want to finish off your Lemon Bliss Tart.
If you’re feeling extra indulgent, a dollop of sweetened whipped cream is always a fantastic option. Simply whip up some heavy cream with powdered sugar and a touch of vanilla extract, and pipe or spread it on top of the tart. This creamy topping complements the tartness of the lemon filling in the most satisfying way.
For an elegant touch, you can opt for a meringue topping. If you’re up for it, it’s not too difficult to make and adds a lovely, slightly crispy texture. You can find the optional meringue recipe below if you want to give it a try!
Another beautiful way to garnish the tart is with lemon zest curls or thin slices of fresh lemon. This not only gives the tart a fresh pop of color but also intensifies the citrus flavor for anyone who loves a tangy kick.
Once topped, slice the tart into wedges and serve! You can serve it chilled straight from the fridge or let it sit out for a few minutes if you prefer it at room temperature. Either way, it’s going to be delicious, and I’m sure your guests will be asking for seconds.
Optional Meringue Topping Recipe
If you decide to go the meringue route, here’s how to make it:
Ingredients:
-
3 large egg whites
-
1/4 teaspoon cream of tartar
-
1/2 cup granulated sugar
-
1 teaspoon vanilla extract
Instructions:
-
Preheat your oven to 350°F (175°C).
-
In a large bowl, beat the egg whites with cream of tartar until soft peaks form.
-
Gradually add the sugar, about a tablespoon at a time, beating continuously until stiff peaks form.
-
Once you have stiff, glossy peaks, add the vanilla extract and gently fold it in.
-
Spread the meringue over the top of the cooled tart, making sure to cover it completely.
-
Bake for about 10-12 minutes, or until the meringue is lightly golden. Let it cool before serving.