If there’s one cake that never fails to put me in a good mood, it’s this lemon loaf. There’s just something so happy about lemons, isn’t there? They’re bright, refreshing, and when you add them to cake, they do this magical thing where tart meets sweet in the best way possible. This lemon cake has quickly become one of those “make it again!” recipes in our house—not too fussy, not too sweet, but just right with that fresh citrusy punch.
I originally whipped this up on a whim one weekend when I had a few lemons on their last leg and needed something to bring to a brunch. That first slice was a total game-changer. The crumb was soft and perfectly moist, the flavor so vibrant, and that lemon glaze? Let’s just say there wasn’t a single crumb left on the plate. Whether you’re baking this for a brunch, a spring gathering, or just because you’re craving something homemade and cozy, this lemon cake is a no-fail, always-delicious kind of treat.
Let’s get into the details so you can make it, too.
WHAT MAKES THIS LEMON CAKE SO SPECIAL?
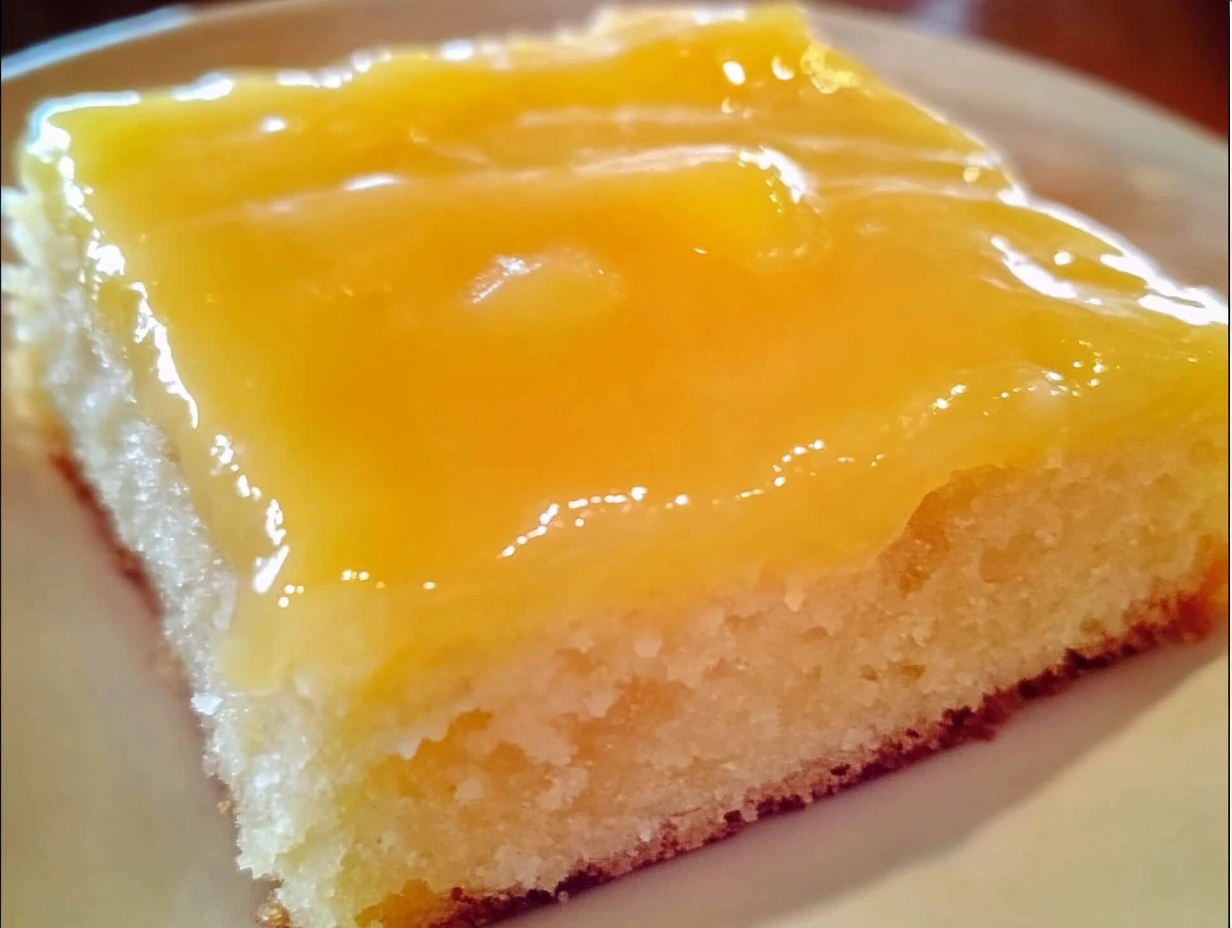
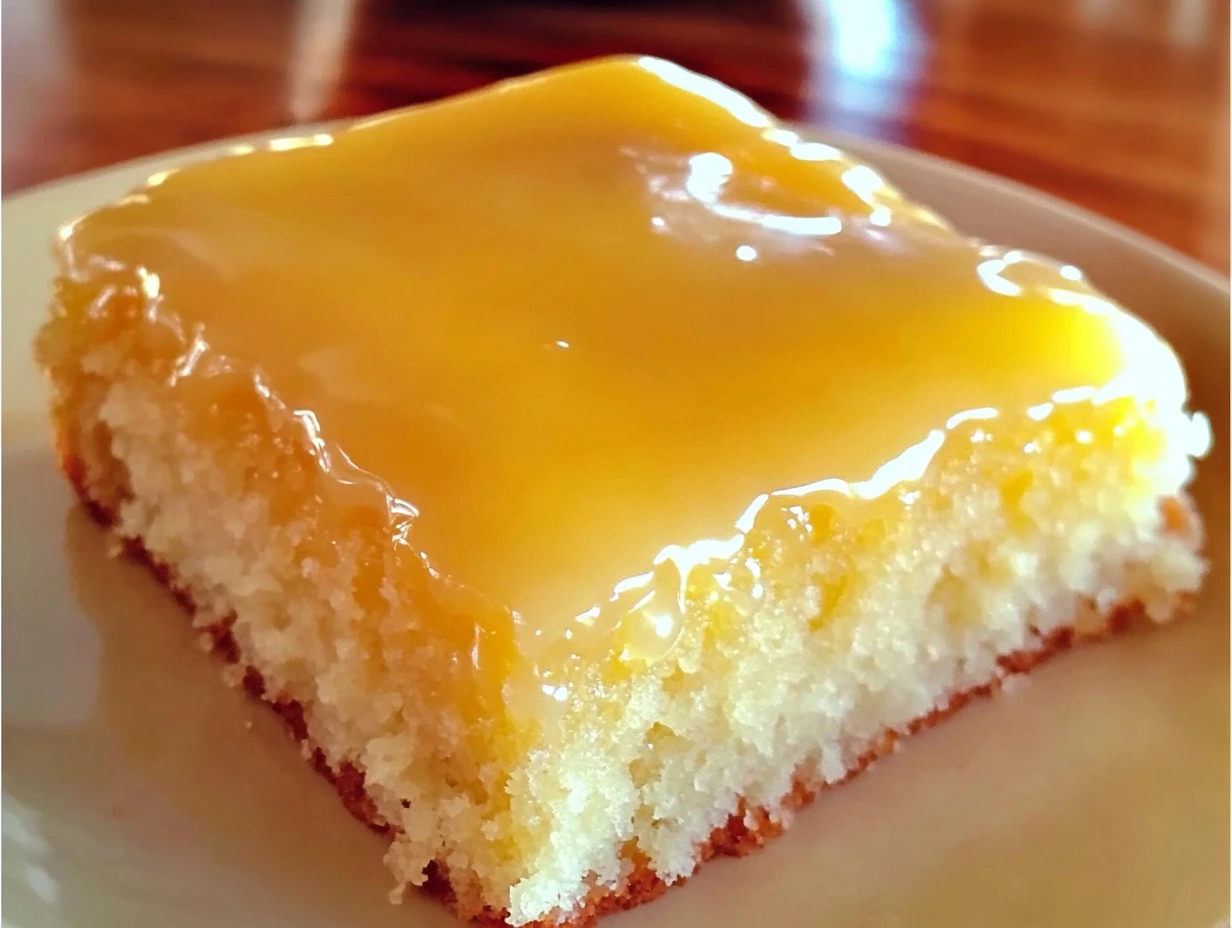
This isn’t your average lemon cake. It’s rich and soft thanks to Greek yogurt, but still light and fresh because of the citrus. The real secret? We’re using both the zest and juice of the lemons, so you get double the lemon flavor. The glaze is the finishing touch—it soaks slightly into the top of the cake and adds the perfect zingy sweetness that keeps you coming back for another slice.
And don’t worry, the recipe is super straightforward. If you’ve got a mixing bowl, a loaf pan, and a couple of lemons, you’re already halfway there.
INGREDIENTS YOU’LL NEED
Here’s everything that goes into this beautifully moist lemon loaf:
For the cake:
-
1 ½ cups all-purpose flour
-
1 tsp baking powder
-
½ tsp baking soda
-
¼ tsp salt
-
1 cup granulated sugar
-
½ cup unsalted butter, softened
-
2 large eggs, room temperature
-
Zest and juice of 2 lemons (about 2–3 tbsp zest and ¼ cup juice)
-
½ cup plain Greek yogurt (or sour cream or buttermilk)
-
1 tsp vanilla extract
For the glaze:
-
1 cup powdered sugar
-
2–3 tbsp fresh lemon juice
-
Optional: ½ tsp lemon zest for extra zing
STEP-BY-STEP: LET’S GET BAKING
Step 1: Preheat the Oven
Preheat your oven to 350°F (175°C). Grease and flour a loaf pan, or line it with parchment paper for easy cleanup. I love using parchment because it guarantees you won’t be scraping cake out of the corners later.
Step 2: Mix the Dry Ingredients
In a medium bowl, whisk together the flour, baking powder, baking soda, and salt. This step ensures everything is evenly distributed so you don’t end up with a salty bite here or an overly fluffy pocket there.
Step 3: Cream Butter and Sugar
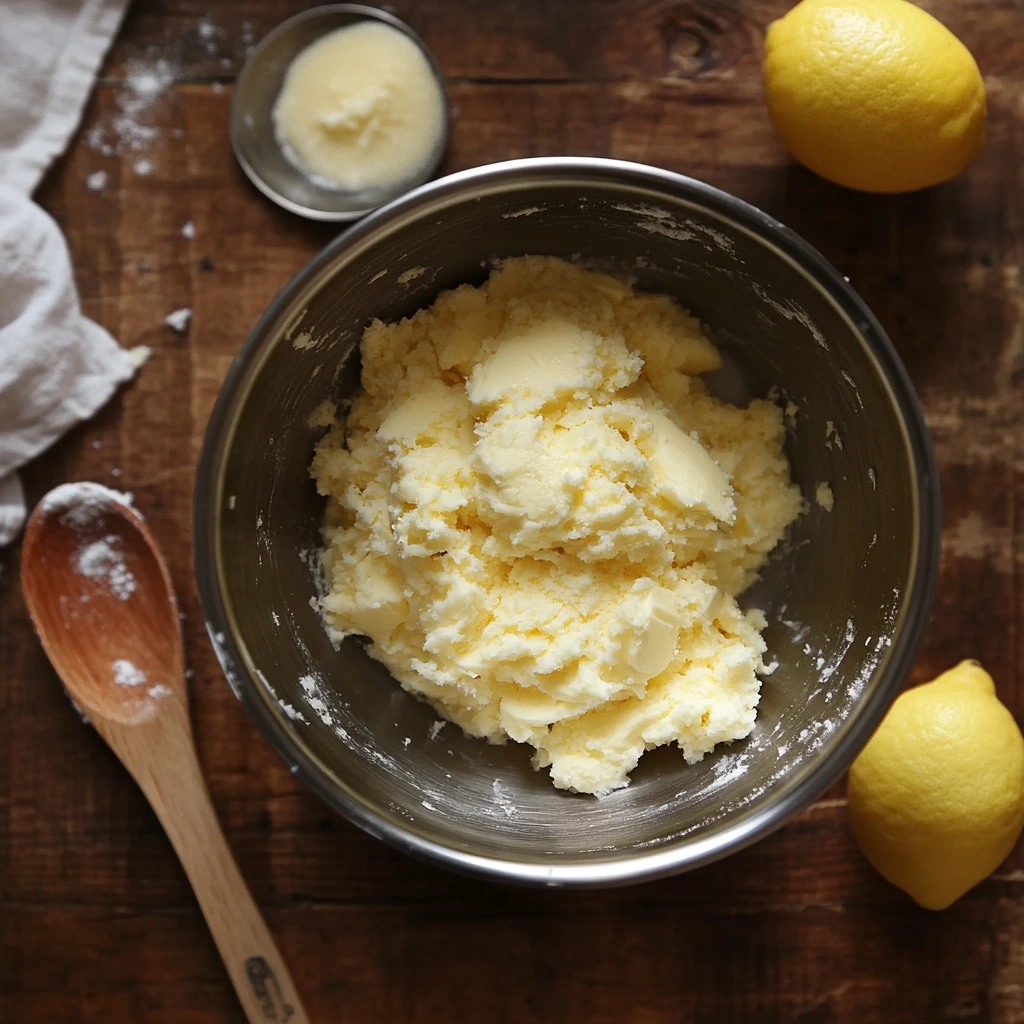
In a large mixing bowl, beat the softened butter and granulated sugar together for 2–3 minutes until it’s light and fluffy. This step really helps get that airy texture we want in a loaf cake. Don’t rush it!
Step 4: Add the Eggs and Lemon
Beat in the eggs one at a time. Then stir in the lemon zest, lemon juice, and vanilla extract. Your kitchen will already start to smell amazing at this point. That fresh lemon aroma is everything.
STEP 5: COMBINE WET AND DRY INGREDIENTS
Start adding your dry mixture to the wet mixture gradually. Do it in three parts, alternating with the Greek yogurt. So, begin with a third of the dry ingredients, then add half the yogurt, and repeat until everything is combined—always ending with the dry mix.
Important tip: Mix gently. Once you add the flour, overmixing can lead to a dense loaf. Use a spatula or a mixer on low speed, just until the flour disappears into the batter. It’s totally fine if the batter looks a little lumpy—that’s actually a good sign that you didn’t overdo it.
STEP 6: BAKE TO GOLDEN PERFECTION
Pour the batter into your prepared loaf pan and use a spatula to smooth the top. Then, gently tap the pan on the counter a couple of times. This helps release any air bubbles that might be trapped inside.
Slide it into the preheated oven and bake for 50 to 60 minutes. Every oven is a little different, so start checking around the 50-minute mark. You’ll know it’s done when a toothpick inserted into the center comes out clean—or with just a few moist crumbs.
Quick tip: If the top is browning too fast but the center still isn’t done, loosely tent the loaf with a piece of foil and continue baking. This keeps the top from over-browning while the middle catches up.
Once it’s done baking, let it cool in the pan for about 10 minutes, then carefully lift it out and transfer to a wire rack. Make sure the cake is completely cool before glazing—this is key. If it’s still warm, the glaze will melt into the cake instead of sitting prettily on top.
STEP 7: MAKE THAT GLAZE GORGEOUS
In a small bowl, whisk together 1 cup of powdered sugar with 2 to 3 tablespoons of fresh lemon juice. Start with 2 tablespoons and add more if you want a thinner glaze. You’re aiming for a texture that’s pourable but not watery.
If you want to dial up the lemon even more (and I usually do), toss in a little extra lemon zest. It gives the glaze a bit of color and even more citrus pop.
Once the cake is fully cool, drizzle the glaze generously over the top. You can spoon it over in a zig-zag pattern or go for full coverage—whatever you prefer. Let the glaze set for about 15 minutes before slicing.
STEP 8: SLICE AND SERVE
Now comes the best part—slice and serve! This lemon loaf is lovely on its own, but it also pairs beautifully with:
-
A dollop of whipped cream
-
A scoop of vanilla ice cream
-
Fresh berries (blueberries or raspberries are my go-to)
-
A cup of tea or a latte
Honestly, I’ve even had a slice for breakfast more times than I’d like to admit. It’s just that good.
BAKER’S TIPS FOR A PERFECT LEMON CAKE
1. Use room temperature ingredients. This helps everything blend more smoothly, especially the butter, eggs, and yogurt.
2. Don’t skip the zest. It’s where most of the lemon flavor lives. A microplane zester makes this part quick and easy.
3. Want more lemon punch? Add a tiny splash of lemon extract (about ¼ teaspoon) to the batter for a stronger citrus note.
4. Make it ahead. This loaf actually tastes even better the next day once the flavors have had time to settle.
5. Freezer-friendly. You can freeze the whole loaf (unglazed) or individual slices. Wrap tightly and freeze for up to 2 months. Just thaw at room temp and glaze before serving.