
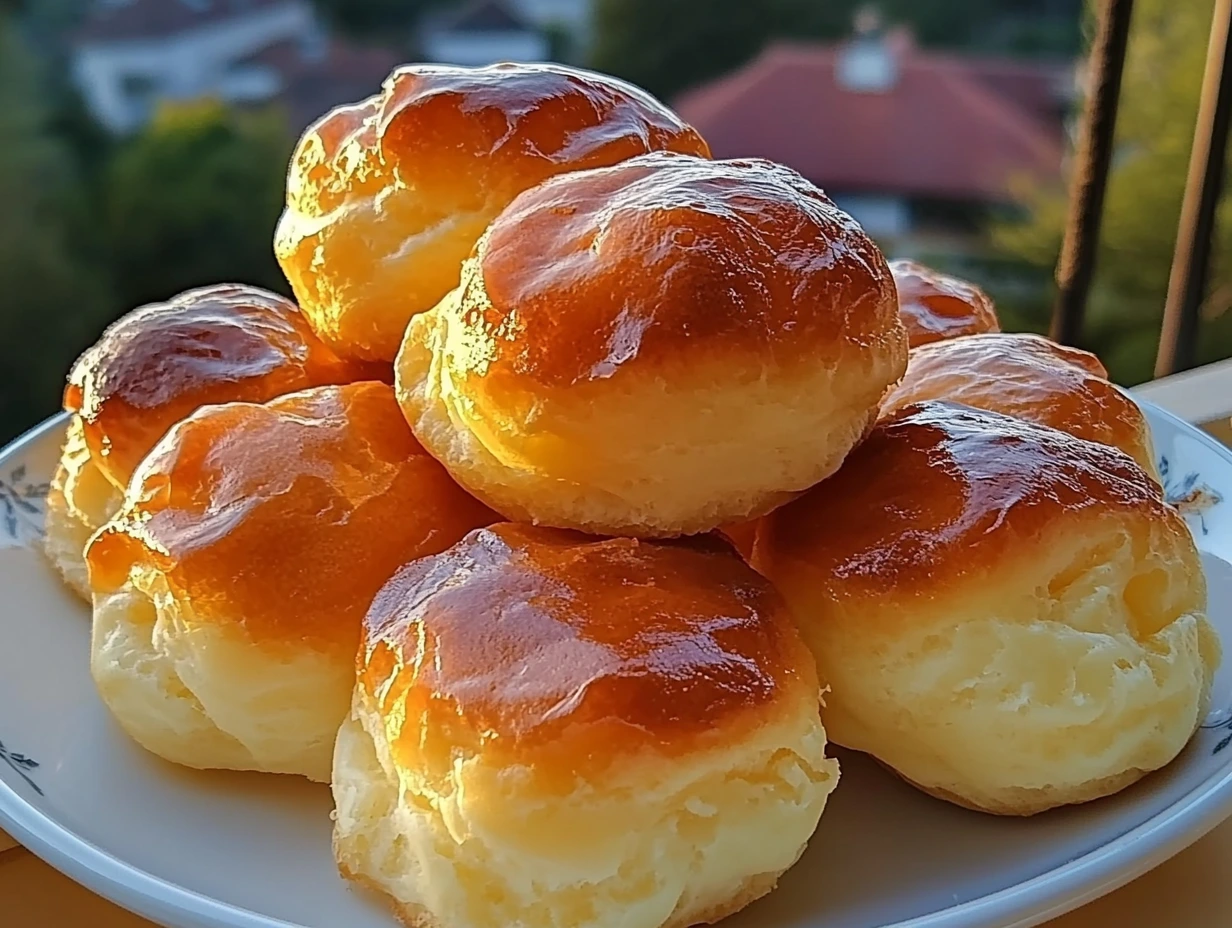
Let’s talk about a pastry that looks like it belongs in a French patisserie window but is simple enough to whip up in your own kitchen: Nun’s Puffs. These little golden beauties are light, delicately crisp on the outside, and filled with fluffy vanilla whipped cream. To top it all off, they get a gentle kiss of warm honey glaze that’s just sweet enough to make them irresistible.
The name might sound a bit mysterious—Nun’s Puffs—but the flavor and texture are anything but complicated. Think of them as the slightly sweeter cousin of cream puffs, with a soft, airy center and just enough indulgence to feel like a treat. What I love most is that they use basic pantry ingredients, yet deliver something that feels truly special, whether you’re serving them with afternoon tea or bringing them out as a light dessert after dinner.
The first time I made these, I’ll admit—I was a little intimidated by the choux pastry. But once I realized how forgiving and flexible the dough actually is, I was hooked. Now, I reach for this recipe whenever I want to impress without spending hours in the kitchen.
So grab your whisk and preheat that oven—we’re diving into the world of choux with these dreamy, cream-filled Nun’s Puffs.
STEP 1: MAKE THE CHOUX PASTRY
First things first, we’re starting with the base: a classic choux pastry. If you’ve never made this type of dough before, don’t worry—it’s surprisingly simple and super satisfying to work with.
Preheat your oven to 400°F (200°C) and line a baking sheet with parchment paper. You definitely want to get this step out of the way first because once the dough comes together, it moves fast.
In a medium saucepan, combine:
-
½ cup water
-
½ cup milk
-
½ cup unsalted butter (cut into pieces)
-
1 tablespoon granulated sugar
-
¼ teaspoon salt
Set the pan over medium heat and stir occasionally until the butter melts and the whole mixture starts to boil. This part’s important—you want to make sure everything is hot and bubbly before moving to the next step.
Once it’s boiling, remove the pan from the heat and dump in 1 cup of all-purpose flour all at once. Stir quickly and vigorously with a wooden spoon or sturdy spatula. You’ll see it transform into a thick, smooth dough that pulls away from the sides of the pan.
Return the pan to low heat for another minute or two, stirring constantly. This helps cook off some of the moisture and gives your pastry a better structure.
After that, take the pan off the heat again and let the dough cool for 5 minutes. (This step is crucial—you don’t want to scramble the eggs we’re about to add.)
STEP 2: INCORPORATE THE EGGS
Now it’s time for the eggs, and this is where the magic happens.
Crack 4 large eggs into a small bowl and get ready to add them one at a time. You’ll want to beat each egg fully into the dough before adding the next. The dough will look like it’s separating or breaking apart at first—totally normal! Just keep stirring and it’ll come back together.
Once all the eggs are in, your dough should be glossy, thick, and just soft enough to pipe. It should hold its shape when you spoon it but still be smooth and pliable.
I like to transfer the dough into a piping bag at this point (you can also use a zip-top bag with the corner snipped off). It makes portioning the puffs a breeze.
STEP 3: PIPE AND BAKE
Line up that baking sheet you prepped earlier. Pipe out small mounds, about 1 to 1.5 inches wide, and space them at least 2 inches apart—these babies puff up quite a bit.
Here’s a quick trick: Dip your finger in a little water and gently smooth down any peaks on the tops of the dough mounds. It helps them bake more evenly and keeps them from getting too pointy.
Pop the tray into the oven and bake for 20 to 25 minutes, or until the puffs are golden and nicely puffed up. Whatever you do, don’t open the oven door early—they need that heat to stay puffed.
Once they’re done, turn off the oven, crack the door open just a bit, and let the puffs sit inside for another 5 to 10 minutes. This helps them dry out slightly so they keep their shape and don’t deflate.
Let them cool completely on a wire rack before moving on to the best part: the cream filling.
STEP 4: WHIP UP THE CREAM FILLING
The cream inside these puffs is light, not overly sweet, and the perfect contrast to the golden pastry shell. We’re going with a simple whipped cream base here, flavored with vanilla and just a touch of powdered sugar.
Here’s what you’ll need:
-
1 cup heavy whipping cream
-
2 tablespoons powdered sugar
-
1 teaspoon vanilla extract
Using a stand mixer or hand mixer, beat the heavy cream on medium-high speed until it starts to thicken. Add in the powdered sugar and vanilla extract, then continue whipping until stiff peaks form. The texture should be thick and fluffy—just stiff enough to hold its shape when piped into the pastries.
Tip: Chill your mixing bowl and beaters for 10 minutes before you start. Cold equipment helps the cream whip up faster and hold its shape better.
Once your whipped cream is ready, spoon it into a piping bag fitted with a small round or star tip. If you don’t have a piping bag, you can use a zip-top bag and snip the corner—just make sure the opening is small enough for controlled piping.
STEP 5: ASSEMBLE THE PUFFS
Your puffs should be cool to the touch by now. Using a small serrated knife, gently slice each puff in half horizontally—like you would a dinner roll. You’ll notice that the inside is mostly hollow, with just a little bit of tender dough clinging to the edges. That’s exactly what we want.
Pipe a generous swirl of whipped cream onto the bottom half of each puff, then gently place the top back on. The contrast of the airy choux with the creamy filling is what makes this dessert so special.
You can absolutely stop here and serve them just like this. But let’s not forget the final touch—the honey glaze. It’s what takes this recipe from good to bakery-worthy.
STEP 6: GLAZE AND SERVE
The glaze is a simple mixture of honey and water, warmed gently until it becomes silky and pourable. Here’s how to make it:
-
½ cup honey
-
2 tablespoons water
-
Optional: A pinch of cinnamon or a splash of vanilla extract
In a small saucepan over low heat, stir together the honey and water until smooth and slightly warm. If you want a little extra depth of flavor, add a tiny pinch of cinnamon or a drop of vanilla extract. Both work beautifully with the whipped cream and choux.
Drizzle the warm glaze over the tops of the filled puffs just before serving. You can use a spoon to control the amount or go wild and pour a bit more liberally—nobody’s judging.
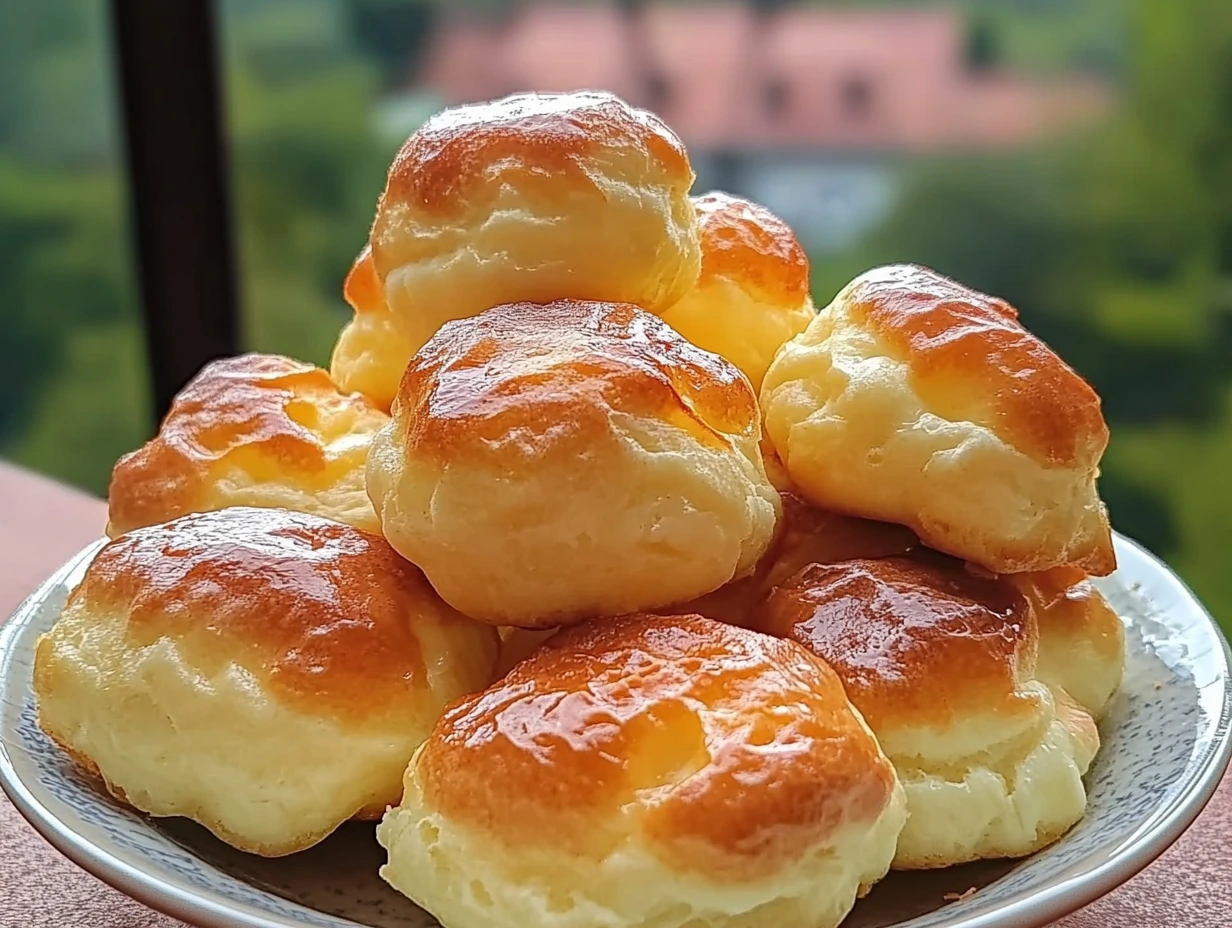
The honey adds a soft sweetness that pairs so nicely with the light cream and tender pastry. Plus, it gives the puffs a lovely sheen that makes them look like they came straight from a bakery case.
TIPS AND VARIATIONS
If you’ve made it this far, you’re already well on your way to mastering Nun’s Puffs—but here are a few extra tips and ideas to make them your own:
-
Add a fruit twist: Layer in some sliced strawberries, raspberries, or blueberries with the whipped cream. It adds a refreshing touch that works especially well in warmer months.
-
Try a different glaze: Swap honey for maple syrup or even a citrus glaze made with powdered sugar and lemon juice.
-
Make ahead: You can bake the choux pastry shells a day in advance. Just store them in an airtight container at room temperature, and fill/glaze right before serving.
-
Mini version: Pipe smaller mounds of dough (about ¾-inch wide) and reduce baking time to 15–18 minutes for adorable, bite-sized puffs—perfect for parties or dessert platters.
-
Chocolate drizzle: Not traditional, but delicious—melt a little dark chocolate and drizzle it over the finished puffs for a richer, more decadent treat.
These pastries are surprisingly flexible, and once you’ve got the hang of choux pas
FREQUENTLY ASKED QUESTIONS
1. Why didn’t my puffs rise properly?
The most common reason is that the oven temperature wasn’t hot enough or was opened too early during baking. Make sure to preheat your oven fully to 400°F and avoid opening the door in the first 20 minutes. Steam is crucial for the puff!
2. Can I make the choux pastry in advance?
Yes. You can make the dough a few hours ahead and refrigerate it. Let it come to room temperature before piping. Or, better yet, bake the shells and store them in an airtight container for up to a day before filling.
3. How do I keep the puffs crisp after filling?
Once filled with cream and topped with glaze, the puffs will start to soften. For the best texture, fill and glaze them just before serving. If you need to prepare in advance, keep the shells, filling, and glaze separate until ready to assemble.
4. What if I don’t have a piping bag?
No worries. You can use a zip-top bag and snip off a corner. For extra control, reinforce the tip area with a little tape before adding the filling or dough. It’s a low-tech solution that works just fine.
5. Can I use a different glaze?
Definitely. While the honey glaze is delicious and classic for this version, you can experiment with a simple powdered sugar glaze, chocolate drizzle, or even a fruit reduction if you want to add a twist.
6. Do Nun’s Puffs have to be sweet?
Not necessarily. While this recipe focuses on a sweet version, choux pastry is incredibly versatile. You could skip the sugar in the dough and fill the puffs with savory options like herbed cream cheese or smoked salmon mousse for a completely different spin.
7. How long do they last once assembled?
Once filled and glazed, Nun’s Puffs are best enjoyed within a few hours. They can be stored in the fridge for up to 24 hours, but the texture will soften over time. If you’re prepping for a party, assemble them shortly before serving for the best results.
CONCLUSION: YOUR NEW FAVORITE PASTRY PROJECT
There’s something so satisfying about making your own pastries from scratch—especially when the result is as light, airy, and delicious as these Nun’s Puffs. They look fancy, taste incredible, and come together with just a handful of pantry staples.
Whether you’re making them for a holiday brunch, a tea party, or just a cozy treat on a quiet weekend, they’re sure to impress. The contrast between the crisp pastry shell, creamy vanilla filling, and sweet honey glaze is pure magic. And once you’ve made them once, you’ll feel confident enough to experiment with flavors, sizes, and toppings.
I hope you give this recipe a try and fall in love with it as much as I have. And if you do, I’d love to hear about it—leave a comment, tell me how it went, or share your own fun variations. Happy baking!
Print
NUN’S PUFFS
- Total Time: 45 minutes
Description
Light, airy, and delicately sweet, Nun’s Puffs are delightful cream-filled choux pastries topped with a warm honey glaze. Perfect for a tea-time treat or elegant dessert, they’re surprisingly simple to make and even more delightful to eat.
Ingredients
For the choux pastry:
- ½ cup water
- ½ cup milk
- ½ cup unsalted butter, cut into small pieces
- 1 tbsp granulated sugar
- ¼ tsp salt
- 1 cup all-purpose flour
- 4 large eggs, room temperature
For the filling:
- 1 cup heavy whipping cream
- 2 tbsp powdered sugar
- 1 tsp vanilla extract
For the honey glaze:
- ½ cup honey
- 2 tbsp water
Instructions
1️⃣ Make the choux pastry:
Preheat your oven to 400°F (200°C) and line a baking sheet with parchment paper. In a medium saucepan, combine the water, milk, butter, sugar, and salt. Heat over medium heat until the butter melts and the mixture boils. Remove from heat, add the flour all at once, and stir vigorously until a dough forms. Return to low heat for 1–2 minutes, stirring constantly. Let cool for 5 minutes.
2️⃣ Incorporate the eggs:
Beat in the eggs one at a time, fully incorporating each before adding the next. The dough should be glossy, smooth, and pipeable.
3️⃣ Pipe and bake:
Transfer dough to a piping bag (or zip-top bag with the tip cut). Pipe 1–1.5 inch mounds onto the baking sheet, spacing 2 inches apart. Smooth the tops with a damp finger. Bake for 20–25 minutes until puffed and golden. Turn off the oven, crack the door, and let the puffs dry inside for 5–10 minutes.
4️⃣ Prepare the filling:
Whip the cream, powdered sugar, and vanilla extract until stiff peaks form. Spoon into a piping bag fitted with a small tip.
5️⃣ Assemble the puffs:
Slice each cooled puff in half. Pipe whipped cream onto the bottom half and place the top back on.
6️⃣ Glaze and serve:
Warm honey and water in a small saucepan over low heat. Stir in cinnamon or vanilla if desired. Drizzle warm glaze over the filled puffs before serving.
Notes
- Make sure the puffs are completely cool before filling to avoid melting the whipped cream.
- For an extra fancy touch, dust with powdered sugar after glazing.
- You can substitute the whipped cream with pastry cream for a richer filling.
- Prep Time: 20 minutes
- Cook Time: 25 minutes
Nutrition
- Serving Size: 12–16 puffs
