

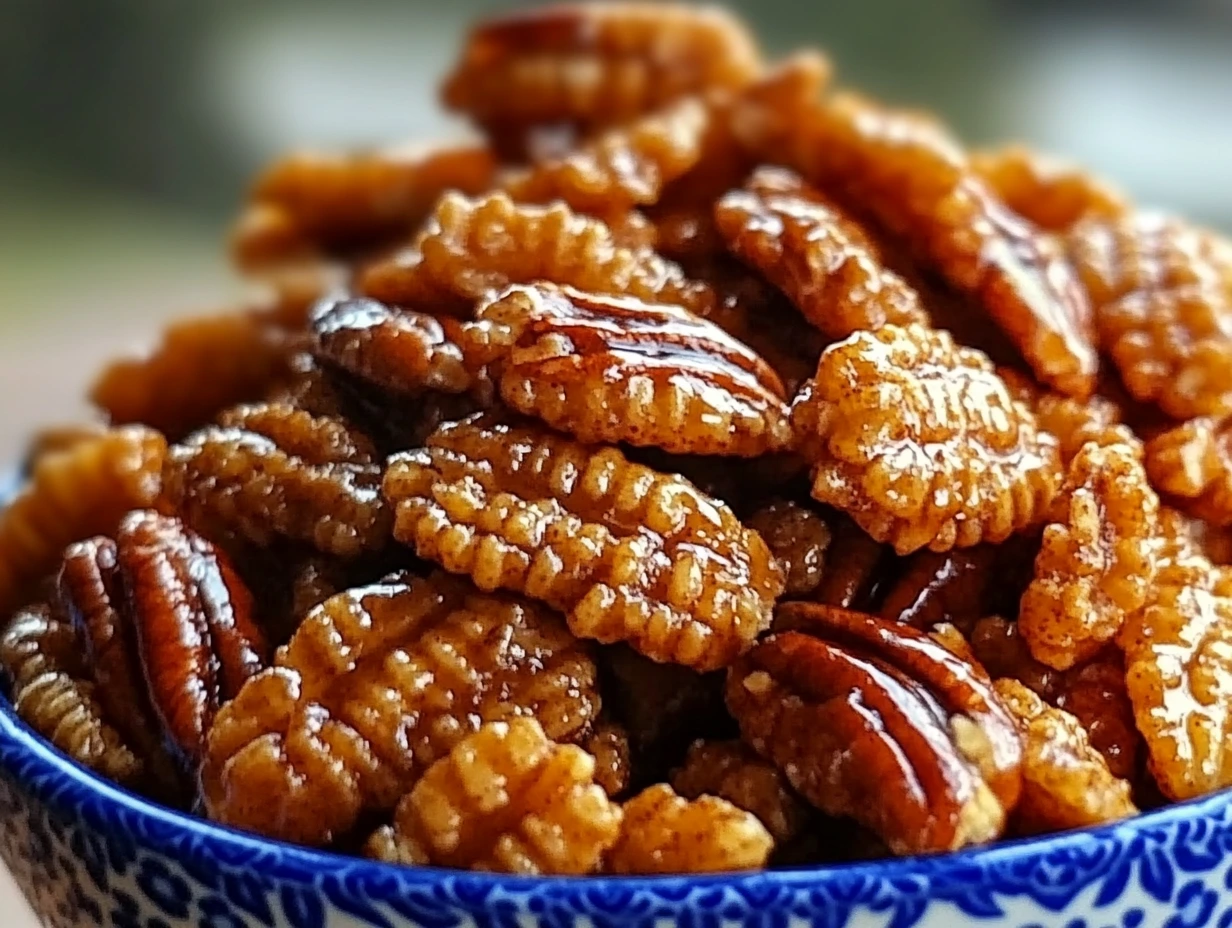
There’s something magical about a snack that’s both crunchy and sweet, with just the right amount of buttery goodness. Praline Crunch is one of those addictive treats that disappear faster than you can make them. Whether you’re whipping up a batch for a holiday gift, a party snack, or just a little something to satisfy your sweet tooth, this recipe is sure to be a hit.
This recipe combines crispy cereal, toasted pecans, and a homemade praline coating that caramelizes beautifully in the oven. It’s like a cross between caramel corn and candied nuts—but even better! Plus, it’s incredibly easy to make, requiring only a handful of ingredients and minimal effort. Let’s get started!
Why You’ll Love This Praline Crunch
- Easy to Make: No candy thermometer needed, just a simple stovetop praline coating and an oven bake.
- Perfect for Gifting: Package it in festive tins or treat bags for a homemade holiday gift.
- Customizable: Swap the nuts, change the cereal, or add extra flavors to make it your own.
- Deliciously Addictive: The combination of caramelized sugar, buttery crunch, and toasted pecans is irresistible.
Now, let’s walk through the simple steps to make this praline crunch from scratch.
Step 1: Preheat the Oven
Before doing anything else, set your oven to 250°F (120°C). This low and slow baking process helps evenly caramelize the praline coating without burning the cereal or nuts.
To make cleanup easier, line a large baking sheet with parchment paper or a silicone baking mat. This prevents sticking and makes it simple to break apart the praline crunch later.
Step 2: Prepare the Cereal and Nuts
The beauty of this recipe is its texture contrast. You’ll need:
- 8 cups of Crispix cereal – This hexagon-shaped cereal is perfect because it’s light and airy, but sturdy enough to hold up to the praline coating. If you don’t have Crispix, you can substitute with Chex mix, Golden Grahams, or even cornflakes for a different twist.
- 2 cups of pecan halves – Pecans add a deep, nutty flavor that pairs beautifully with the caramelized praline. If you want to mix things up, try walnuts, almonds, or cashews. Want a nut-free version? Swap in pretzels for a salty-sweet contrast.
In a large mixing bowl, combine the cereal and pecans, then set them aside while you prepare the praline coating.
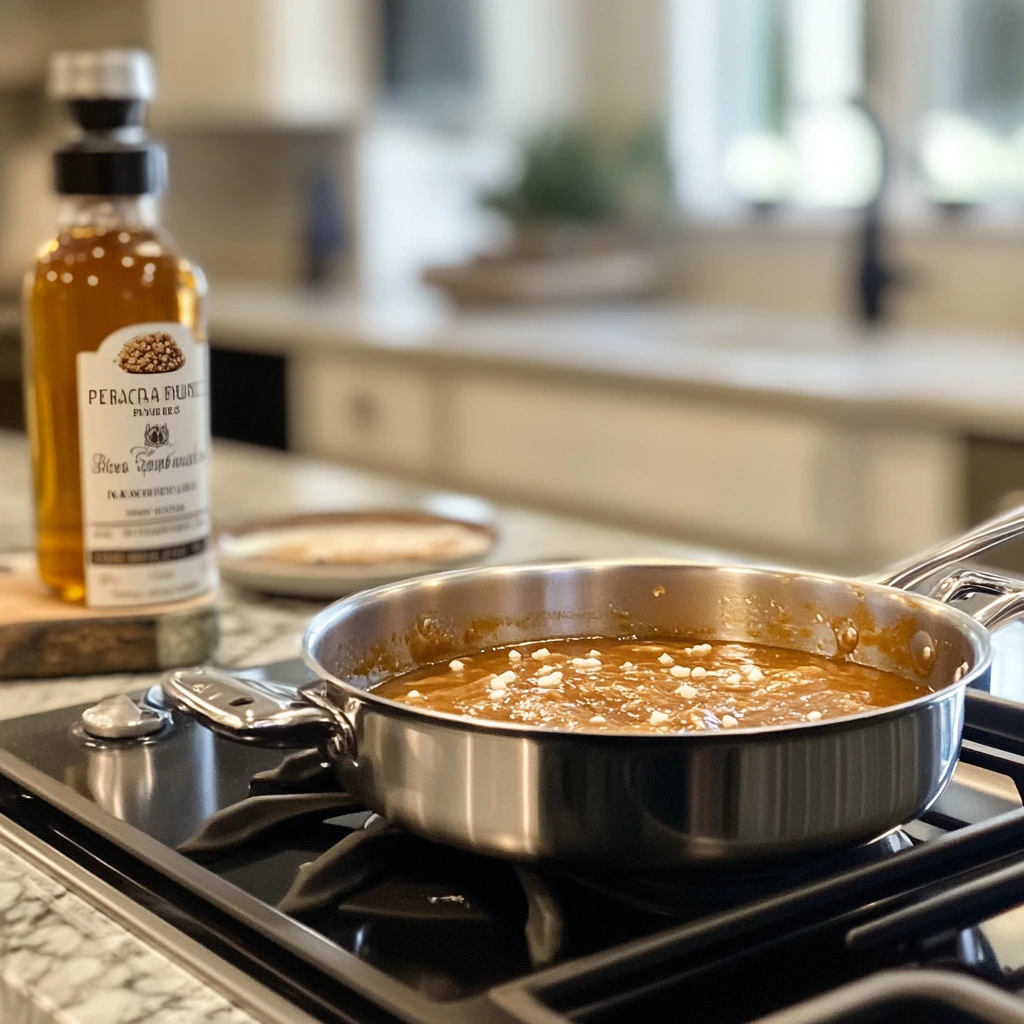
Step 3: Make the Praline Coating
Now for the best part—the buttery, caramelized coating that brings everything together.
In a medium saucepan, combine the following ingredients:
- 1 cup light brown sugar, packed – This gives the praline its signature deep caramel flavor.
- 1/2 cup light corn syrup – Helps create that smooth, glossy texture that coats everything evenly.
- 1/2 cup unsalted butter – Because everything tastes better with butter, right?
Place the saucepan over medium heat, stirring constantly as the ingredients melt together. Once the mixture comes to a boil, let it bubble for 2 minutes without stirring. This allows the sugar to dissolve completely and develop that rich praline flavor.
Next, remove the saucepan from heat and stir in:
- 1/4 teaspoon baking soda – This causes the mixture to foam slightly, helping to create a light, crispy texture in the final coating.
- 1 teaspoon vanilla extract – Adds warmth and depth to the praline flavor.
Step 4: Coat the Cereal and Nuts
Once your praline mixture is ready, it’s time to coat the cereal and pecans. This step needs to be done quickly before the praline starts to harden.
- Pour the hot praline mixture over the cereal and nuts in the large mixing bowl.
- Use a heat-resistant spatula or wooden spoon to gently toss the mixture, making sure every piece is evenly coated. Work carefully to avoid breaking the cereal too much.
It might seem a little sticky at first, but don’t worry—it will spread and crisp up beautifully in the oven.
Step 5: Bake for the Perfect Crunch
Baking is the secret to achieving that light, crispy texture.
- Spread the coated cereal and nuts evenly onto your prepared baking sheet in a single layer. Try not to overcrowd the pan, as this helps with even caramelization.
- Place the sheet in the preheated oven (250°F/120°C) and bake for 1 hour, stirring every 15 minutes.
Why Stir Every 15 Minutes?
The praline coating continues to spread and caramelize as it bakes. Stirring helps ensure that every bite gets that perfect crunch and prevents the mixture from sticking together in large clumps.
By the time the hour is up, the praline crunch will have a deep golden brown color and a toasted, nutty aroma.
Step 6: Cool and Break Into Pieces
Once the praline crunch has finished baking, remove the pan from the oven and let it cool completely on the baking sheet. The coating will harden as it cools, creating that signature crunchy texture.
- Once cooled, break the praline crunch into bite-sized pieces using your hands or a spatula.
- If you prefer more uniform pieces, you can use a knife to cut them into chunks.
At this point, try not to eat it all straight from the pan—though no judgment if you do!
Storage Tips for Freshness
To keep your praline crunch fresh and crispy:
- Store it in an airtight container at room temperature for up to two weeks.
- For longer storage, keep it in the freezer in a sealed bag or container for up to two months.
- Avoid leaving it exposed to air for long periods, as the caramel coating can become sticky over time.
Now that you have a perfectly crispy, sweet, and nutty praline crunch, let’s explore some fun ways to customize and enjoy it.
Ways to Customize Your Praline Crunch
While this classic version is already a crowd-pleaser, you can easily tweak it to suit your taste.
- Nut-Free Option: Swap the pecans for pretzels or popcorn for a salty-sweet combo.
- Extra Flavor: Add ½ teaspoon of cinnamon or pumpkin spice to the praline mixture for a warm, cozy twist.
- Chocolate Drizzle: Once cooled, drizzle with melted white or dark chocolate for a decadent finish.
- Mix-Ins: After breaking into pieces, toss in mini marshmallows, M&M’s, or toffee bits for an extra layer of fun.
Frequently Asked Questions
1. Can I use a different type of cereal?
Yes! While Crispix works great because of its sturdy texture, you can also use Chex (corn, rice, or wheat), Golden Grahams, or even cornflakes. Just make sure to pick a cereal that can hold up to the praline coating without getting soggy.
2. How do I prevent the praline coating from becoming too hard?
If your praline crunch turns out too hard or sticky, it could be due to overcooking the praline mixture. Be sure to boil the sugar, corn syrup, and butter mixture for only 2 minutes before removing it from the heat. Stirring in the baking soda helps create a lighter, crispier texture.
3. Can I double the recipe?
Absolutely! If you’re making this for a party or holiday gifts, you can easily double or triple the recipe. Just use multiple baking sheets to ensure even baking and stirring.
4. How long does praline crunch stay fresh?
When stored in an airtight container at room temperature, praline crunch stays fresh for up to two weeks. If you want to keep it longer, store it in the freezer for up to two months.
5. Can I make praline crunch without nuts?
Yes! Simply omit the pecans or replace them with pretzels, popcorn, or extra cereal for a nut-free version.
6. Why do I need to stir every 15 minutes while baking?
Stirring ensures that the praline coating spreads evenly and prevents clumps from forming. It also helps everything bake to a perfect golden brown without burning.
7. Can I add extra flavors or toppings?
Definitely! Try adding a pinch of cinnamon or pumpkin spice to the praline coating for extra warmth. Once cooled, drizzle with melted white or dark chocolate or toss in M&M’s or toffee bits for a fun variation.
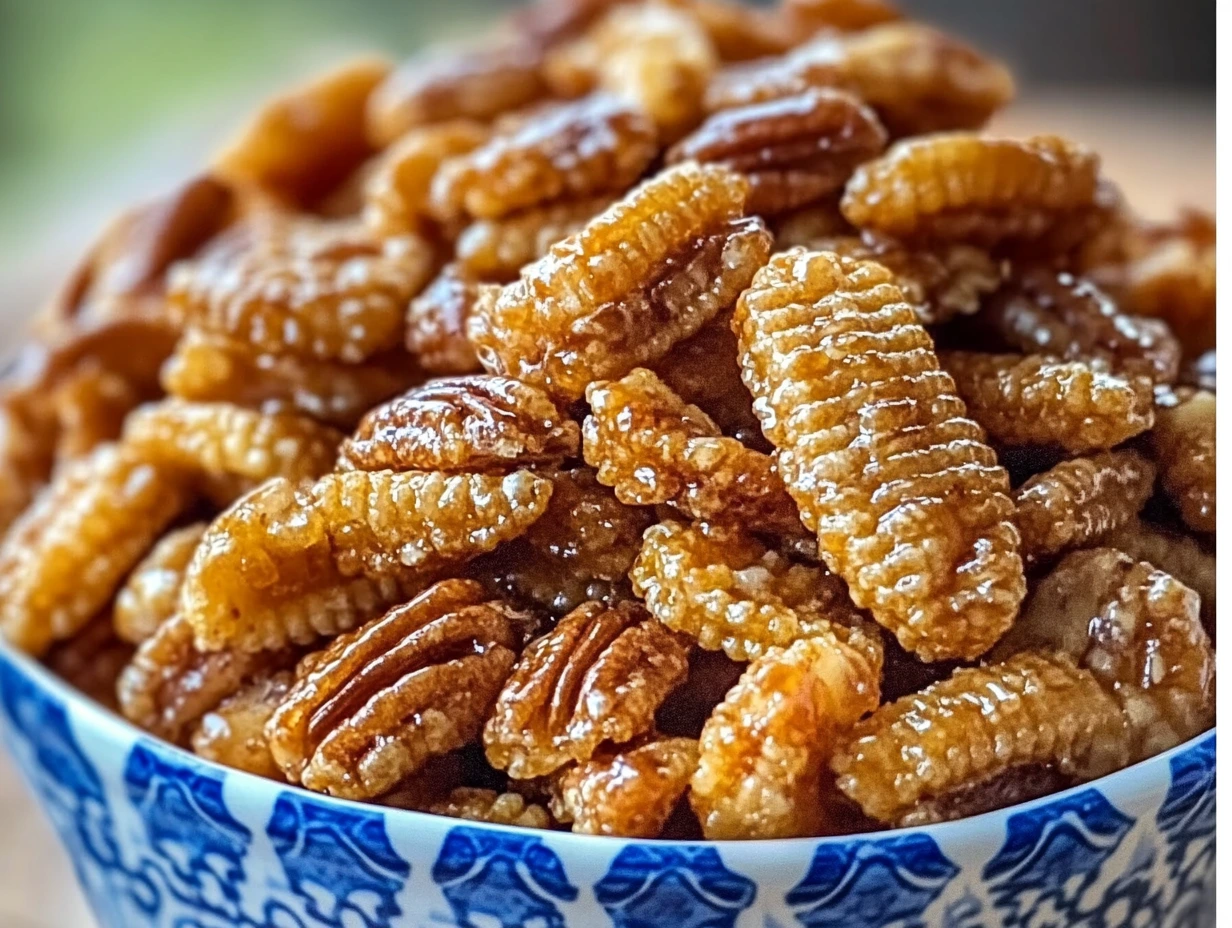
Final Thoughts on Praline Crunch
Praline crunch is one of those simple, foolproof recipes that you’ll find yourself making again and again. The combination of crispy cereal, caramelized praline, and toasted pecans is irresistibly delicious—and the best part? It’s completely customizable.
This snack is perfect for:
- Holiday gifts – Pack it in decorative tins or treat bags for an easy homemade present.
- Party snacks – Set out a bowl and watch it disappear in minutes.
- Movie nights – The perfect sweet-and-crunchy alternative to popcorn.

PRALINE CRUNCH
- Total Time: 1 hour 25 minutes
Description
A sweet, crunchy, and buttery treat that’s perfect for snacking, holiday gifts, or party munchies! This praline crunch combines crispy cereal, toasted pecans, and a caramelized praline coating for an irresistible bite.
Ingredients
For the Crunch:
- 8 cups Crispix cereal (or your favorite crunchy cereal)
- 2 cups pecan halves (or a mix of your favorite nuts)
🔹 For the Praline Coating:
- 1 cup light brown sugar, packed
- 1/2 cup light corn syrup
- 1/2 cup unsalted butter
- 1/4 teaspoon baking soda
- 1 teaspoon vanilla extract
Instructions
1️⃣ Preheat the Oven:
Preheat your oven to 250°F (120°C).
Line a large baking sheet with parchment paper or a silicone baking mat for easy cleanup.
2️⃣ Prepare the Cereal and Nuts:
In a large mixing bowl, combine the Crispix cereal and pecan halves.
Set aside.
3️⃣ Make the Praline Coating:
In a medium saucepan, combine the brown sugar, corn syrup, and butter.
Cook over medium heat, stirring constantly, until the mixture comes to a boil.
Let it boil for 2 minutes, then remove from heat.
Stir in the baking soda and vanilla extract. The mixture will bubble up slightly—this is normal and helps create the light, crispy coating.
4️⃣ Coat the Cereal and Nuts:
Pour the praline mixture over the cereal and nuts in the bowl.
Gently stir with a spatula to coat everything evenly.
5️⃣ Bake:
Spread the coated mixture evenly onto the prepared baking sheet.
Bake in the preheated oven for 1 hour, stirring every 15 minutes to ensure even coating and prevent sticking.
6️⃣ Cool and Serve:
Remove from the oven and let the praline crunch cool completely on the baking sheet.
Once cooled, break into bite-sized pieces and transfer to an airtight container for storage.
Notes
- Cereal Substitutes: Try using Chex, Golden Grahams, or cornflakes for a twist.
- Nut-Free Version: Omit the nuts or replace them with pretzels for a salty-sweet combo.
- Extra Flavor: Add a pinch of cinnamon or a drizzle of melted white chocolate after cooling for extra indulgence!
- Prep Time: 10 minutes
- Cook Time: 1 hour 15 minutes
