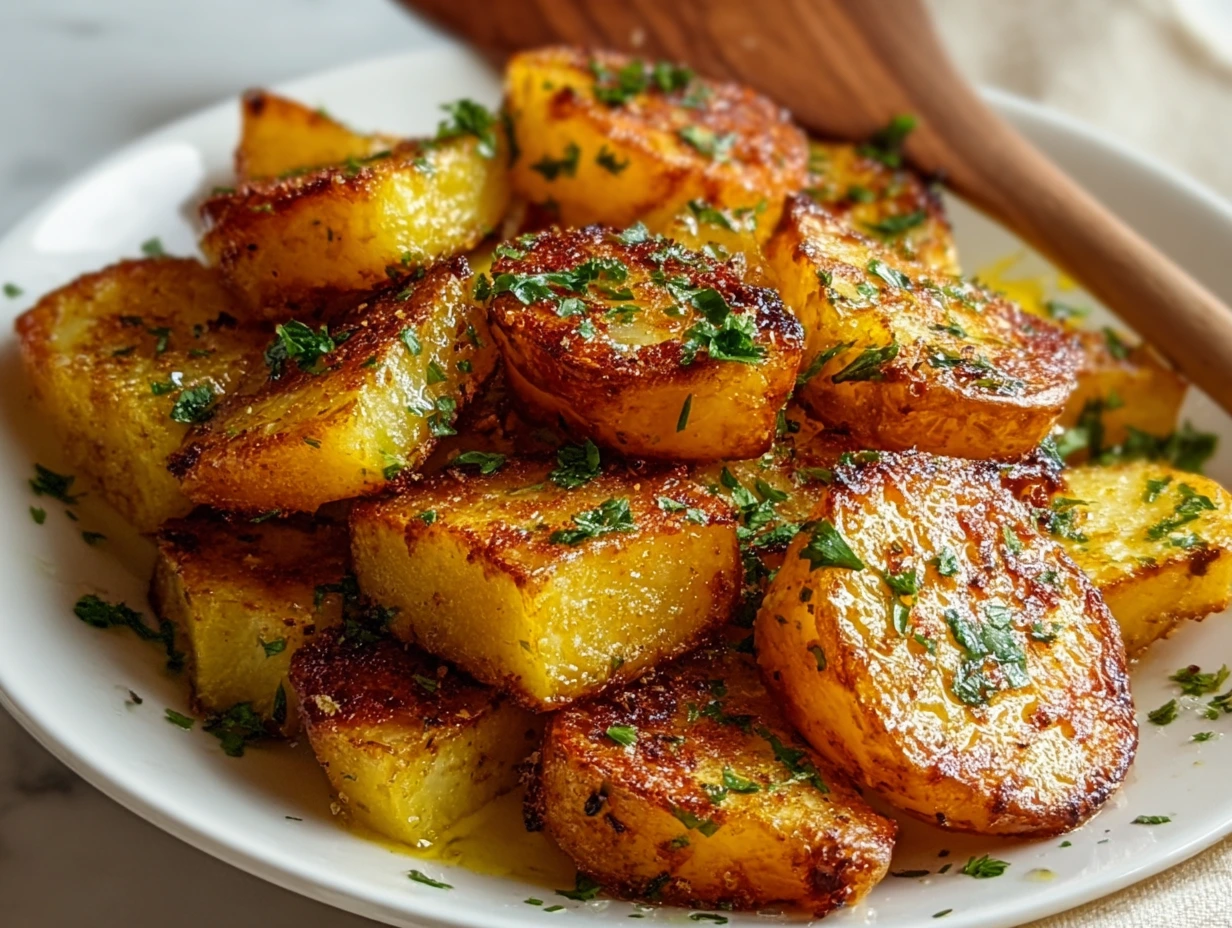
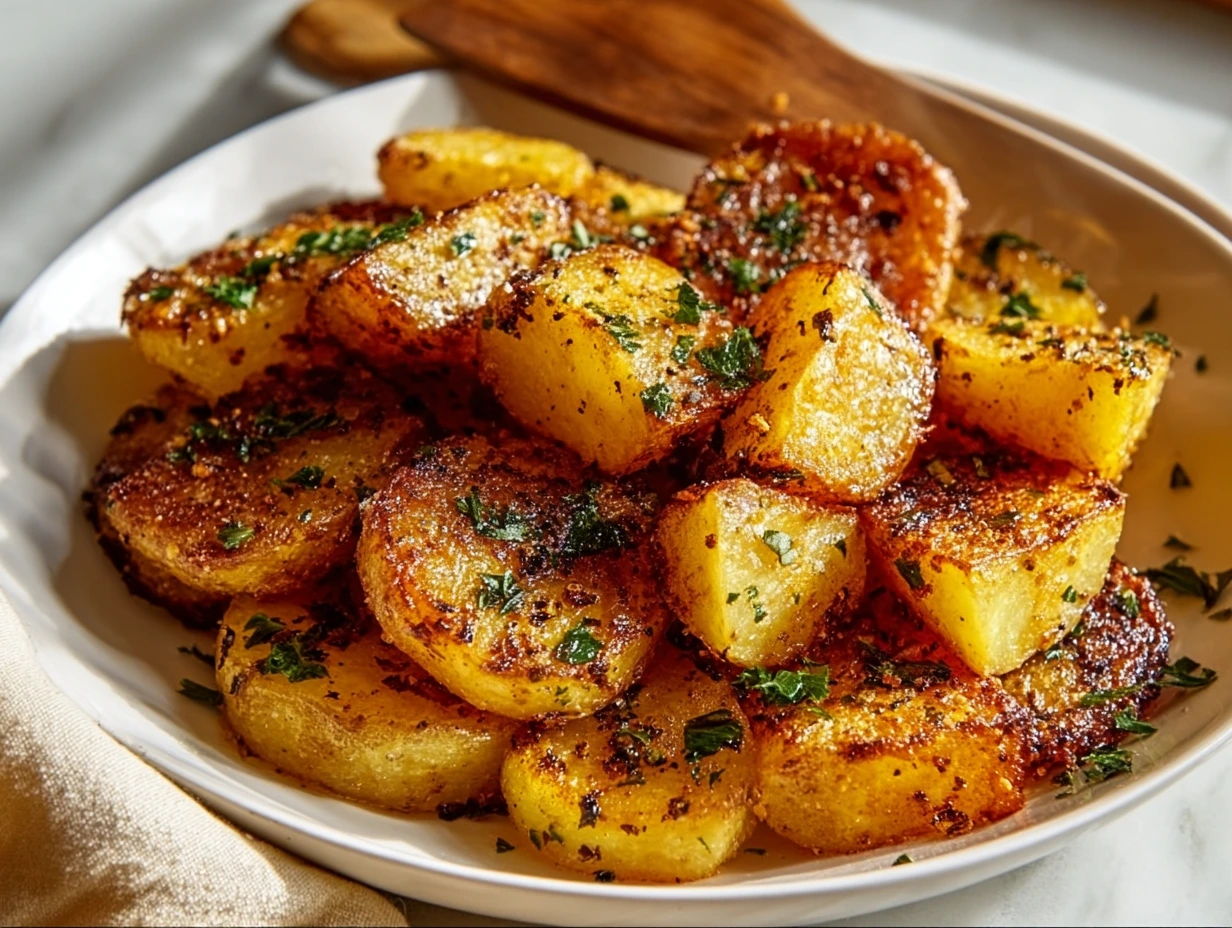
If there’s one side dish that never fails to earn compliments at our dinner table, it’s these roasted Yukon Gold potatoes. I still remember the first time I tried to master that perfect balance of golden-brown crispiness and melt-in-your-mouth interior. My husband took one bite and looked at me as if I’d unlocked some secret level of culinary greatness. Spoiler alert: there is no secret—just simple ingredients, a hot oven, and a little patience.
Yukon Golds are my go-to spud because they’re naturally creamier than russets and hold their shape when roasted. This recipe dresses them up in a fragrant spice blend of smoked paprika, cumin, garlic and onion powders, plus a hint of chili. Together, these flavors transform an everyday vegetable into a crave-worthy side that pairs beautifully with grilled meats, roasted chicken, or even a weeknight veggie bowl.
Before we dive into the hands-on part, here are a couple of quick tips I’ve picked up over countless batches:
-
Uniform cubes matter: Cutting the potatoes into 1-inch pieces ensures every cube roasts at the same rate, so you won’t end up with some burnt bits and undercooked middles.
-
Dry potatoes thoroughly: After cubing, pat them with a clean towel—any extra moisture will steam them instead of crisping them.
-
Don’t crowd the pan: Give each cube breathing room on the baking sheet so the heat can work its magic on every surface.
Ready to get crisping? Let’s roll up our sleeves and start!
Step 1: Preheat & Prep
First things first: crank your oven up to 450°F (232°C). A blazing-hot oven is key to that gorgeous, golden crust. While it’s heating, line a large baking sheet with parchment paper. The paper helps prevent sticking and makes cleanup a breeze—trust me, you’ll thank yourself later.
Step 2: Cube the Potatoes
Peel six large Yukon Gold potatoes and cut them into roughly 1-inch cubes. If you’re anything like me, you might sneak a tiny cube or two for a cheeky taste test (totally optional, but highly recommended). As you work, transfer the cubes to a large mixing bowl.
Once they’re all cubed, grab a clean kitchen towel or paper towels and pat them dry. You’ll notice little beads of moisture on the towel—getting rid of that is what gives you maximum crispiness.
Step 3: Whisk Up the Seasoning
In a small bowl, combine:
-
¼ cup olive oil
-
1½ teaspoons paprika
-
1¼ teaspoons garlic powder
-
1 teaspoon onion powder
-
1 teaspoon ground cumin
-
½ teaspoon chili powder (adjust if you like more heat)
-
¼ teaspoon freshly ground black pepper
-
1 teaspoon fine salt
Whisk until everything is fully incorporated. This blend brings a smoky warmth with just a touch of heat—and it’s what makes these potatoes so addictive.
Behind-the-Scenes Tip: If you’re feeling adventurous, swap the chili powder for smoked chipotle powder for a deeper, spicier kick. Or, save some chopped fresh rosemary or thyme to sprinkle on in the last five minutes of roasting for an herby finish.
Step 4: Toss to Coat
Pour your oil-spice mixture over the dried potato cubes. Now comes the fun part: use your hands or a spatula to gently toss every piece until it’s evenly coated in that fragrant mixture. Don’t be shy—getting your hands dirty is part of the joy here! Just make sure every cube has a nice sheen of oil and spices.
Step 5: Arrange for Roasting
Transfer the seasoned potatoes to your parchment-lined baking sheet, spreading them into a single layer. Aim to leave about ½ inch of space around each cube—crowding will trap steam and prevent that coveted crunch. If you have two baking sheets, you can split the batch; even better, each cube will have prime real estate to brown evenly.
Pro Tip: If any pieces look too small or large, nudge them together so they’re as uniform as possible. Even an extra minute in the oven can burn tiny bits or leave bigger chunks underdone.
Step 6: Roast & Stir
Slide the sheet into your preheated 450°F oven. Set a timer for 10 minutes, then pull the pan out and use a spatula or tongs to gently turn the potatoes—this ensures every side gets direct heat and develops that deep golden color.
Repeat this stirring process every 10–12 minutes, for a total roast time of 35–45 minutes. You’ll know they’re done when:
-
Edges are deeply browned and crisp.
-
Centers yield slightly when you press with a fork but don’t collapse into mush.
-
The kitchen smells downright irresistible.
Keep your eye on the clock, but trust your senses more: if they look perfectly golden at 38 minutes, go ahead and take them out.
Behind-the-Scenes Tip: About halfway through, you can slide the pan from the upper rack to the lower rack (or vice versa) to counteract any hot spots in your oven. This little trick helps achieve an even bake.
Step 7: Finish & Serve
When your timer dings on that perfect golden moment, remove the baking sheet and let the potatoes rest 2–3 minutes—this brief cooldown allows steam to escape and the exterior to firm up even more. Then transfer them to a warm serving dish.
For a final flourish, sprinkle with:
-
Chopped fresh parsley or chives for a bright, herbal note.
-
A grating of Parmesan for a savory twist.
-
A squeeze of fresh lemon juice to cut through the richness.
Serve immediately alongside grilled chicken, steak, or roast veggies. These potatoes are also stellar piled atop a salad as a warm, crispy garnish.
Bonus Variations & Make-Ahead Tips
-
Heat it up: Swap the chili powder for smoked chipotle to dial up the spice and smokiness.
-
Herb infusion: Toss in 1–2 teaspoons of chopped rosemary or thyme during the last 5 minutes of roasting. The residual oven heat will gently toast the herbs without burning them.
-
Garlic lovers’ hack: In the final stir (around minute 30), add 2–3 minced garlic cloves so they roast lightly without going bitter.
-
Make-ahead option: Roast as directed, cool completely, then refrigerate in an airtight container for up to 2 days. Reheat on a baking sheet in a 400°F (204°C) oven for 8–10 minutes to re-crisp.