

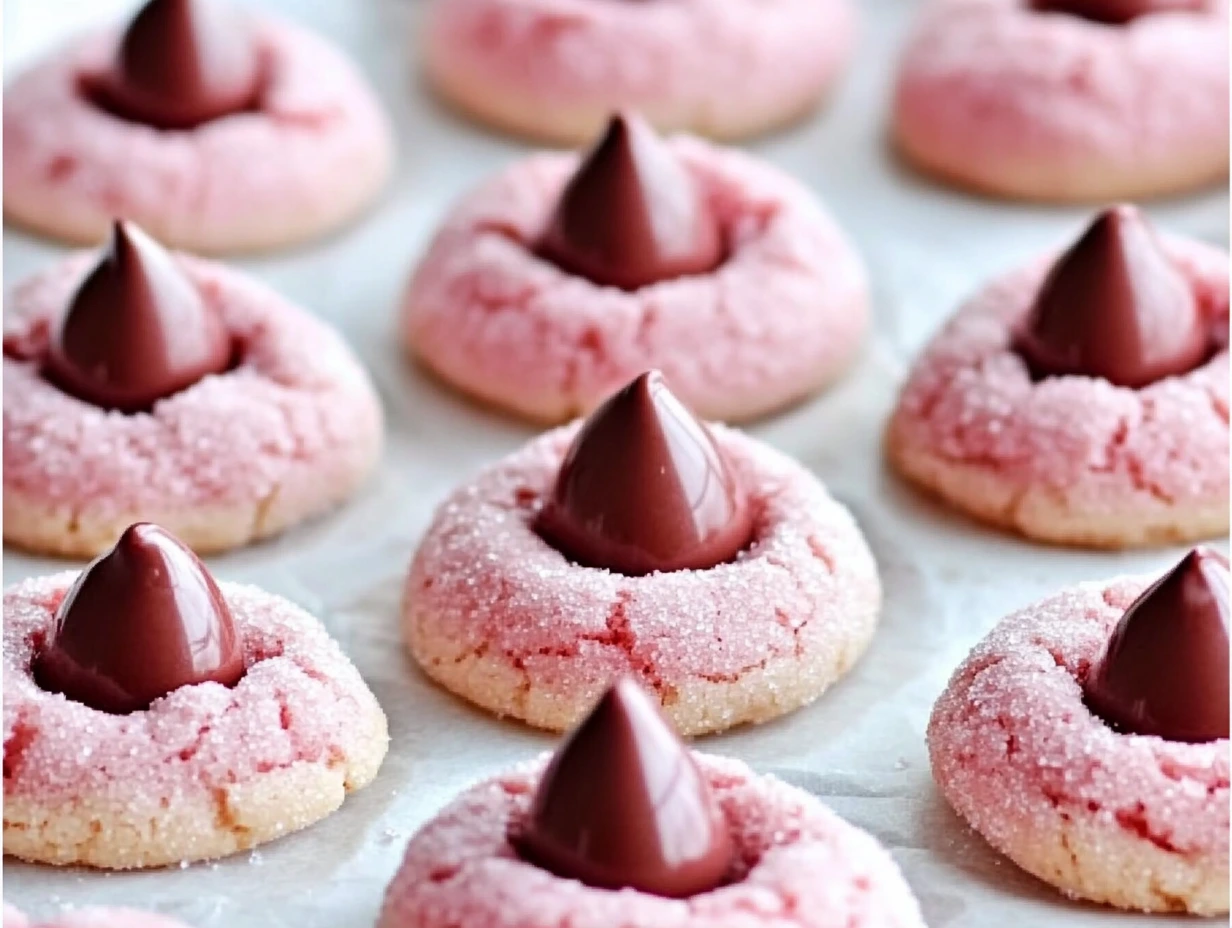
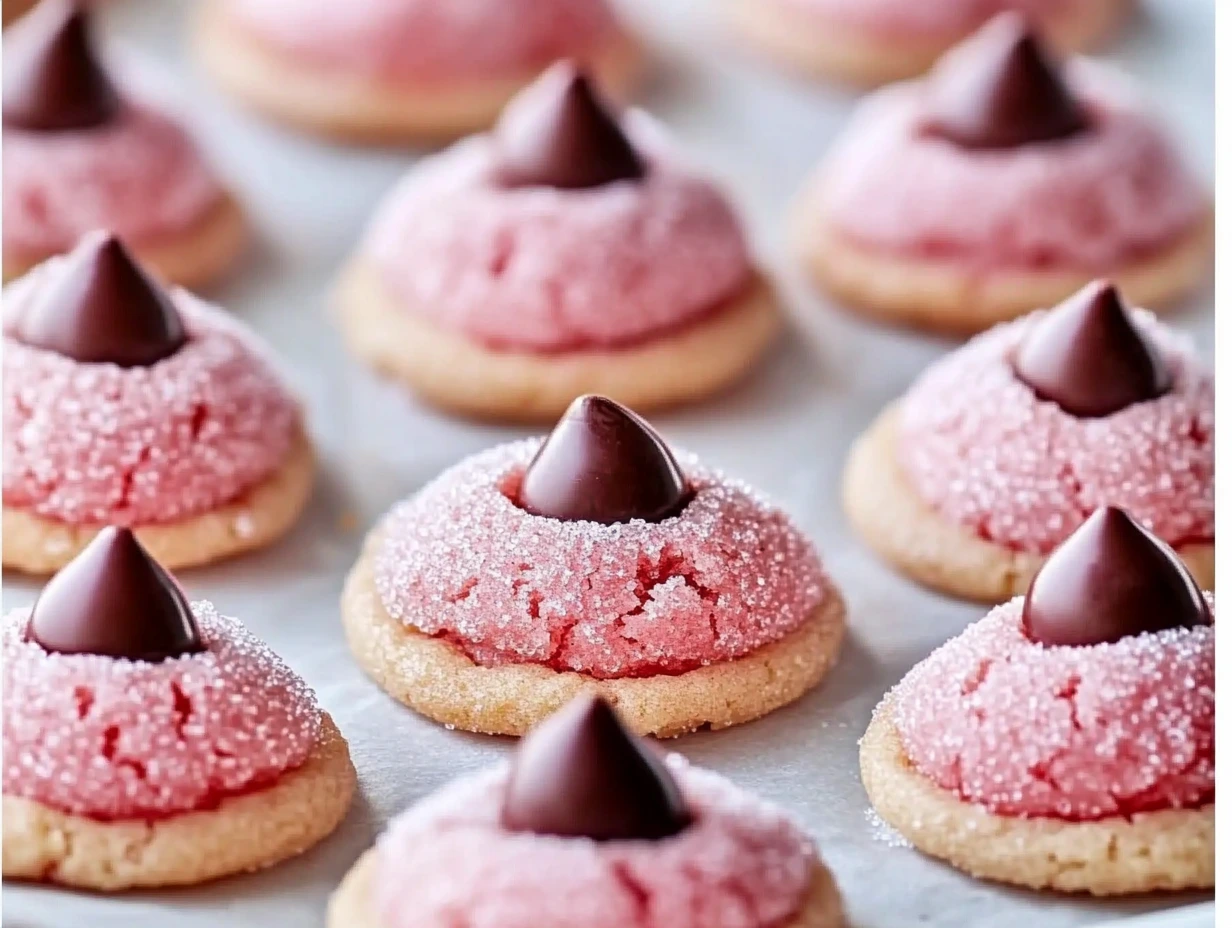
There’s something truly magical about a cookie that’s both adorable and delicious. And if you love the classic peanut butter blossom cookies, you’re in for a treat—because these Strawberry Kiss Cookies take that concept to a whole new level! Soft, buttery cookies with a burst of strawberry flavor, coated in sugar for a little sparkle, and topped with a melty chocolate kiss—what’s not to love?
These cookies are perfect for Valentine’s Day, baby showers, birthdays, or anytime you want to brighten up your dessert table with something colorful and sweet. The best part? They’re incredibly easy to make, and the strawberry flavor paired with chocolate is a match made in dessert heaven.
So, whether you’re baking for a special occasion or just because you’re craving something sweet, let’s get started on these irresistibly cute cookies!
The Secret to the Perfect Strawberry Kiss Cookies
Before we dive into the recipe, let’s talk about what makes these cookies so special:
- Strawberry Gelatin for Flavor and Color – Instead of fresh strawberries (which add too much moisture), we use strawberry-flavored gelatin (Jell-O mix) to infuse the cookies with a bold, fruity taste and that signature pink hue.
- Soft and Chewy Texture – Thanks to a perfect balance of butter, sugar, and flour, these cookies bake up soft with a slight crisp around the edges.
- Chocolate Kiss Topping – Pressing a Hershey’s Kiss into each warm cookie creates a delightful contrast between the rich chocolate and sweet strawberry.
- Sugar Coating for a Little Sparkle – Rolling the dough in granulated sugar before baking gives the cookies a slightly crisp, sparkly finish.
Let’s Bake!
Ingredients You’ll Need
For the Cookie Dough:
- 1 cup unsalted butter, softened (for a rich, buttery base)
- 1 cup granulated sugar (adds sweetness and slight crispness)
- 1 large egg, at room temperature (helps with structure and texture)
- 1 teaspoon vanilla extract (enhances the flavor)
- ½ teaspoon almond extract (optional) (adds a hint of nuttiness)
- 2 cups all-purpose flour (for the perfect soft and tender texture)
- ½ teaspoon baking powder (helps the cookies rise slightly)
- ½ teaspoon salt (balances the sweetness)
- 3 tablespoons strawberry gelatin (Jell-O mix) (adds strawberry flavor and a pop of pink color!)
For Rolling & Topping:
- ¼ cup granulated sugar (for rolling the dough balls before baking)
- 24 chocolate kisses, unwrapped (Hershey’s Kisses work great!)
Step 1: Preheat and Prepare
Before you start mixing, get everything set up so your baking process goes smoothly.
- Preheat your oven to 350°F (175°C).
- Line two baking sheets with parchment paper to prevent sticking and make cleanup easier.
Step 2: Make the Cookie Dough
Now, let’s bring these cookies to life!
- In a large mixing bowl, use an electric mixer to beat the butter and sugar together until the mixture is light and fluffy. This should take about 2–3 minutes—you want it to be creamy and well combined.
- Add the egg, vanilla extract, and almond extract (if using), and mix until everything is fully incorporated.
- In a separate bowl, whisk together the flour, baking powder, salt, and strawberry gelatin powder. The gelatin not only adds flavor but also gives the cookies their signature pink color.
- Slowly add the dry ingredients to the butter mixture, mixing on low speed until a soft dough forms. If the dough feels a bit sticky, don’t worry—it will firm up as you roll it in sugar before baking.
Step 3: Shape & Coat the Cookies
Now, it’s time to form the cookies and give them that beautiful sugar-coated finish.
- Scoop out about 1-inch portions of dough and roll them between your palms to form smooth balls.
- Roll each dough ball in granulated sugar, making sure it’s evenly coated. This not only adds a subtle crunch but also gives the cookies a pretty sparkle once they’re baked.
- Place the coated dough balls 2 inches apart on your prepared baking sheets. They will spread slightly as they bake, so give them a little space.
Step 4: Bake to Perfection
Now that your dough balls are coated in sugar and ready to go, it’s time to bake!
- Place the baking sheets in the preheated oven (350°F or 175°C) and bake for 8–10 minutes.
- The cookies should be slightly puffed and just set around the edges.
- They may look a little soft in the center, but that’s okay! They’ll continue to firm up as they cool.
- Avoid overbaking – You want the cookies to stay soft and chewy. If they start browning too much around the edges, take them out immediately.
- Once baked, remove the cookies from the oven and let them sit for 1 minute on the baking sheet before adding the chocolate kisses. This allows them to set up slightly while still being warm enough to hold the chocolate in place.
Step 5: Add the Chocolate Kiss
This is where the magic happens! That melty chocolate center is what makes these cookies extra special.
- Unwrap the Hershey’s Kisses ahead of time so they’re ready to go. Trust me, you don’t want to be fumbling with wrappers while your cookies are cooling!
- After the cookies have rested for 1 minute, gently press a chocolate kiss into the center of each cookie.
- The warmth of the cookie will slightly soften the chocolate, helping it stick.
- Be careful not to push too hard—you want the cookie to crack slightly but not collapse.
- Let the cookies cool completely on the baking sheet before transferring them to a wire rack.
- The chocolate will be soft at first but will firm up again as the cookies cool.
- If you want to speed up the process, place the cookies in the fridge for about 10–15 minutes to help the chocolate set faster.
Tips for Perfect Strawberry Kiss Cookies
Want to take your cookies from good to bakery-level amazing? Here are a few extra tips to ensure success!
- Use Room Temperature Ingredients – Make sure your butter and egg are at room temperature. This helps everything mix evenly for a smooth, creamy dough.
- Measure Your Flour Correctly – Too much flour can make the cookies dry and crumbly. Use the spoon and level method: spoon the flour into your measuring cup and level it off with a knife (instead of scooping directly).
- Chill the Dough for a Firmer Cookie – If your dough feels too soft or sticky, chill it in the fridge for 15–20 minutes before rolling. This helps prevent spreading while baking.
- Swap Out the Flavor – Want to try something different? Use raspberry or cherry gelatin for a fun twist!
- Experiment with Different Chocolate Kisses – Hershey’s Kisses come in tons of flavors! Try white chocolate, dark chocolate, or even caramel-filled Kisses for a unique variation.
Frequently Asked Questions (FAQ)
1. Can I use fresh strawberries instead of gelatin?
Unfortunately, fresh strawberries add too much moisture to the dough, which can affect the texture. Strawberry gelatin (Jell-O mix) is the best way to achieve both the vibrant pink color and the sweet strawberry flavor without making the dough too wet.
2. My cookies spread too much. What went wrong?
If your cookies spread more than expected, it could be due to:
- Butter that’s too soft or melted – Make sure your butter is just softened, not melted.
- Not enough flour – Be sure to measure your flour correctly using the spoon and level method.
- Skipping the chilling step – If your dough feels too soft, chilling it for 15–20 minutes before baking will help the cookies hold their shape.
3. How do I store these cookies?
To keep your cookies fresh and soft:
- Store them in an airtight container at room temperature for up to 5 days.
- If stacking them, place parchment paper between layers to prevent the chocolate kisses from smudging.
4. Can I freeze these cookies?
Yes! These cookies freeze well both before and after baking:
- To freeze unbaked dough: Roll the dough into balls and freeze them on a baking sheet. Once firm, transfer them to a freezer bag. When ready to bake, let them thaw slightly before rolling in sugar and baking.
- To freeze baked cookies: Store them in a freezer-safe container for up to 3 months. Let them thaw at room temperature before serving.
5. Can I use different flavors?
Absolutely! While strawberry gelatin gives these cookies their signature flavor, you can easily swap it out for raspberry, cherry, or even orange gelatin for a different twist. You can also try different Hershey’s Kiss flavors for a unique combination.
6. Why did my chocolate kiss melt too much?
If your chocolate kiss got too soft and lost its shape, try this trick:
- As soon as you place the chocolate kisses on the cookies, move the baking sheet to the fridge for 10–15 minutes. This helps set the chocolate quickly and prevents melting.
Final Thoughts: A Must-Try Cookie Recipe!
Strawberry Kiss Cookies are the perfect treat for any occasion. Whether you’re making them for Valentine’s Day, a baby shower, a birthday, or just because, they’re sure to impress. Soft, buttery, and bursting with strawberry flavor, these cookies pair beautifully with the rich chocolate kiss on top.
Happy baking!
Print
STRAWBERRY KISS COOKIES
- Total Time: 25 minutes
Description
These delightful Strawberry Kiss Cookies are soft, buttery, and bursting with sweet strawberry flavor! The addition of a chocolate kiss on top makes them extra special. Perfect for Valentine’s Day, birthdays, or anytime you want a sweet treat!
Ingredients
For the Cookie Dough:
- 1 cup unsalted butter, softened (for a rich, buttery base)
- 1 cup granulated sugar (adds sweetness and slight crispness)
- 1 large egg, at room temperature (helps with structure and texture)
- 1 tsp vanilla extract (enhances the flavor)
- ½ tsp almond extract (optional) (adds a hint of nuttiness)
- 2 cups all-purpose flour (for the perfect soft and tender texture)
- ½ tsp baking powder (helps the cookies rise slightly)½ tsp salt (balances the sweetness)
- 3 tbsp strawberry gelatin (Jell-O mix) (adds strawberry flavor and a pop of pink color!)
For Rolling & Topping:
- ¼ cup granulated sugar (for rolling the dough balls before baking)
- 24 chocolate kisses, unwrapped (Hershey’s Kisses work great!)
Instructions
1️⃣ Preheat and Prepare
Preheat your oven to 350°F (175°C).
Line two baking sheets with parchment paper.
2️⃣ Make the Cookie Dough
In a large mixing bowl, beat the butter and sugar together until light and fluffy (about 2–3 minutes).
Add the egg, vanilla extract, and almond extract, mixing until fully incorporated.
In a separate bowl, whisk together the flour, baking powder, salt, and strawberry gelatin powder.
Gradually add the dry ingredients to the wet ingredients, mixing until a soft dough forms.
3️⃣ Shape & Coat the Cookies
Scoop 1-inch dough balls and roll them between your palms.
Roll each ball in granulated sugar, ensuring it’s evenly coated.
Place the coated dough balls 2 inches apart on the prepared baking sheets.
4️⃣ Bake to Perfection
Bake for 8–10 minutes, or until the edges are just set and the cookies appear slightly puffed.
Remove from the oven and let sit for 1 minute before adding the chocolate kisses.
5️⃣ Add the Chocolate Kiss 💋🍫
Immediately press a chocolate kiss into the center of each warm cookie.
Allow the cookies to cool completely on the baking sheet, which helps the chocolate kiss hold its shape.
Notes
- For a deeper pink color, add a drop or two of red food coloring to the dough.
- Chill the dough for 15–20 minutes before baking for more even cookies.
- Try different kisses! Swap out the classic chocolate kiss for a white chocolate, caramel, or strawberry-filled Hershey’s Kiss for extra fun flavors!
- Store cookies in an airtight container at room temperature for up to 5 days or freeze for up to 3 months.
- Prep Time: 15 minutes
- Cook Time: 10 minutes
