

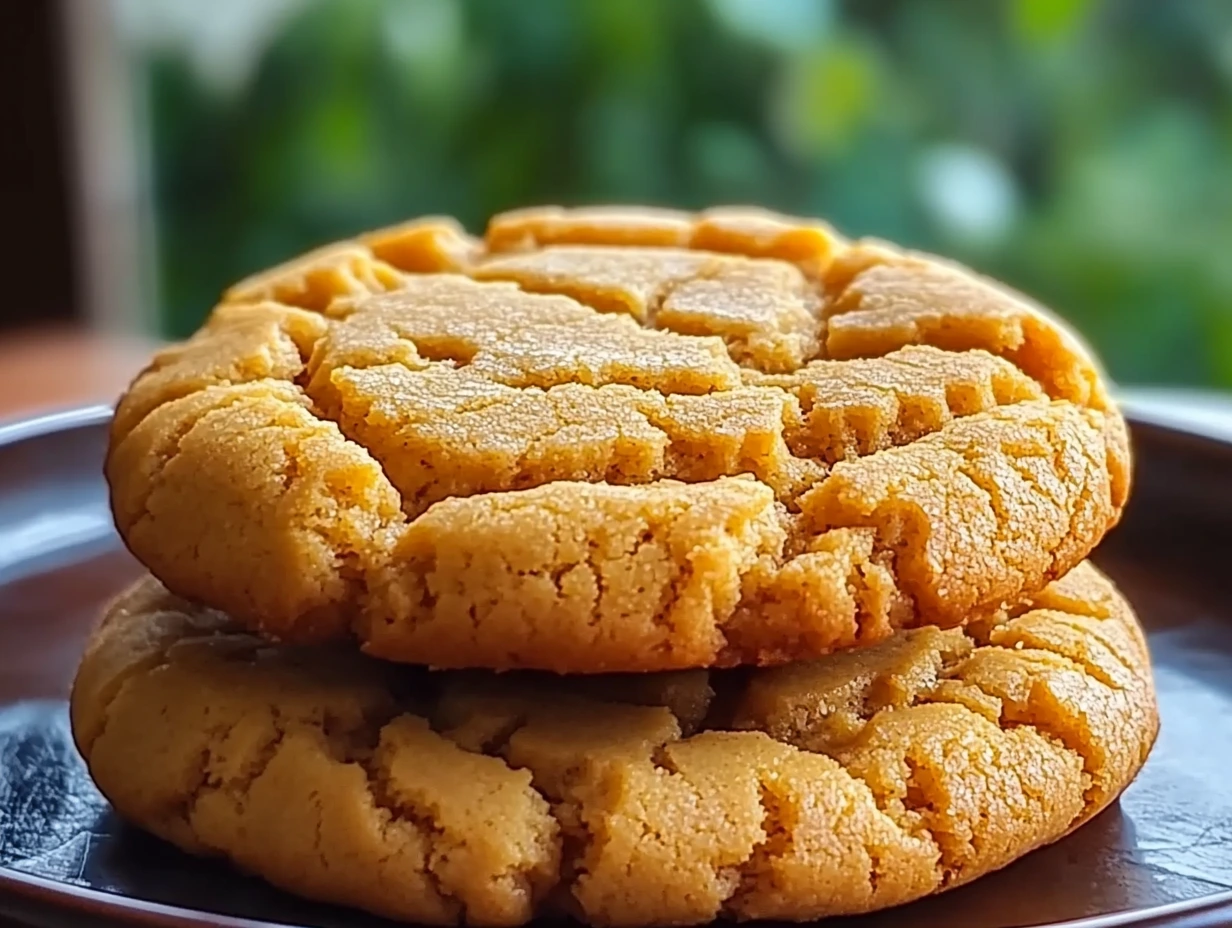
There’s something undeniably comforting about a warm, freshly baked cookie, and when it’s a peanut butter cookie, it takes comfort to a whole new level. Imagine biting into a soft, chewy center with just the right amount of sweetness and a slightly crisp edge—that’s the magic of these thick and chewy peanut butter cookies. Packed with rich peanut butter flavor, these cookies are perfect for any peanut butter lover, and let’s be honest, who can resist that iconic crisscross pattern on top?
These cookies are not only delicious but also incredibly easy to make. Whether you’re craving a quick treat or you’re preparing for a bake sale or family gathering, this recipe is sure to impress. I’ve made these countless times and have always received rave reviews. Trust me, once you try them, you’ll find yourself making them again and again.
In this article, I’m going to walk you through each step of making these thick and chewy peanut butter cookies, with tips to ensure they turn out perfect every time. Plus, we’ll dive into some helpful information in the FAQ section at the end, so you can make these cookies like a pro! Let’s get started.
Step 1: Preheat the Oven and Prepare the Baking Sheets
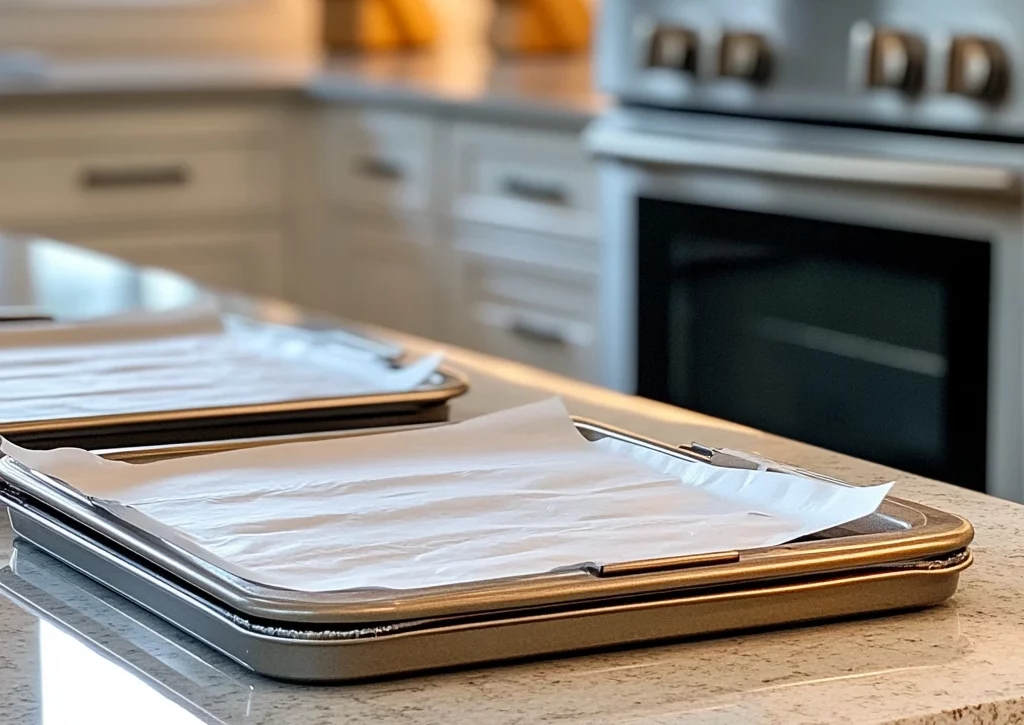
Before we dive into the dough, let’s get the oven preheated. Set your oven to 350°F (175°C) so that it’s nice and hot when we’re ready to bake these cookies. I always like to line my baking sheets with parchment paper or silicone baking mats. This not only helps with easy cleanup, but it also ensures that the cookies bake evenly without sticking to the sheet.
If you don’t have parchment paper, no worries—just give your baking sheet a light spray with non-stick cooking spray. But, if you want your cookies to come off the sheet with ease and avoid any extra mess, parchment paper or a silicone mat are your best friends.
Step 2: Make the Dough
Now that your oven is preheating and your baking sheets are ready to go, let’s get to the fun part—making the cookie dough!
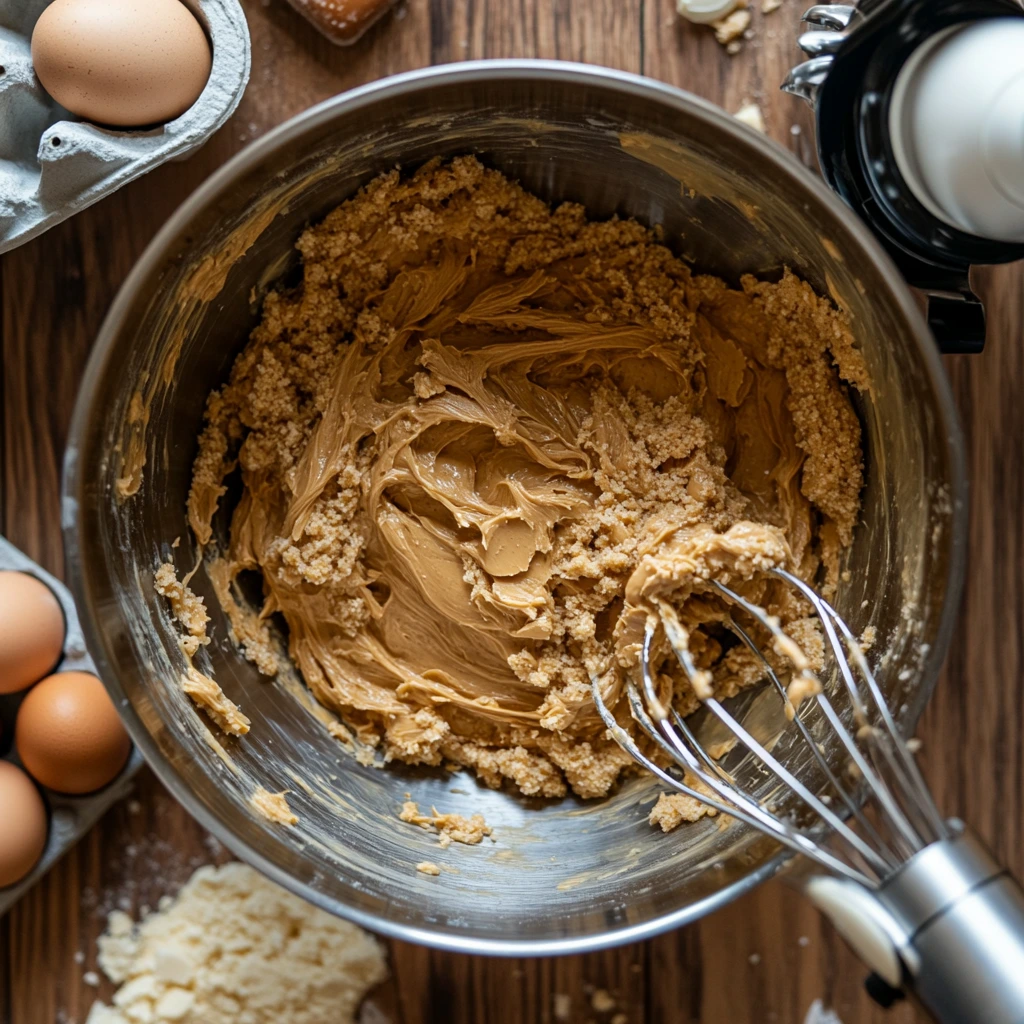
In a large mixing bowl, combine your creamy peanut butter, softened unsalted butter, brown sugar, and granulated sugar. Use an electric mixer to beat these together until the mixture is smooth and creamy. This usually takes about 2-3 minutes. You want the sugars to be fully incorporated into the butters, creating a rich, velvety base for your cookies.
Once the peanut butter mixture is nice and creamy, it’s time to add the eggs. Add one egg at a time, beating well after each addition to make sure they are fully incorporated. Then, add the vanilla extract. It’s amazing how a simple splash of vanilla can bring so much flavor to a recipe like this.
At this point, you should have a nice, smooth peanut butter mixture. But we’re not done yet! Now we need to mix in the dry ingredients.
Step 3: Add the Dry Ingredients
In a separate bowl, whisk together the dry ingredients: all-purpose flour, baking soda, baking powder, and salt. The combination of baking soda and baking powder is key here—baking soda will give these cookies a nice rise, while baking powder helps them stay soft and chewy.
Gradually add the dry ingredients to the wet ingredients, mixing just until combined. Be careful not to overmix at this stage; you just want everything to come together without overworking the dough. Overmixing can sometimes lead to denser cookies, and that’s not what we’re after. We want these to be thick, chewy, and perfect.
Step 4: Shape the Cookies
Now that your dough is ready, it’s time to shape the cookies. This is the part where you get to see the magic happen, and it’s so simple!
Take a small amount of dough—about 1 1/2 inches in diameter—and roll it into a ball. I usually just use my hands, but if you want to be more precise, a cookie scoop works wonderfully here. This size is perfect for thick, chewy cookies that will hold their shape while baking, giving you that satisfying bite with just the right amount of softness.
Place the dough balls on your prepared baking sheets, spacing them about 2 inches apart. This allows enough room for the cookies to spread while baking without sticking together.
Now, here comes the fun part—creating the signature crisscross pattern. Grab a fork and press it gently into the top of each cookie dough ball, making a crisscross design. Not only does this make the cookies look extra cute, but it also helps them bake evenly by flattening them slightly, which is key to getting that perfect chewy texture. If you want to add a little extra flair, you can press the fork down once in one direction, then turn it 90 degrees and press again.
Step 5: Bake the Cookies
Once your cookies are shaped and ready to go, it’s time to bake! Slide the baking sheets into your preheated oven, making sure they are positioned in the center of the oven for even heat distribution.
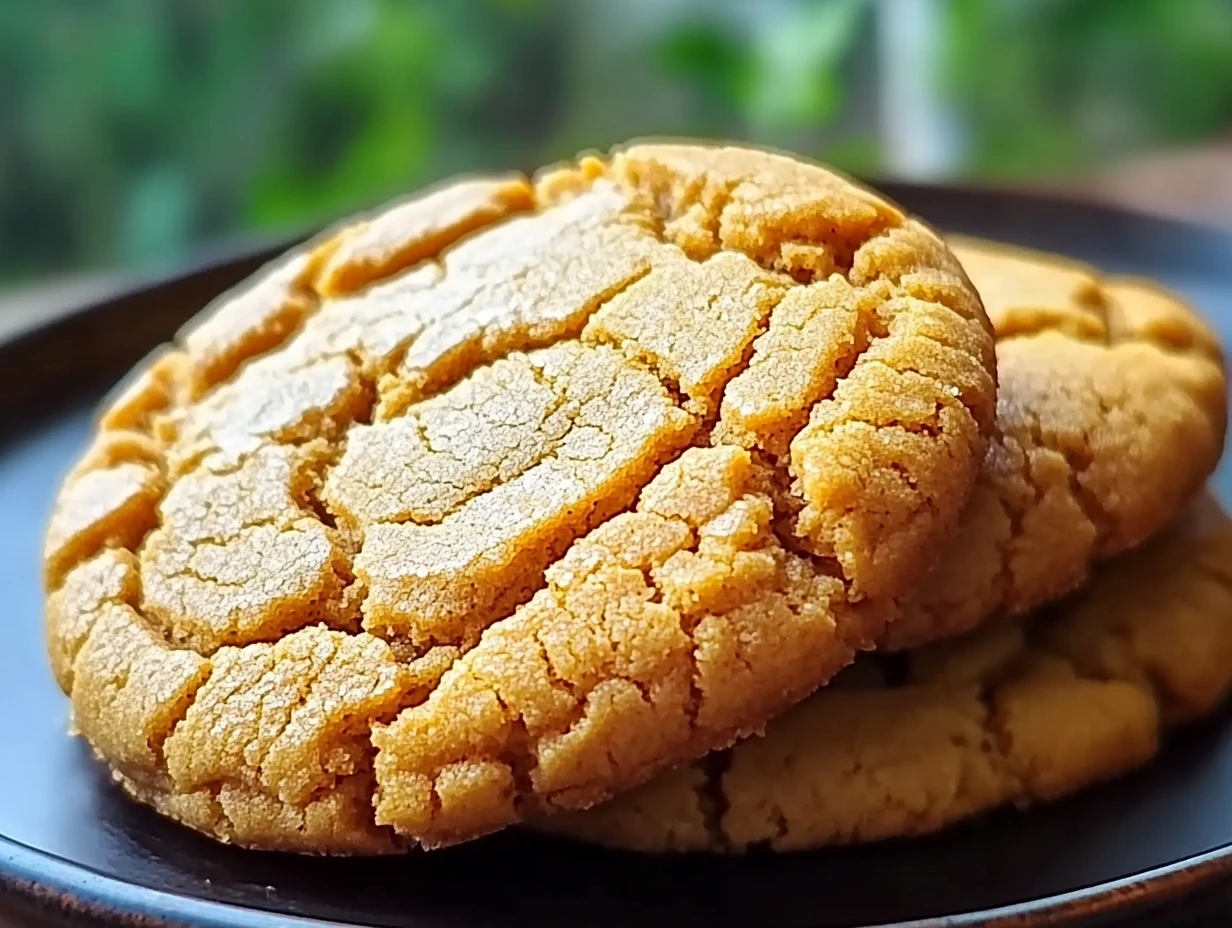
Bake the cookies at 350°F (175°C) for about 10 to 12 minutes. You’ll know they’re done when the edges are lightly golden, but the centers still look slightly underdone. Don’t worry! The cookies will continue to set and firm up as they cool, giving you that soft, chewy center you’re after.
One tip I always recommend is to set a timer for 10 minutes and start checking at that point. If the edges are golden and the centers look a bit soft, take them out. They will firm up perfectly on the baking sheet. If you prefer a slightly crisper cookie, feel free to let them bake for another minute or two, but be careful not to overbake them.
Step 6: Cooling Time
Once the cookies are out of the oven, let them cool on the baking sheet for about 5 minutes. This step is important because the cookies will still be a bit soft when they first come out of the oven, and if you try to move them too soon, they could break apart. After 5 minutes, carefully transfer the cookies to a wire rack to cool completely.
I know it can be hard to wait, but letting these cookies cool properly is key to achieving that perfect texture. While they’re cooling, you’ll notice they firm up, and the chewy center really shines through.
Tips for the Perfect Peanut Butter Cookies
-
Don’t Overmix the Dough: As I mentioned earlier, when you add the dry ingredients, be sure to mix only until just combined. Overmixing can lead to tough cookies. You want them to stay soft and chewy, so a light hand is best.
-
Chill the Dough (Optional): If you have a little extra time, you can chill the dough for about 30 minutes before rolling into balls. This can help prevent the cookies from spreading too much while baking, resulting in a thicker cookie.
-
Slightly Underdone Centers: I love when my cookies come out with just a tiny bit of softness in the middle. They firm up perfectly as they cool, but the centers stay chewy and melt-in-your-mouth good.
-
Don’t Skip the Parchment Paper: Lining your baking sheets with parchment paper or silicone baking mats is a simple step, but it makes a huge difference. It helps the cookies bake more evenly and prevents them from sticking to the pan.
-
Variation Ideas: If you’re feeling adventurous, you can always add a little extra texture to these cookies by mixing in chocolate chips, chopped peanuts, or even peanut butter chips. The peanut butter flavor is so versatile that it pairs well with just about anything!
And now, with your cookies cooling and the delicious smell filling the kitchen, you’re ready to dive in! These thick and chewy peanut butter cookies are the perfect treat for any occasion. Whether you’re baking for a special event or simply indulging in a little me-time, they’ll never disappoint.

THICK AND CHEWY PEANUT BUTTER COOKIES
- Total Time: 25–27 minutes
Description
These thick and chewy peanut butter cookies are packed with rich peanut butter flavor and have the perfect soft center with slightly crisp edges. Perfect for peanut butter lovers!
Ingredients
Wet Ingredients:
- 1 cup creamy peanut butter (natural or regular)
- 1/2 cup unsalted butter, softened
- 1 cup brown sugar, packed
- 1/2 cup granulated sugar
- 2 large eggs
- 1 teaspoon vanilla extract
Dry Ingredients:
- 2 1/4 cups all-purpose flour
- 1 teaspoon baking soda
- 1/2 teaspoon baking powder
- 1/4 teaspoon salt
Instructions
1️⃣ Preheat the Oven:
Preheat your oven to 350°F (175°C).
Line baking sheets with parchment paper or silicone baking mats.
2️⃣ Prepare the Dough:
In a large mixing bowl, beat the peanut butter, butter, brown sugar, and granulated sugar until creamy and well combined (about 2–3 minutes).
Add the eggs one at a time, followed by the vanilla extract, mixing until smooth.
In a separate bowl, whisk together the flour, baking soda, baking powder, and salt.
Gradually add the dry ingredients to the wet ingredients, mixing until just combined.
3️⃣ Shape the Cookies:
Roll the dough into 1 1/2-inch balls and place them on the prepared baking sheets, about 2 inches apart.
For the classic peanut butter cookie look, press down lightly on each ball with a fork to create a crisscross pattern.
4️⃣ Bake:
Bake in the preheated oven for 10–12 minutes, or until the edges are lightly golden. The centers will look slightly underdone but will set as they cool.
Allow the cookies to cool on the baking sheets for 5 minutes, then transfer them to a wire rack to cool completely.
Notes
- Soft and Chewy: The perfect texture for peanut butter lovers.
- Easy to Make: Simple ingredients and straightforward steps.
- Customizable: Add chocolate chips, chopped peanuts, or a drizzle of melted chocolate for extra indulgence.
- Prep Time: 15 minutes
- Cook Time: 10–12 minutes
