

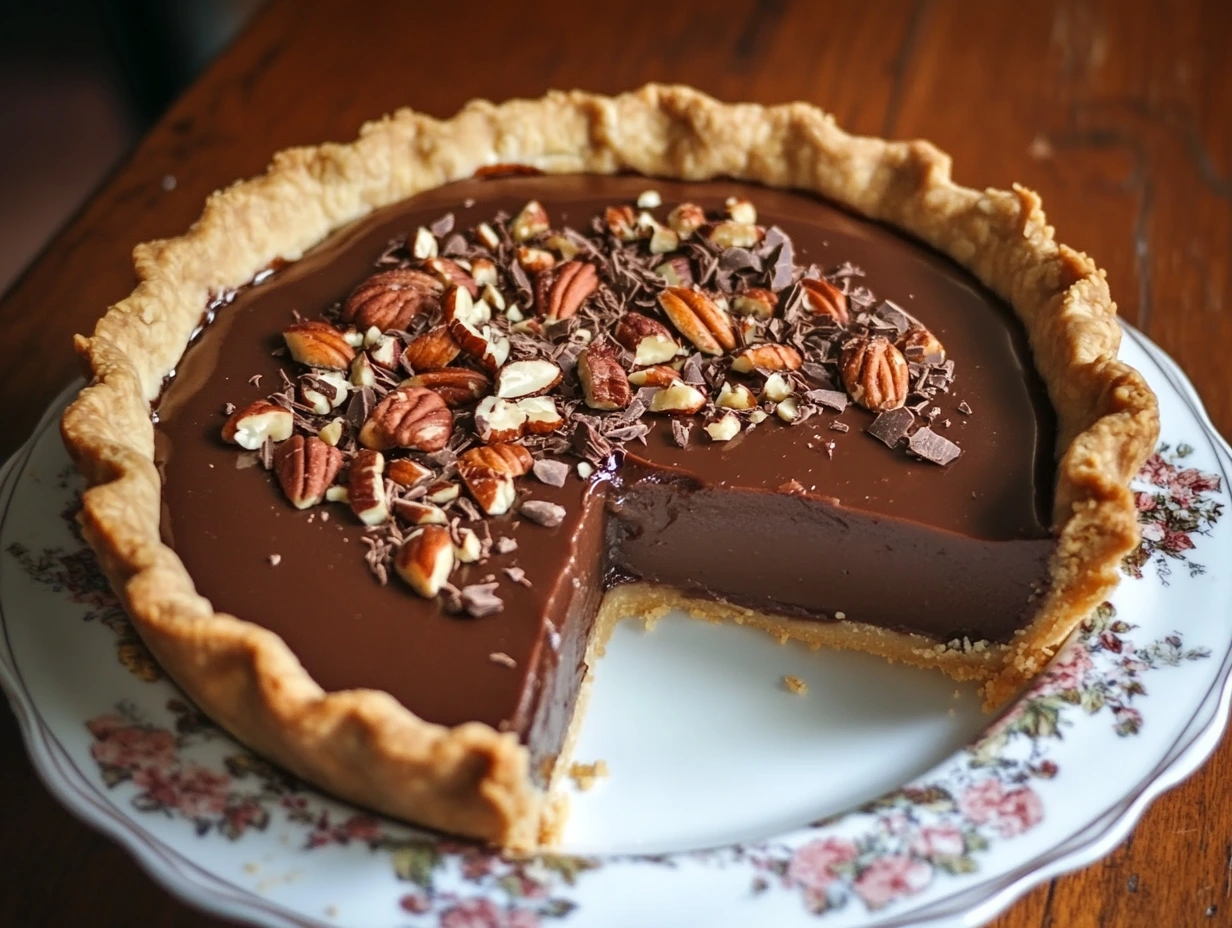
There’s just something about chocolate that brings people together, don’t you think? Whether it’s a family get-together, a quiet moment with a good book, or a potluck where you’re looking to impress with minimal effort, a good chocolate dessert always delivers. And let me tell you—Tricia’s Fantastic Fudge Pie is exactly that kind of dessert.
This recipe came to me via my friend Tricia, who swears it’s been a staple at every holiday and birthday in her family since forever. The first time she brought it to a gathering, I was the one sneakily going back for a second slice (and maybe a third…no judgment, right?). From the shiny, crackly top to the rich, melt-in-your-mouth center, it’s like someone combined the best parts of a brownie and a slice of pie and made dessert magic.
WHY YOU’LL LOVE TRICIA’S FANTASTIC FUDGE PIE
This pie checks all the boxes. First, it’s got that rich, fudgy texture that every chocoholic dreams of. The filling is dense and smooth, with a slightly gooey center that makes you pause after each bite to say, “Mmm, wow.” It also comes together with simple pantry staples—nothing fancy or intimidating here. Just sugar, cocoa, eggs, and butter doing their thing.
And did I mention how customizable it is? You can throw in nuts for some crunch, drizzle it with caramel if you’re feeling extra, or keep it plain and let that deep chocolate flavor shine. Either way, you’re in for a seriously satisfying dessert that always gets compliments.
Let’s get to baking, shall we?
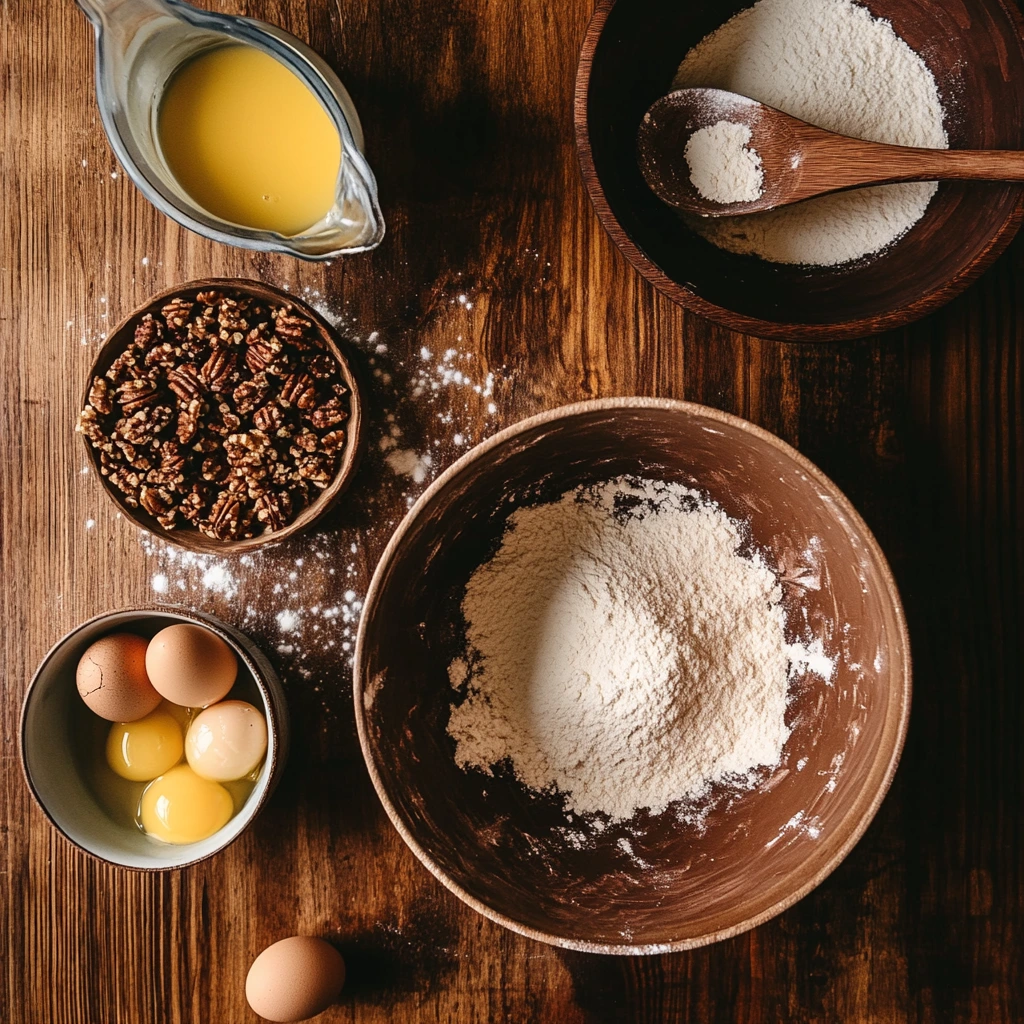
THE INGREDIENTS YOU’LL NEED
Here’s everything you need to whip up this dreamy fudge pie. Bonus: You probably have most of it in your kitchen already.
For the Crust:
-
1 (9-inch) unbaked pie crust (store-bought or homemade—it’s up to you!)
For the Filling:
-
1 cup granulated sugar
-
1/2 cup all-purpose flour
-
3 tablespoons unsweetened cocoa powder
-
2 large eggs, lightly beaten
-
1/2 cup melted butter (or coconut oil for a dairy-free version)
-
1 teaspoon vanilla extract
-
1/2 cup chopped pecans or walnuts (optional, but delish!)
-
Pinch of salt
Optional Toppings:
-
Whipped cream
-
Chocolate shavings
-
Caramel drizzle
-
Toasted nuts
I love how flexible this recipe is. If you’re out of butter, coconut oil works like a charm. Not into nuts? Skip them. Want to go full sundae mode? Add all the toppings.
STEP 1: PREHEAT YOUR OVEN AND PREP THE CRUST
Before we dive into mixing and pouring, go ahead and preheat your oven to 350°F (175°C). That way it’s ready to go when your filling is done. Place your unbaked pie crust into a 9-inch pie dish—if you’ve made your own, give yourself a little round of applause (and maybe a coffee break). If you’ve gone the store-bought route, no shame here. That’s what I usually do when I need a quick dessert fix.
You can flute the edges if you want that classic pie look, or leave them plain—it’s going to taste amazing either way. Set that crust aside for now.
STEP 2: MIX UP THE FILLING
Now comes the fun part—making that velvety fudge filling.
Grab a mixing bowl and whisk together the sugar, flour, cocoa powder, and a pinch of salt. This dry mix gives the pie its sweet, chocolaty base and that brownie-like texture we’re after.
Next, add the lightly beaten eggs, melted butter (or coconut oil), and vanilla extract. Stir it all together until the mixture is smooth and glossy. It’ll be thick—almost like a brownie batter—but still pourable.
If you’re using chopped nuts, go ahead and fold them in now. I usually toss in some toasted pecans for a little crunch and warmth, but walnuts work great too. Or leave them out entirely if you’re baking for picky eaters or just want a silky-smooth texture.
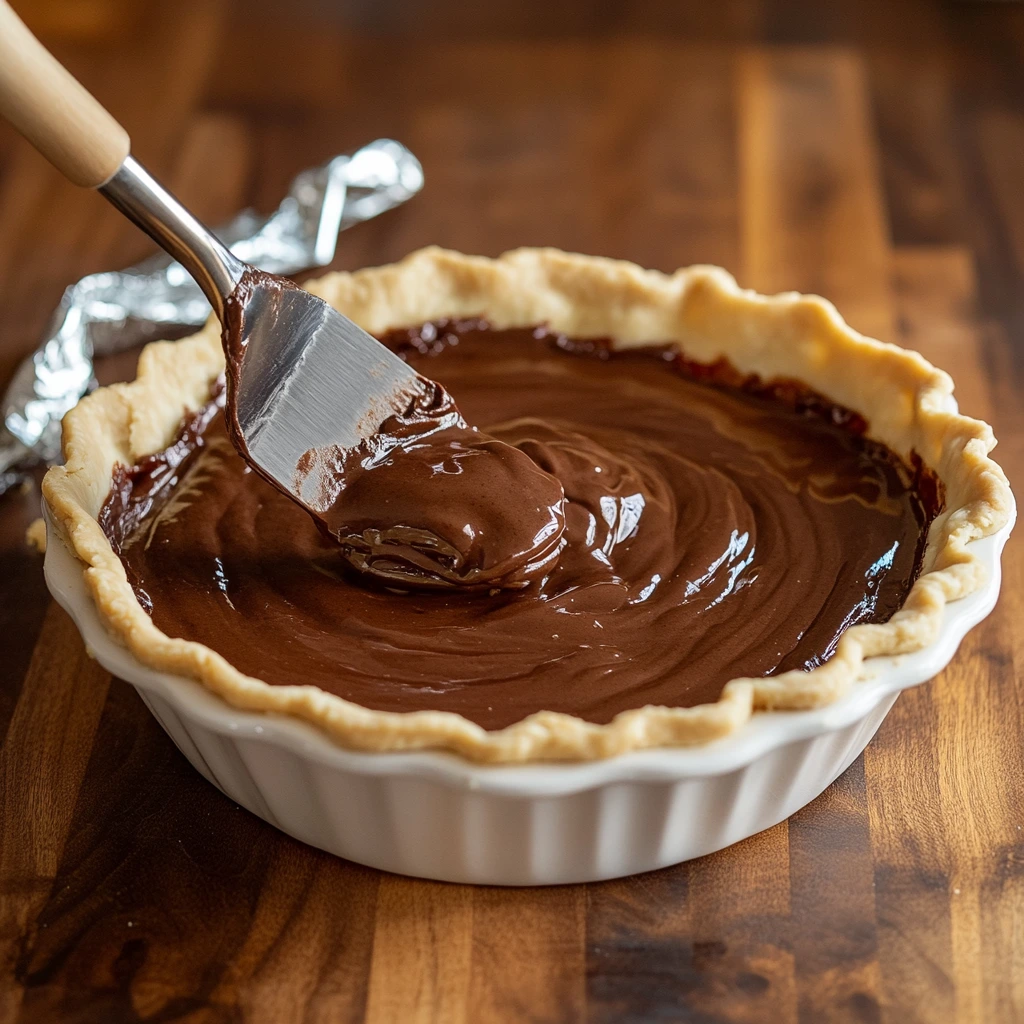
STEP 3: ASSEMBLE AND BAKE
Pour that glossy, chocolatey filling into your prepared pie crust. Use a spatula to spread it evenly all the way to the edges. The batter will be thick, so take your time making sure it’s smooth and level—it’ll bake up nice and even that way.
Once it’s settled in the pie shell, slide the dish into the oven and bake for 30 to 35 minutes. You’ll want to keep an eye on it starting around the 30-minute mark. What you’re looking for is a center that’s just barely set. It should still jiggle slightly if you give the pan a gentle shake. That’s the key to getting that soft, fudgy texture we’re after. It’ll continue to firm up as it cools, so don’t worry if it looks a little underbaked at first.
Pro Tip: If your crust edges start to brown too fast (which can totally happen depending on your oven), loosely cover them with foil or use a pie shield. That way your filling finishes cooking without turning your crust into a crunchy mess.
Once the pie is done baking, transfer it to a wire rack and let it cool completely—we’re talking at least two hours. I know, it’s hard to wait, but trust me here. This cooling time is when the magic happens. The center will settle and turn into that dreamy, truffle-like texture that makes this pie unforgettable.
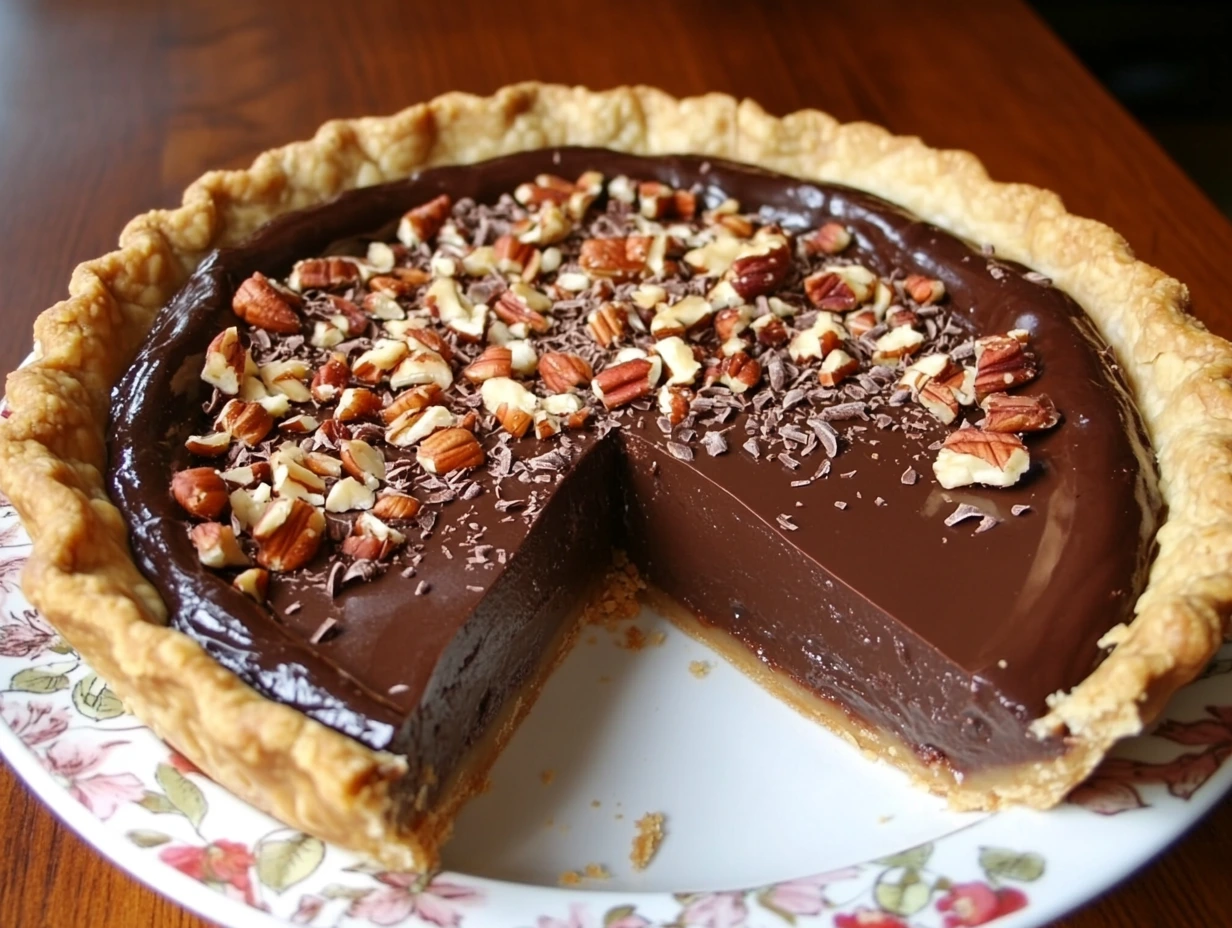
STEP 4: TOP IT OFF AND SERVE
After the pie is fully cooled, it’s time to make it pretty—if you want to, that is. This fudge pie is absolutely delicious on its own, but it also plays really well with toppings if you’re feeling a little extra. Here are a few of my favorite ways to finish it off:
-
Whipped Cream: A big dollop of homemade or store-bought whipped cream is the perfect creamy contrast to all that fudgy richness.
-
Chocolate Shavings: Use a vegetable peeler to shave a chocolate bar over the top for that elegant, bakery-style finish.
-
Caramel Drizzle: A light drizzle of caramel sauce adds a sweet and buttery flavor that pairs beautifully with the chocolate.
-
Toasted Nuts: If you added nuts to the filling, sprinkle a few more on top for some extra crunch and visual flair.
You can also go full-on sundae-style and add a scoop of vanilla ice cream on the side. There’s honestly no wrong way to serve this pie—except not making it at all.
STORAGE TIPS
If you somehow end up with leftovers (it happens, but rarely), you can cover the pie tightly with plastic wrap or foil and store it in the fridge for up to 4 days. It’s delicious cold, but if you prefer a softer, slightly warm texture, just pop your slice in the microwave for about 10–15 seconds before serving.
You can also freeze the whole pie, tightly wrapped, for up to 2 months. Thaw overnight in the fridge and bring to room temperature before serving.
TIPS & VARIATIONS TO MAKE IT YOUR OWN
One of the things I love most about Tricia’s fudge pie is how easy it is to customize. Here are a few fun ideas if you’re feeling creative:
-
Make it mocha: Add 1 teaspoon of instant coffee or espresso powder to the dry ingredients to bring out the chocolate flavor even more.
-
Go dairy-free: Swap the butter for melted coconut oil and serve with a dairy-free whipped topping.
-
Mini fudge pies: Divide the filling between mini tart shells or a muffin tin lined with crust for adorable, single-serve portions—great for parties!
-
Boozy twist: Stir in a tablespoon of bourbon or coffee liqueur for a grown-up dessert that’s perfect for dinner parties.
FAQ: ALL YOUR FUDGE PIE QUESTIONS ANSWERED
1. Can I use a pre-baked pie crust for this recipe?
It’s best to use an unbaked pie crust since the filling and crust bake together. A pre-baked crust may overcook or become too crisp during the 30–35 minute bake time.
2. How do I know when the pie is done baking?
The center should be set but still slightly jiggly—like a soft set custard. It will continue to firm up as it cools, so don’t overbake it or you’ll lose that fudgy texture.
3. Can I make this pie ahead of time?
Absolutely! It’s actually even better the next day. Bake it, let it cool, then cover and refrigerate. Bring it to room temperature before serving for the best flavor and texture.
4. What’s the best way to reheat a slice?
Pop a slice in the microwave for 10–15 seconds if you want that just-baked warmth. Add a scoop of ice cream and it’s next-level delicious.
5. Can I make this recipe gluten-free?
Yes, you can substitute the all-purpose flour with a 1:1 gluten-free baking blend. Just make sure it’s a mix designed for baking, and you should get similar results.
6. Can I leave out the nuts?
Of course! The chopped nuts are completely optional. Leaving them out won’t affect the baking time or texture, so feel free to skip them if you prefer a smoother filling.
7. What kind of cocoa powder should I use?
Unsweetened natural cocoa powder works great for this recipe. If you only have Dutch-processed cocoa, that can work too, but the flavor will be slightly smoother and richer.
THE FINAL SLICE: TIME TO BAKE YOUR NEW FAVORITE PIE
Tricia’s Fantastic Fudge Pie is one of those recipes that sticks with you. It’s simple, forgiving, and ridiculously satisfying—perfect for when you want to impress without spending hours in the kitchen. And let’s be honest: we all need a go-to chocolate dessert that feels a little fancy but is secretly super easy to pull off.
Whether you make it for a holiday gathering, a special birthday, or just because you’re craving chocolate (we’ve all been there), this pie delivers every single time. It’s that kind of dessert that makes people ask, “Can I get the recipe?”—and now, you’ve got it.
So give it a try, and don’t forget to make it your own. Top it, tweak it, slice it thick, serve it warm—whatever makes you happy. And if you do try a variation or have your own topping combo that blew everyone away, drop a comment and share it. There’s nothing better than discovering new twists on a classic.
Happy baking, and enjoy every fudgy bite!
Print
TRICIA’S FANTASTIC FUDGE PIE
- Total Time: 2 hours 45 minutes
Description
This decadent fudge pie delivers rich, melt-in-your-mouth chocolate flavor with a smooth, brownie-like texture in a buttery crust. Simple to make with everyday ingredients, it’s perfect for holidays, dinner parties, or just treating yourself!
Ingredients
For the crust:
- 1 (9-inch) unbaked pie crust (store-bought or homemade)
For the filling:
- 1 cup granulated sugar
- 1/2 cup all-purpose flour
- 3 tbsp unsweetened cocoa powder
- 2 large eggs, lightly beaten
- 1/2 cup melted butter (or coconut oil for dairy-free)
- 1 tsp vanilla extract
- 1/2 cup chopped pecans or walnuts (optional)
- Pinch of salt
For topping (optional):
- Whipped cream
- Chocolate shavings
- Caramel drizzle
- Toasted nuts
Instructions
1️⃣ Preheat the oven:
Preheat your oven to 350°F (175°C). Place the unbaked pie crust in a 9-inch pie dish. Crimp the edges if desired and set aside.
2️⃣ Make the filling:
In a large bowl, whisk together sugar, flour, cocoa powder, and salt until evenly combined. Add the eggs, melted butter, and vanilla extract. Stir until the mixture is smooth and glossy. Fold in chopped nuts if using.
3️⃣ Assemble the pie:
Pour the filling into the prepared pie crust. Use a spatula to smooth out the top.
4️⃣ Bake:
Place the pie in the oven and bake for 30–35 minutes, until the center is set but still slightly jiggly. (It will firm up more as it cools.) If the crust edges brown too fast, cover them with foil or a pie shield.
5️⃣ Cool and serve:
Let the pie cool completely on a wire rack for at least 2 hours before slicing. Top with whipped cream, chocolate shavings, or caramel drizzle if desired.
Notes
- Texture Tip: The center should still have a slight jiggle when you take it out of the oven—this ensures a fudgy, melt-in-your-mouth interior once it cools.
- Butter vs. Coconut Oil: Coconut oil gives the pie a subtle tropical undertone and makes it dairy-free, but butter offers a classic richness.
- Crust Options: A traditional pie crust works great, but a chocolate cookie crust or graham cracker crust can add extra flavor.
- Prep Time: 35 minutes
- Cook Time: 2 hours 10 minutes
Nutrition
- Serving Size: 8–10
