

Chocolate Lava Cookies. Just saying the name makes my mouth water. If you’ve ever had a chocolate lava cake, you know that irresistible allure of a warm, gooey center oozing out with every bite. Now, imagine that sensation packed into a cookie. Yes, you guessed it—this is my take on the ultimate cookie brownie recipe. Three years into my zero-carb journey, I never thought I’d discover something so decadent that also manages to feel like an indulgence without the guilt.
Let me set the scene for you. It was a chilly evening, and I was hit with a sudden craving for something sweet and chocolatey. You know those moments when you just can’t shake that desire for a rich dessert? Instead of reaching for the usual carb-laden options, I decided to experiment with a concept that had been swirling in my mind for a while: chocolate lava cookies. Trust me on this—if you love molten chocolate as much as I do, you’re in for a treat!
As I gathered my ingredients, I felt a mix of excitement and trepidation. Would this actually work? I mean, I’ve had my share of baking mishaps, like the time I forgot to add baking powder to a batch of brownies and ended up with a dense chocolate brick. But hey, that’s part of the journey, right? With a little confidence and a lot of enthusiasm, I dove into this chocolate lava adventure.
📌 Pinterest Images
Save these images to your Pinterest boards!
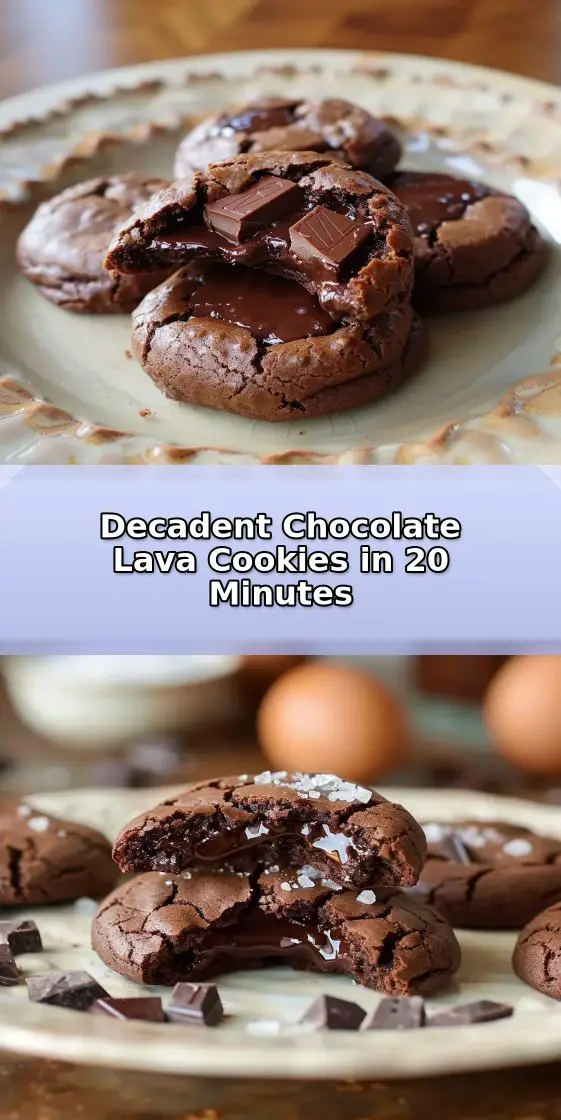
Chocolate Lava Cookies
“Decadent Chocolate Lava Cookies in 20 Minutes”
💡 Tip: Right-click any image above and save to share on your social media or Pinterest!
Why This Recipe Hits Different
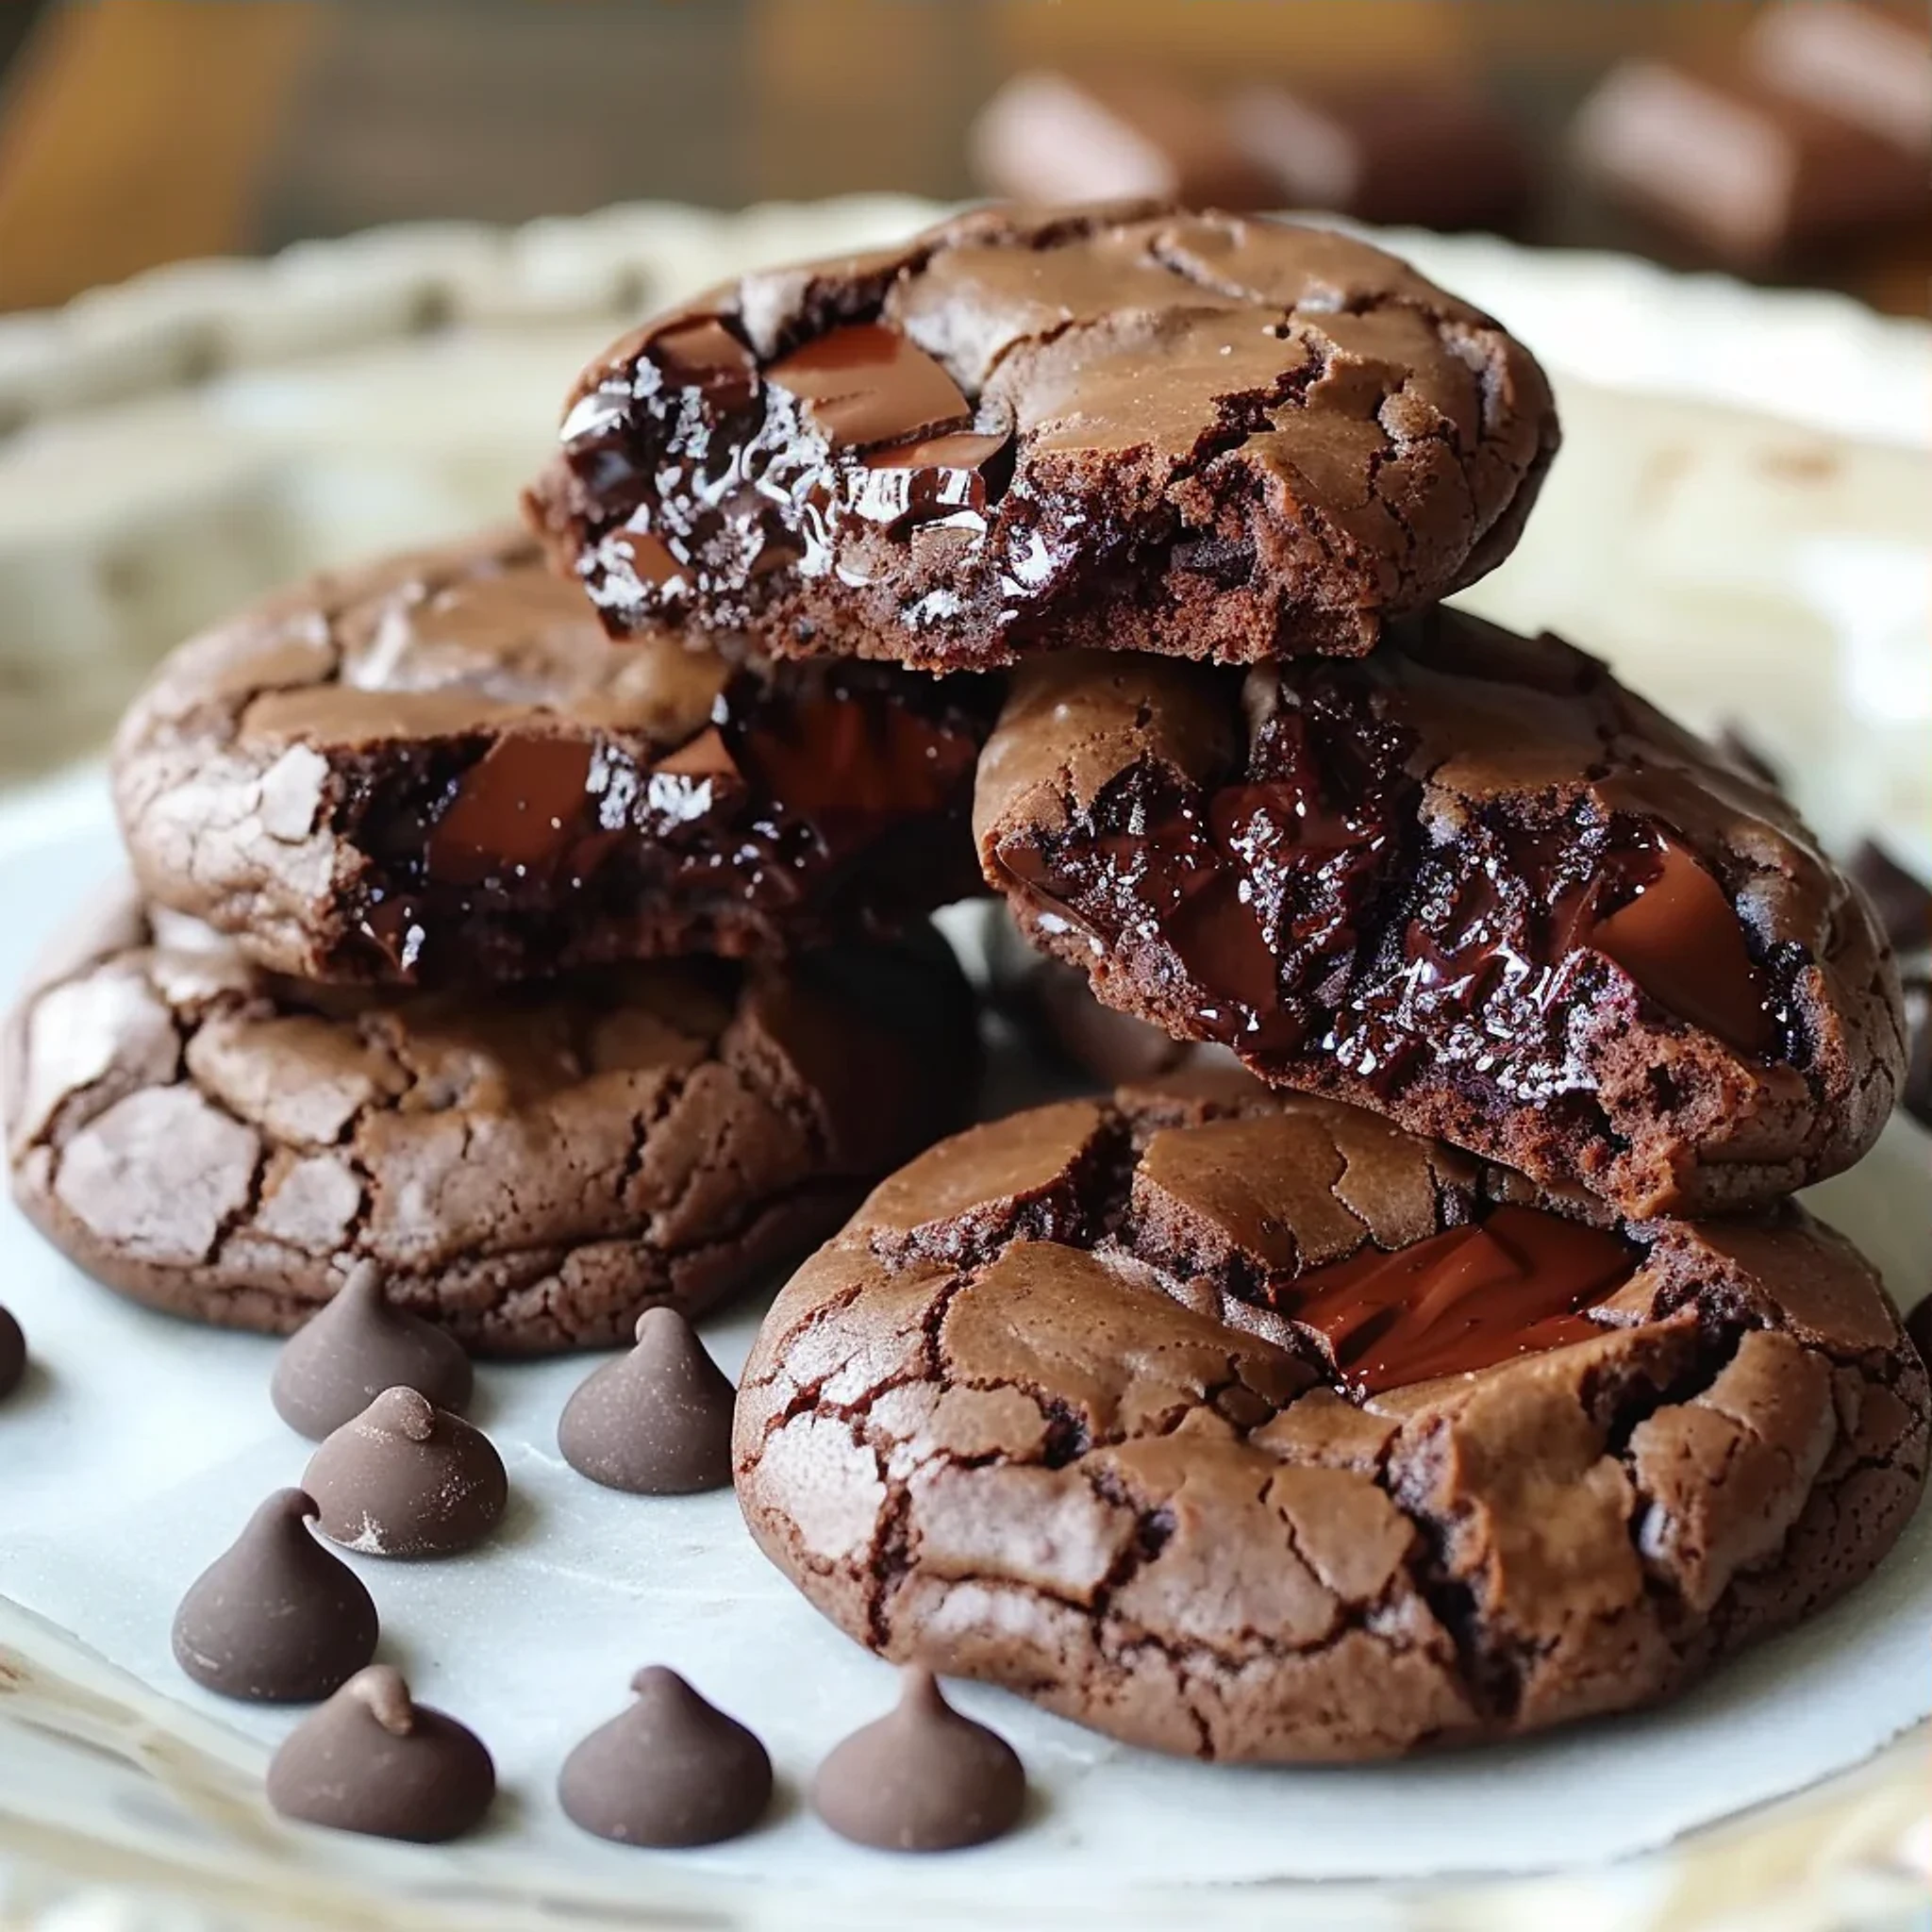
What makes these chocolate lava cookies special is not just the molten chocolate center that flows out when you take a bite, but also how they redefine what zero-carb cooking can be. I’ve always believed that real food can still be satisfying and flavorful, and these cookies are a testament to that philosophy. When I first tried them, I was blown away by how they combined the best elements of cookies and brownies, delivering that rich, decadent chocolate experience without the carbs that usually bog us down.
You might be wondering about skill level. Honestly, if you’ve got the basics down, you’re good to go. This is a perfect recipe for those who are just dipping their toes into zero-carb cooking or for experienced chefs looking for a creative challenge. The satisfaction of pulling these cookies out of the oven, with their crackly tops and gooey centers, is worth every bit of effort.
The flavor payoff is unbelievable. Each bite is an explosion of chocolate that dances on your taste buds. And let’s not forget the texture: the outside is soft and chewy, while the inside is that molten chocolate goodness we all crave. It’s like having your own mini chocolate lava cakes at your fingertips.
What You’ll Need
Here’s what you’ll need to make these delightful lava cookies:
- 1 cup all-purpose flour
- 1/2 cup unsweetened cocoa powder
- 1 teaspoon baking powder
- 1/2 teaspoon salt
- 6 oz semi-sweet chocolate, chopped
- 4 oz semi-sweet chocolate, cut into 12 chunks
- 1/2 cup unsalted butter
- 3/4 cup granulated sugar
- 1/2 cup brown sugar, packed
- 2 large eggs
- 1 teaspoon vanilla extract
When I first made these, I was adamant about the quality of the chocolate. Using semi-sweet chocolate that you actually enjoy eating on its own is key. It makes a huge difference in flavor. If you’re on a budget, don’t hesitate to grab a more affordable brand, but I highly recommend splurging a little if you can. Your taste buds will thank you.
If you need to make substitutions, consider using dark chocolate for a richer flavor, or even a sugar substitute if you’re looking to cut down on sweetness. Just keep in mind that the texture might change slightly, but the molten center will still be there.
Let’s Make This Happen
Now, let’s dive into the steps to bring these chocolate lava cookies to life:
- In a medium bowl, whisk together the flour, cocoa powder, baking powder, and salt. Set aside.
- In a microwave-safe bowl, combine the 6 oz chopped chocolate and butter. Microwave in 30-second intervals, stirring between each, until fully melted and smooth. Allow to cool slightly.
- In a large bowl, whisk together the granulated sugar, brown sugar, eggs, and vanilla extract until well combined. Add the melted chocolate mixture and stir until smooth.
- Gradually fold the dry ingredients into the wet ingredients until just combined. Do not overmix. The dough will be thick and somewhat sticky.
- Cover the dough and refrigerate for at least 30 minutes to firm up.
- Preheat oven to 350°F (175°C) and line baking sheets with parchment paper. Divide the dough into 12 equal portions. Flatten each portion, place a chocolate chunk in the center, and fold the dough around it, sealing completely.
- Place the cookie balls on the prepared baking sheets, spacing them about 2 inches apart. Bake for 10-12 minutes until the edges are set but the centers are still soft. The tops should be crackly.
- Allow cookies to cool on the baking sheet for 5 minutes before transferring to a wire rack. Serve warm to enjoy the molten center.
Now, here’s where it gets interesting. When you’re melting that chocolate and butter together, make sure you don’t overheat it. If it starts to bubble or seize, trust me, you’ll be in for a texture nightmare. I learned that the hard way! And when you’re folding the dry ingredients into the wet ones, be gentle. Overmixing can lead to tough cookies instead of the soft, chewy bites we’re aiming for.
I’ve had my fair share of baking blunders, like the time I forgot to chill the dough. Letting it sit in the fridge is crucial for getting that perfect cookie shape and ensuring the molten chocolate stays intact during baking.
Making It Work for You
If you’re new to baking, don’t fret! These cookies are forgiving. If they come out a bit misshapen, they’ll still taste amazing. You can also experiment with different chocolate types, or even try adding nuts or a sprinkle of sea salt on top before baking for a gourmet touch.
Timing is everything, especially if you’re balancing a busy schedule. You can make the dough ahead of time and keep it in the fridge for a day or two. Just remember to let it sit at room temperature for a few minutes before scooping and baking, as it will be quite firm.
If you’re planning these cookies for a gathering, consider making extra to impress your friends. They’ll be amazed at how you turned a simple cookie into a decadent chocolate experience.
Storage and Reheating Reality
Now, let’s talk leftovers. If you manage to have any, store them in an airtight container at room temperature. They’re best enjoyed fresh, but if you pop them in the microwave for a few seconds, you can revive that molten center. Just be careful not to overdo it; nobody wants a rubbery cookie!
In terms of consumption timeline, I recommend eating them within a few days for the best texture. After that, they’re still tasty, but the molten magic might fade a bit.
Questions I Actually Get
Can I use a different type of flour?
Absolutely! If you’re looking for a gluten-free option, almond flour works well. Just keep in mind that the texture will change slightly.
Do I have to refrigerate the dough?
While it’s not a strict requirement, chilling the dough helps with texture and shapes the cookies nicely. If you’re in a rush, you can skip it, but they might spread out more than desired.
Can I freeze the cookie dough?
Yes! You can freeze the dough and bake them straight from the freezer. Just add a couple extra minutes to the baking time.
What if I want to make mini lava cookies?
Great idea! You can adjust the size of the portions accordingly, but keep an eye on the baking time to avoid overcooking.
Closing Thoughts: This journey into making chocolate lava cookies has been nothing short of a delicious adventure. Each time I make them, I discover new little tweaks and techniques that make them even better. As I sit here, savoring the last crumb of a warm cookie, I can’t help but look forward to the next experiment. Maybe I’ll try adding a hint of espresso next time for an even deeper flavor. If you give these a try, let me know how they turn out. Happy baking!
Chocolate Lava Cookies Delight
Ingredients
Method
- In a medium bowl, whisk together the flour, cocoa powder, baking powder, and salt. Set aside.
- In a microwave-safe bowl, combine the 6 oz chopped chocolate and butter. Microwave in 30-second intervals, stirring between each, until fully melted and smooth. Allow to cool slightly.
- In a large bowl, whisk together the granulated sugar, brown sugar, eggs, and vanilla extract until well combined. Add the melted chocolate mixture and stir until smooth.
- Gradually fold the dry ingredients into the wet ingredients until just combined. Do not overmix. The dough will be thick and somewhat sticky.
- Cover the dough and refrigerate for at least 30 minutes to firm up.
- Preheat oven to 350°F (175°C) and line baking sheets with parchment paper. Divide the dough into 12 equal portions. Flatten each portion, place a chocolate chunk in the center, and fold the dough around it, sealing completely.
- Place the cookie balls on the prepared baking sheets, spacing them about 2 inches apart. Bake for 10-12 minutes until the edges are set but the centers are still soft. The tops should be crackly.
- Allow cookies to cool on the baking sheet for 5 minutes before transferring to a wire rack. Serve warm to enjoy the molten center.
