

Strawberry Earthquake Cake. Just saying it conjures up thoughts of summer picnics, lazy afternoons with friends, and the sweetness of ripe strawberries bursting in your mouth. When I first stumbled upon the idea of making a zero-carb version of this classic cake, I was both excited and hesitant. Could I really capture the essence of Strawberry Earthquake Cake without the usual carbs? Trust me, the journey was delicious, and I’m thrilled to share the experience with you.
A few years back, I was on the hunt for desserts that could satisfy my sweet tooth while sticking to my zero-carb philosophy. I was tired of the bland, restrictive desserts that often accompanied low-carb diets. I wanted something that was rich, satisfying, and bursting with flavor. Enter the concept of the Strawberry Earthquake Cake. It’s traditionally made with cake mix ingredients and layered with sweet strawberry filling and whipped cream – delicious but definitely not zero-carb. So, I thought, why not take those classic elements and create something that works for my lifestyle?
As I dived into the process, I realized this cake is all about layering flavors and textures. The idea of a cake that looks as good as it tastes was an immediate draw. I wanted to ensure that every bite would be a balance of sweet and creamy, with a hint of tartness from the strawberries. The goal was to make this Strawberry Earthquake Cake not just a dessert, but an experience that would leave my friends raving about it long after the last slice was gone.
📌 Pinterest Images
Save these images to your Pinterest boards!
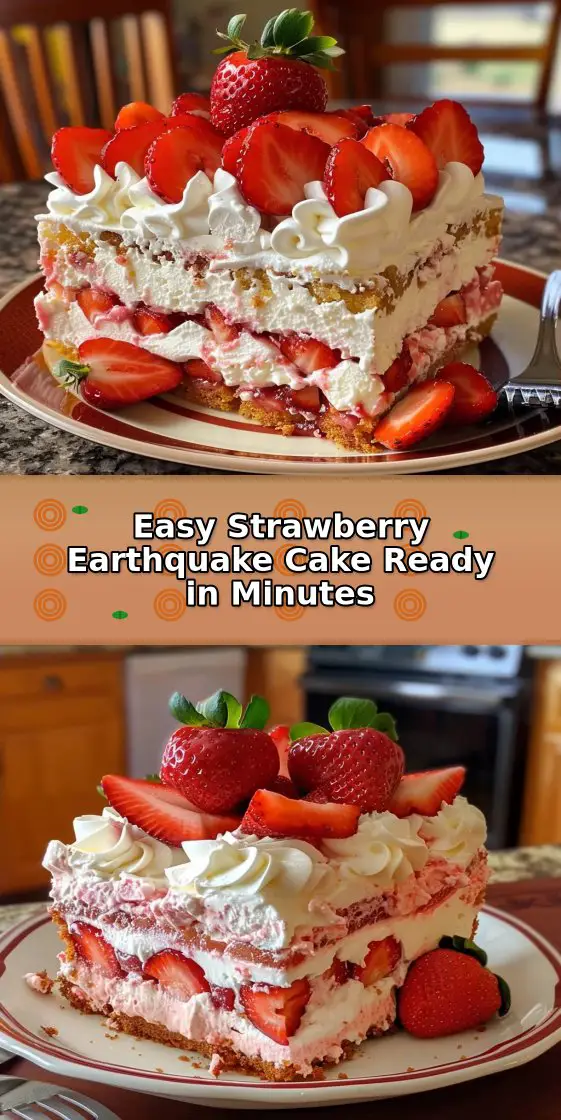
Strawberry Earthquake Cake
“Easy Strawberry Earthquake Cake Ready in Minutes”
💡 Tip: Right-click any image above and save to share on your social media or Pinterest!
Why This Recipe Hits Different
This Strawberry Earthquake Cake hits different from typical dessert recipes because it’s a celebration of fresh ingredients, and it’s a treat that can actually work for those looking to cut down on carbs. Sure, the traditional cake mixes can be tempting, loaded with sugar and often lacking in real flavor. But here’s the kicker: by using fresh strawberries, quality cream, and some clever techniques, I managed to create a cake that feels indulgent without sacrificing my zero-carb principles.
When I first attempted this cake, I’ll admit, I encountered a few hiccups. My first round was a bit too sweet for my taste and didn’t have the texture I was after. After some trial and error, I found the right balance of sweetness and creaminess with the fillings. The combination of the strawberry filling and the whipped cream made each layer sing, creating a satisfying texture that kept my cravings at bay. Honestly, that’s what it’s all about for me – creating something that satisfies without the guilt.
This cake is perfect for anyone, regardless of your baking skills. Whether you’re a seasoned baker or just starting, the flavors will impress, and the layered look is sure to wow your guests. Plus, it’s a great way to showcase strawberries in a dessert that feels special.
What You’ll Need
Let’s get into the nitty-gritty of what you’ll need to make this Strawberry Earthquake Cake a reality. Here’s your shopping list:
- 2 cups (250 g) all-purpose flour
- 1 ½ cups (300 g) granulated sugar
- 1 cup (230 g) unsalted butter, softened
- 4 large eggs, room temperature
- 1 cup (240 ml) whole milk
- 2 teaspoons baking powder
- 1 teaspoon vanilla extract
- ¼ teaspoon salt
- 3 cups fresh strawberries, chopped
- ½ cup (100 g) granulated sugar
- 2 tablespoons lemon juice
- 2 cups (480 ml) heavy whipping cream
- ½ cup (60 g) powdered sugar
- 1 teaspoon vanilla extract
- 8 oz (225 g) cream cheese, softened (optional for a richer filling)
- Fresh strawberries, halved or sliced
- Whipped cream swirls
Now, let’s talk about quality. When it comes to strawberries, fresh is best. I love sourcing them from local farmers’ markets when they’re in season. It makes a difference in flavor and sweetness. If you can’t find them fresh, frozen strawberries can work in a pinch, but be sure to thaw and drain them well first. As for the butter and cream, I prioritize quality – grass-fed if the budget allows. It really elevates the taste.
Let’s Make This Happen
Ready to dive into some deliciousness? Here’s how to whip up this Strawberry Earthquake Cake step by step:
- Preheat the oven to 350°F (175°C) and grease and flour two 9-inch round cake pans. In a mixing bowl, cream the softened butter and granulated sugar together until the mixture is light and fluffy. Add the eggs one at a time, ensuring to mix well after each addition. Stir in the vanilla extract.
- In a separate bowl, whisk together the all-purpose flour, baking powder, and salt. Gradually incorporate this dry mixture into the butter mixture, alternating with the whole milk, mixing until just combined. Divide the batter evenly between the two prepared pans and bake for 25–30 minutes, or until a toothpick inserted in the center comes out clean. Allow the cakes to cool completely before proceeding to the next step.
- For the strawberry filling, combine the chopped strawberries, granulated sugar, and lemon juice in a saucepan. Cook over medium heat for about 8–10 minutes, stirring occasionally, until the mixture thickens into a jam-like consistency. Allow this filling to cool.
- To make the cream filling, in a chilled bowl, beat the heavy whipping cream, powdered sugar, and vanilla extract until stiff peaks form. For additional richness, fold in the softened cream cheese until the mixture is smooth and creamy.
- Assemble the cake by slicing each cooled cake layer in half horizontally to create four thin layers. Place the first cake layer on a serving plate, spread a layer of strawberry filling, and then top it with cream filling. Repeat this layering process for all the layers, ending with cream filling on top.
- For decoration, pipe swirls of whipped cream around the edges of the cake and garnish with halved strawberries on top to create a beautiful finish.
- Refrigerate the assembled cake for at least 1–2 hours before slicing. This chilling time allows the flavors to blend and the cake to set beautifully.
As you follow these steps, remember that the magic is in the details. When creaming the butter and sugar, look for that light and fluffy texture. It should feel airy and soft. When baking, keep an eye on the cake’s doneness – that toothpick test is your best friend. And when making the strawberry filling, the aroma of the cooking strawberries is pure bliss.
Making It Work for You
Now, let’s talk about how to make this Strawberry Earthquake Cake work for you. If you’re a beginner, don’t worry! This recipe is forgiving. You can adjust the sweetness of the strawberry filling based on your taste. If you prefer it less sweet, simply reduce the amount of sugar.
For those with a busy schedule, consider meal prepping. You can make the cake layers a day in advance and store them wrapped in plastic wrap. The strawberry filling can also be made ahead of time and stored in the fridge. Just remember to assemble the cake the day you plan to serve it for the best texture and flavor.
I’ve also experimented with different variations. Sometimes I’ll add a splash of almond extract for a nutty twist, or even fold in some chopped nuts into the cream filling for added texture. Feel free to get creative!
Storage and Reheating Reality
Let’s be real about leftovers. If you find yourself with extra slices of this Strawberry Earthquake Cake, you’re in luck! This cake holds well in the fridge for up to 3 days. Just be sure to cover it to keep it fresh. The flavors will continue to meld, making each bite even more delicious the next day.
I wouldn’t recommend freezing this cake after assembly due to the whipped cream. However, if you have leftover cake layers or filling, you can freeze them separately and assemble them later.
Questions I Actually Get
Can I use frozen strawberries for the filling?
Absolutely! Just thaw and drain them well to avoid extra moisture in your filling.
What if I don’t have cream cheese?
No worries! The cream filling is still delicious without it. The whipped cream will be light and fluffy on its own.
How can I make this cake gluten-free?
You can substitute the all-purpose flour with a gluten-free blend that measures cup-for-cup. Just check that the other ingredients are gluten-free as well.
How do I get the layers even when slicing the cakes?
A serrated knife works wonders for slicing layers. Just take your time, and use a gentle sawing motion for even cuts.
Strawberry Earthquake Delight Cake
Ingredients
Method
- Preheat the oven to 350°F (175°C) and grease and flour two 9-inch round cake pans. In a mixing bowl, cream the softened butter and granulated sugar together until the mixture is light and fluffy. Add the eggs one at a time, ensuring to mix well after each addition. Stir in the vanilla extract.
- In a separate bowl, whisk together the all-purpose flour, baking powder, and salt. Gradually incorporate this dry mixture into the butter mixture, alternating with the whole milk, mixing until just combined. Divide the batter evenly between the two prepared pans and bake for 25–30 minutes, or until a toothpick inserted in the center comes out clean. Allow the cakes to cool completely before proceeding to the next step.
- For the strawberry filling, combine the chopped strawberries, granulated sugar, and lemon juice in a saucepan. Cook over medium heat for about 8–10 minutes, stirring occasionally, until the mixture thickens into a jam-like consistency. Allow this filling to cool.
- To make the cream filling, in a chilled bowl, beat the heavy whipping cream, powdered sugar, and vanilla extract until stiff peaks form. For additional richness, fold in the softened cream cheese until the mixture is smooth and creamy.
- Assemble the cake by slicing each cooled cake layer in half horizontally to create four thin layers. Place the first cake layer on a serving plate, spread a layer of strawberry filling, and then top it with cream filling. Repeat this layering process for all the layers, ending with cream filling on top.
- For decoration, pipe swirls of whipped cream around the edges of the cake and garnish with halved strawberries on top to create a beautiful finish.
- Refrigerate the assembled cake for at least 1–2 hours before slicing. This chilling time allows the flavors to blend and the cake to set beautifully.
